


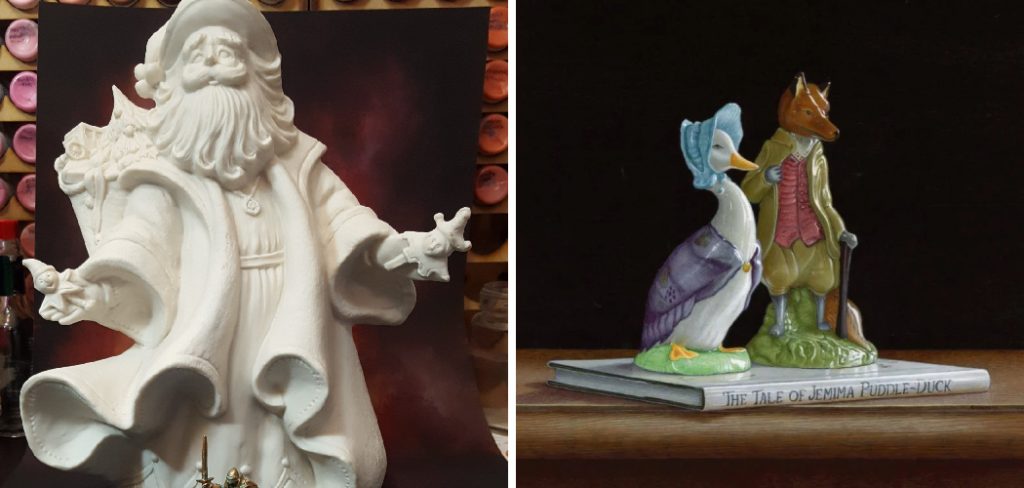
Porcelain figurines are cherished art pieces known for their delicate craftsmanship and timeless appeal. These intricate works often hold sentimental value and serve as ornamental centerpieces or treasured collectibles. Over time, however, the original paint on porcelain figurines can fade, chip, or wear off, detracting from their beauty. Painting porcelain figurines can not only restore their original charm but also provide an opportunity to add a personal touch, making each piece truly unique.
This article is designed to be a comprehensive step-by-step guide on how to paint porcelain figurines successfully. It aims to equip readers with the knowledge and techniques needed to handle these delicate items with care while achieving stunning results. Whether restoring vintage pieces or creating custom works of art, this guide will help ensure the painting process is both enjoyable and rewarding, leaving you with beautifully finished figurines to admire for years to come.
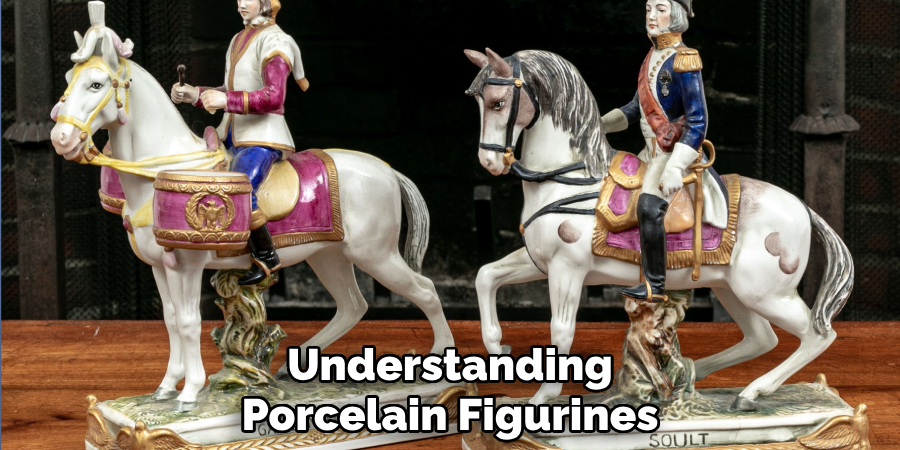
Understanding Porcelain Figurines
What is Porcelain?
Porcelain is a highly refined ceramic material known for its durability, smooth surface, and translucent appearance. It is made by firing a combination of kaolin clay, feldspar, and silica at extremely high temperatures, typically between 2,200°F and 2,600°F. This process creates a strong yet delicate material that is ideal for crafting intricate items, such as figurines. Its non-porous surface makes it an excellent canvas for painting, allowing for vivid colors and fine details to stand out.
Types of Porcelain Figurines
Porcelain figurines can be classified as antique or modern, each presenting unique painting considerations. Antique figurines, often highly fragile, may already have a pre-existing glaze, cracks, or worn details that require gentle handling and restoration techniques.
Meanwhile, modern pieces are typically more robust and may come pre-primed for painting, making them easier to work with. Understanding the history and condition of your figurines will help prioritize the appropriate methods and materials for their decoration.
Importance of Proper Care
Porcelain is delicate and prone to chipping, cracking, or breaking if mishandled. When painting, always handle the figurines with clean, dry hands or wear gloves to avoid transferring oils or moisture onto the surface.
Use padded surfaces to prevent accidental damage, and maintain a steady, controlled environment to ensure the piece’s safety throughout the painting process. Proper care is crucial for preserving the integrity and beauty of porcelain figurines, both during and after painting.
Gathering Necessary Materials
When preparing to paint porcelain figurines, having the right materials on hand is essential for achieving professional results.
Types of Paints Suitable for Porcelain
Choose paints that adhere well to porcelain surfaces for lasting durability and vibrant finishes. Acrylic paints are a popular choice due to their versatility, quick drying time, and wide range of colors. Oil-based paints offer rich pigmentation and slower drying times, allowing for detailed blending and intricate designs.
Specialized porcelain paints are formulated specifically for ceramic or porcelain surfaces, often requiring heat-setting or baking to bond effectively. Select the type of paint based on your intended finish and desired durability.
Brushes and Tools
The right tools make a significant difference in the painting process. Fine detail brushes are invaluable for intricate patterns and delicate work, while sponges can be used to create texture or apply paint evenly across larger areas. Ensure your tools are clean and well-maintained to prevent smudging or irregularities. Additionally, prepare cleaning supplies like water or solvents for brush care during and after painting.
Additional Supplies
Other essential items include primer for prepping smooth surfaces, sealants to protect the finished artwork, and a palette for mixing colors. Keep water or appropriate solvents nearby for cleaning tools as you work. By gathering these materials beforehand, you set the foundation for a successful and enjoyable painting experience.
Preparing the Porcelain Figurine
Cleaning the Surface
To ensure a smooth painting process, begin by thoroughly cleaning the porcelain figurine. Use a soft cloth or sponge with mild soap and water to remove any dust, oils, or dirt that may interfere with paint adhesion.
For stubborn residue, consider using a specialized porcelain cleaner, but avoid harsh chemicals that could damage the surface. Once cleaned, rinse the figurine with water and gently pat it dry with a lint-free cloth.

Sanding and Smoothing
If the surface of the figurine feels too glossy or has minor imperfections, light sanding can improve paint adhesion. Use fine-grit sandpaper (around 400-600 grit) to gently roughen the surface without causing visible scratches. Be sure to focus on hard-to-reach areas and intricate details with care. After sanding, wipe the figurine with a damp cloth to remove any sanding dust.
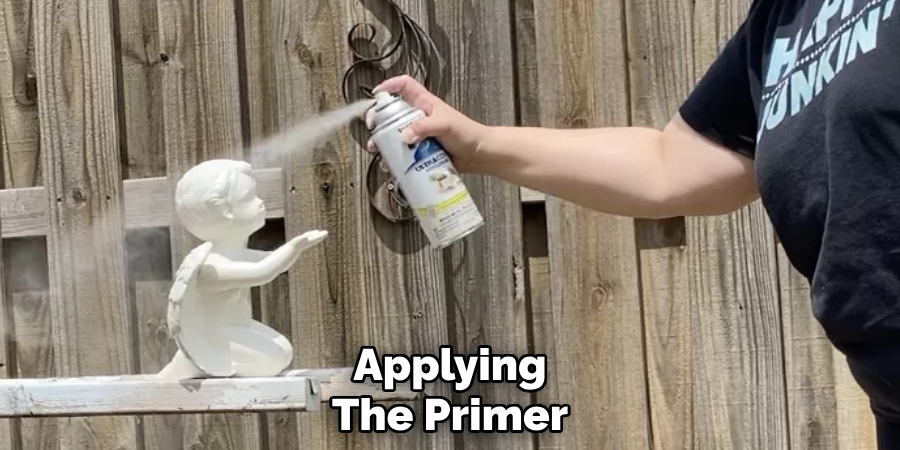
Applying Primer
Using a primer is an essential step for better paint grip and a more vibrant finish. Choose a primer specifically designed for porcelain or ceramic surfaces. Apply a thin, even coat using a brush or spray, ensuring that all areas are covered. If necessary, apply a second coat for consistent coverage, allowing the first layer to dry completely before reapplying. Primer not only enhances the paint’s appearance but also helps prevent peeling or chipping over time.
Drying Time
Patience is key during the preparation process. After cleaning, sanding, and priming, allow the figurine to dry thoroughly. Check the primer’s recommended drying time on the product label, but a wait of at least 24 hours is often ideal. This ensures the surface is fully cured and ready for painting, paving the way for a flawless and durable result.
How to Paint Porcelain Figurines: Painting Techniques
When painting porcelain figurines, precision and creativity are vital for achieving a stunning finished piece. This step-by-step guide will introduce essential techniques to help bring out the best in your artwork.
Choosing Colors and Mixing Paints
Selecting the right colors is crucial for visual harmony. Consider using a color wheel to identify complementary or analogous colors for your design. For enhanced realism or unique effects, experiment with mixing custom shades. Use small amounts of paint when blending to fine-tune the resulting hue, and test your mixture on scrap material before applying it to the figurine. Acrylic paints are an excellent choice due to their vibrant colors and quick drying time.
Layering Paint
Begin by applying a thin base coat, which provides the foundation for your design. Allow it to dry completely before adding additional layers. Build up depth by using light-to-dark layering techniques, gradually adding opacity to the surface. Apply thin layers to avoid overpowering details in the figurine’s design and maintain a smooth finish.
Detail Work
For intricate features like eyes, facial details, and patterns on clothing, use fine-tipped brushes. These brushes provide the control needed for precision and minimize the risk of smudging or overpainting. A steady hand and patience are key at this stage, so take your time to achieve clean, defined lines.
Blending and Shading
Blending and shading add dimension to your figurine. Use a small, damp brush to blend colors smoothly, transitioning between shades seamlessly. Practice techniques like dry brushing to highlight raised details or stippling to create textured effects. These methods help your figurine look lifelike and polished.
Avoiding Common Mistakes
Common pitfalls include overpainting, uneven layers, or applying thick brushstrokes that obscure details. To avoid these issues, work with thin, even layers and keep brushes clean between colors. Additionally, ensure your paint is fully dry before touching or handling the figurine. A careful approach will result in a beautifully painted and professional-looking creation.
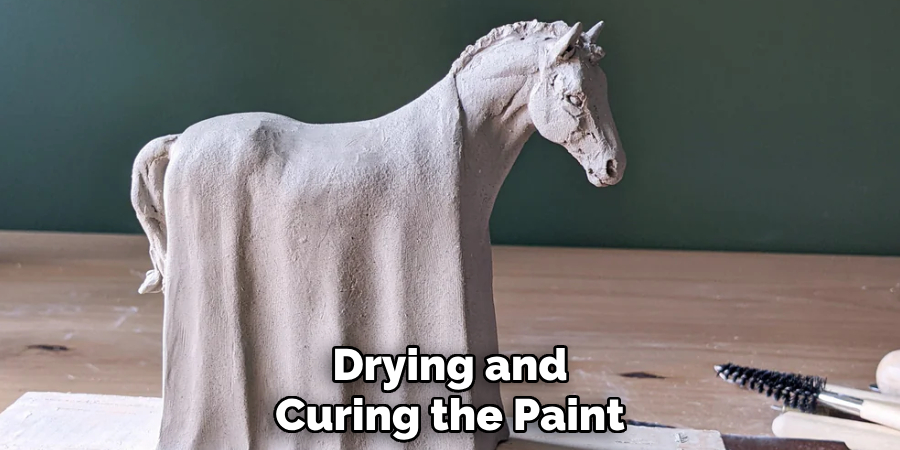
Drying and Curing the Paint
Properly drying and curing porcelain paint is essential to ensure your figurine looks its best and withstands the test of time.
Air Drying vs. Baking
When deciding between air drying and baking, consider the type of paint and the desired durability. Air drying is suitable for acrylic paints and other water-based options, requiring no special equipment.
However, it takes longer, often requiring 24 to 72 hours depending on the thickness of the paint. Baking, on the other hand, is ideal for heat-set paints and adds durability. This method ensures a strong bond between the paint and the porcelain, resulting in a long-lasting and wear-resistant finish.
Temperature and Timing
For baking, always refer to the paint manufacturer’s instructions for accurate temperatures and durations. Typically, porcelain paint cures well at 300°F (150°C) for 30 minutes. Ensure your figurine is placed in a cold oven and heated gradually to prevent cracking. Allow the figurine to cool completely inside the oven before removing it to avoid sudden temperature changes.
Checking for Proper Cure
To see if the paint is fully cured, gently test its surface. It should feel scorched, smooth, and no longer tacky to the touch. Observe the color for any inconsistencies that might indicate incomplete drying. Once cured, your figurine is ready for sealing or careful display.
Sealing and Finishing
Properly sealing your figurine is crucial to protect the painted surface and enhance its appearance.
Choosing the Right Sealant
Select a sealant based on the effect you want to achieve. Matte finishes provide a subtle, non-reflective look, ideal for realistic or understated designs. Satin finishes offer a soft sheen, balancing between a matte and glossy finish. Glossy finishes create a bold, shiny effect, perfect for vibrant or decorative pieces.
Application Methods
When applying sealants, you can choose between spraying and brushing. Spray sealants provide an even coat and are quicker when covering large areas, but require proper ventilation. Brushing allows for more precision, especially on intricate parts, but may take longer. Whichever method you choose, apply thin, even layers and allow drying time between coats for the best results.
Protecting the Painted Surface
To ensure the longevity of your painted figurine, handle it carefully and avoid excessive exposure to sunlight or moisture. Consider displaying it in a protective case to prevent dust and accidental damage. Regularly inspect the surface to address any potential wear or chips early.
Common Challenges and Solutions
Dealing with Paint Smudges or Mistakes
Mistakes can happen, but correcting them is possible without damaging the figurine. If paint smudges or errors occur, use a small, damp brush or a cotton swab dipped in water (for water-based paints) to gently remove the mistake before it dries. For dried paint, a fine-tipped hobby knife can help scrape away imperfections without harming the surface beneath. Always work slowly and precisely for the best results.
Avoiding Paint Cracking
Paint cracking is often caused by improper drying between layers or overly thick application. To prevent this, apply thin, even coats and allow adequate drying time, typically 15-30 minutes, depending on paint type and humidity. Using high-quality, flexible paints designed for miniature painting also helps to reduce the risk of cracking over time.
Handling Fragile Areas
Fragile features like fingers or intricate designs require extra care to avoid breakage or over-painting. Hold the figurine with a gentle, steady grip and use fine-tipped brushes for more precise control around delicate areas. Painting these sections first can make handling the figurine easier while protecting already finished surfaces.
Conclusion
Learning how to paint porcelain figurines can be a rewarding and creative endeavor. The key steps include thorough preparation, such as cleaning and priming the surface, followed by careful painting with appropriate tools and techniques. Allow sufficient curing time to ensure durability, and finish with a sealing coat to protect your work.
Patience and precision are essential throughout the process to achieve intricate and polished results. Most importantly, take joy in the artistic journey, as with practice, your effort will preserve the timeless beauty of these delicate pieces while showcasing your personal skill and style.
Specialization:
- Master of wheel-throwing, hand-building, and advanced glazing techniques
- Focus on creating both functional pottery and decorative art pieces
Recognition:
- Celebrated by collectors and art enthusiasts for creating one-of-a-kind pieces that blend artistry with functionality
- Participates in local and national exhibitions, earning accolades for his innovative designs and craftsmanship
Passion:
- Deeply committed to exploring and pushing the boundaries of ceramic artistry
- Continuously experiments with new materials, firing techniques, and artistic concepts to evolve his craft
Personal Philosophy:
- Believes in the transformative power of art, aiming to evoke emotions and connections through his ceramic creations
- Advocates for sustainability in ceramics, using eco-friendly materials and practices whenever possible