


Terra cotta pots have long been a favorite among plant enthusiasts and gardeners due to their affordability, breathability, and timeless natural aesthetic. Their porous nature allows for proper air and moisture circulation, which is vital for healthy plant roots. These qualities make them a practical and attractive choice for both indoor and outdoor plants.
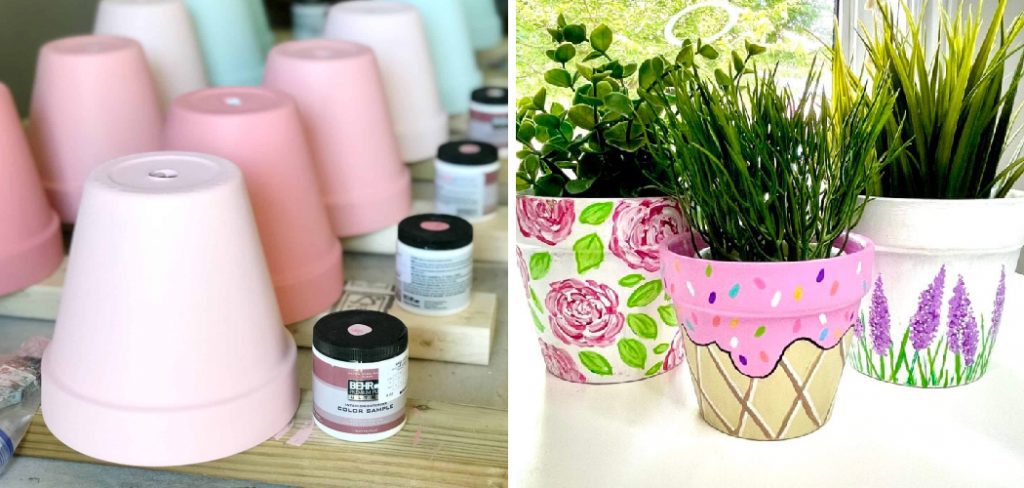
Painting terra cotta pots not only enhances their visual appeal but also opens up endless opportunities for personalization. Whether you’re aiming to match your home décor, add a creative touch to your garden, or simply brighten up spaces with colorful designs, painted terra cotta pots are a delightful addition. Beyond appearance, painting can add a protective layer that helps your pots withstand weathering and prolongs their lifespan.
This article will serve as your step-by-step guide on how to paint terra cotta pots, teaching you how to prepare, paint, and seal them for beautiful and durable results.
Choosing the Right Pot and Paint
Selecting the Pot
The first step to painting a terra cotta pot is choosing the right one. Whether new or used, ensure the pot is unglazed, as the porous clay surface of terra cotta allows paint to adhere properly. Inspect the pot thoroughly for any cracks or chips that might affect the durability of your design. Used pots can be cleaned for reuse, but ensure they are thoroughly dried before beginning the painting process.
Best Paint Options
Choosing the right type of paint is equally essential to ensure your design lasts. Here are some popular options:
- Acrylic Paint: A versatile and widely available choice, acrylic paint works well for most terra cotta projects.
- Outdoor or Multi-Surface Paint: Perfect for pots that will be exposed to the elements, as they offer extra durability against the weather.
- Spray Paint: Ideal for achieving an even coat and smooth coverage, especially for larger pots.
Paint Finish Considerations
The finish you choose can greatly impact the final look of your project. Options include matte, glossy, or satin finishes, depending on your aesthetic preference. For pots intended for outdoor use, opt for weather-resistant or waterproof paints to ensure longevity and protect against environmental wear and tear.
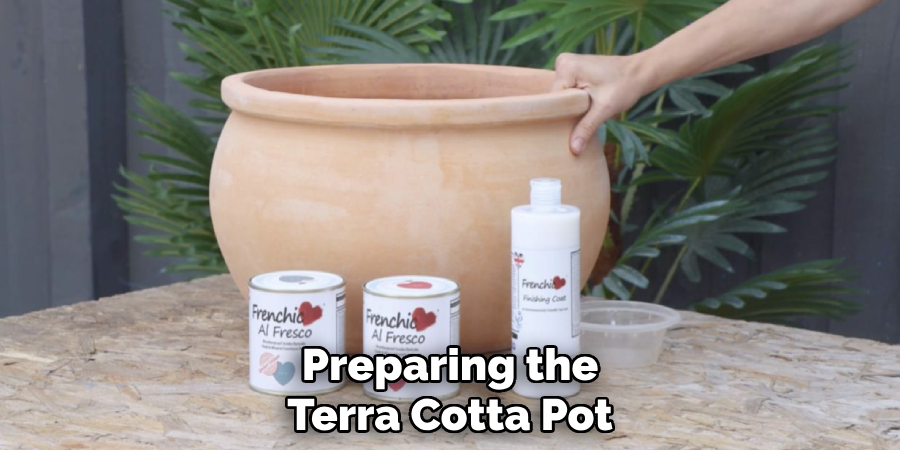
Preparing the Terra Cotta Pot
Cleaning the Pot
Start by thoroughly cleaning the terra cotta pot to remove any dirt, dust, or mineral deposits that may hinder the painting process. Use water and a mild soap, scrubbing gently with a soft brush or sponge where necessary. Rinse well to ensure no soap residue remains. After cleaning, allow the pot to dry completely; this typically takes at least 24 hours. It is essential to ensure the pot is completely dry before proceeding to the next steps.
Sanding the Surface
Once the pot is dry, lightly sand the surface using fine-grit sandpaper. This step helps to smooth any rough areas and enhances paint adhesion by creating a slightly textured surface. Focus on achieving an even texture all around the pot while taking care not to apply too much pressure, as terra cotta is a delicate material.
Priming the Pot
Apply a coat of acrylic gesso or masonry primer to both the inside and outside surfaces of the pot. Priming creates a smooth and even surface for the paint to adhere to while also providing an additional layer of durability. Ensure the primer is spread evenly and allowed to dry completely before proceeding to the painting stage.
If you do not plan to use the pot for live plants, consider applying a sealant to the interior of the pot to prevent water absorption and enhance its longevity. However, avoid sealing the inside if using the pot for live plants, as this would compromise the breathability essential for healthy plant growth.
How to Paint Terra Cotta Pots: Step-by-Step Guide
Step 1: Base Coat
Begin by applying a solid base color to the pot using a brush or spray paint. Choose a color that complements your design vision or serves as a neutral background for intricate patterns. Ensure the paint is evenly distributed across the entire surface for a smooth finish.
Hold the spray paint at the recommended distance, or use long, even strokes with your brush. Allow the base coat to dry completely before applying additional layers. This may take several hours, depending on the type of paint and environmental conditions.
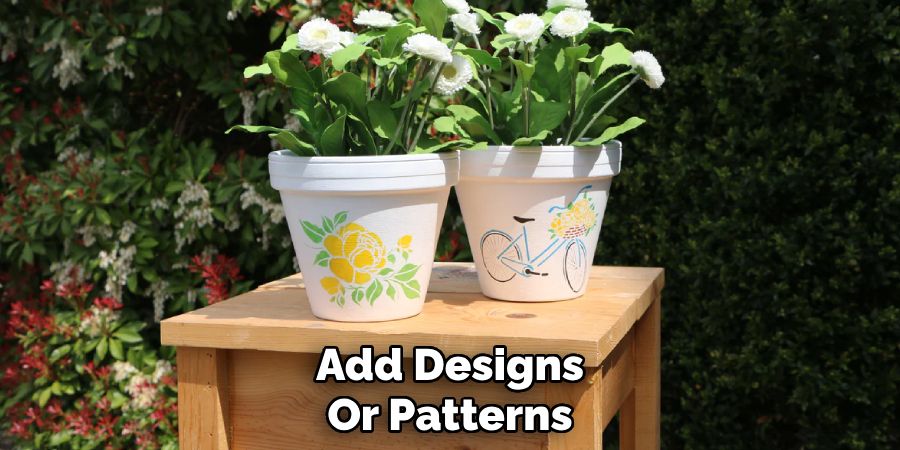
Step 2: Add Designs or Patterns
Once the base coat is fully dried, it’s time to add personality to your pot. You can use painter’s tape to create clean stripes or geometric shapes, or opt for stencils to achieve consistent patterns. If you prefer a more organic look, freehand your designs with a steady hand and fine-tipped brushes.
Experiment with contrasting colors or metallic paints for a striking effect. Take your time to ensure precision and avoid smudging, especially when working with details.
Step 3: Layering and Touch-Ups
To achieve a professional-looking finish, apply multiple thin coats of paint rather than one thick layer. Each thin coat should dry completely before the next is added, as this helps prevent streaking, bubbling, or peeling. Inspect your pot for any uneven spots or areas that require touch-ups, and lightly sand any imperfections before adding a final coat. With patience and careful attention to detail, your painted pot will bloom into a vibrant and decorative masterpiece.
Drying and Curing Time
Initial Drying Time
After applying the final coat of paint, it is essential to allow the pot to dry undisturbed for 24–48 hours. This initial drying time ensures that the paint sets properly on the surface, reducing the risk of smudging or imperfections that can occur from handling too soon. Place the pot in a well-ventilated area, away from direct sunlight or strong wind, to allow the paint to dry evenly.
Curing the Paint
To achieve a durable finish, it is important to give the pot ample time to cure. Curing typically takes 5–7 days, ensuring that the paint fully adheres to the pot’s surface and becomes resistant to chipping and wear. During this time, keep the pot in a sheltered location at room temperature.
Avoid exposing it to moisture or extreme temperatures, as these can impact the curing process. Once the curing is complete, your pot will be ready for outdoor use or planting, providing long-lasting beauty and protection against the elements. Patience during this stage will yield a professional and resilient finish that will withstand the test of time.
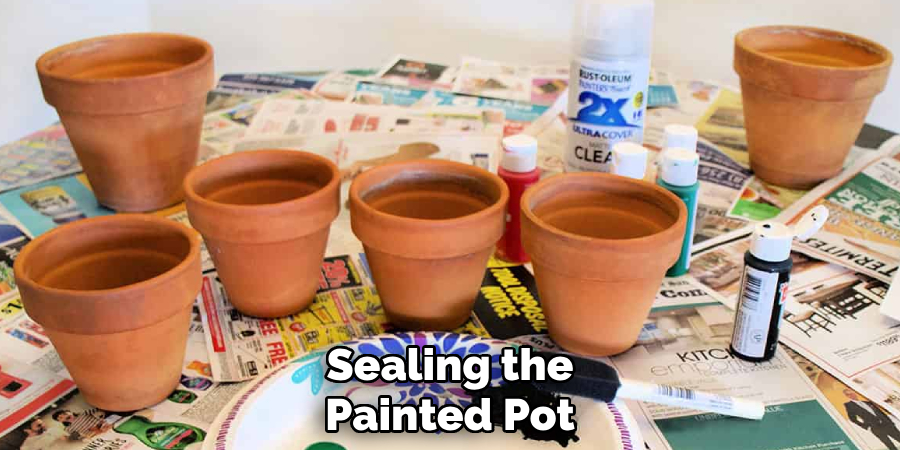
Sealing the Painted Pot
Sealing your painted pot is an essential step to ensure its durability and aesthetic appeal over time. A good sealant protects the paint from moisture, sunlight, and harsh weather conditions, preventing peeling and fading. Additionally, sealing helps maintain the vibrancy of the colors, allowing your pot to look fresh and lively for years to come.
Choosing a Sealant
When selecting a sealant, opt for a clear acrylic sealer or a waterproof spray. These types of sealants are designed to provide a strong protective layer without altering the design or color underneath. You can choose from matte, satin, or glossy finishes depending on the look you want to achieve. Each finish offers a unique visual effect, so choose the one that complements your design best.
Application Tips
To achieve the best results, apply 2–3 thin coats of sealant, allowing each coat to dry completely before applying the next. Thin coats ensure even coverage and prevent drips. Always perform this step outdoors or in a well-ventilated area to avoid exposure to fumes. Take care to cover the entire surface of the pot, including the edges and rim, for comprehensive protection. With the right sealant and proper application, your painted pot will remain vibrant and protected from the elements.
Tips for Long-Lasting Results
To ensure your painted pots last for many seasons, consider a few essential care tips. If using the pot for live plants, avoid painting the bottom or inside. Leaving these areas unpainted helps with water drainage and allows the plant roots to breathe properly.
During cold or wet weather, bring your pots indoors to protect them from harsh conditions that could damage the paint or sealant. When not in use, store the painted pots in a dry location to prevent moisture buildup and deterioration. For pots kept outdoors year-round, reapply sealant annually to maintain their protective coating and vibrancy. By following these simple practices, you can extend the life of your painted pots and keep them looking fresh and colorful.
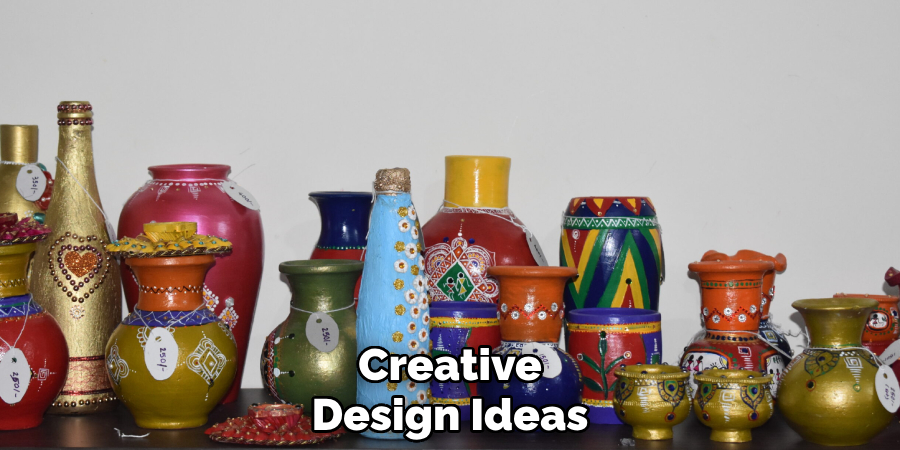
Creative Design Ideas
Enhancing your painted pots with creative designs is an excellent way to bring art and personality into your garden or home décor. Here are a few inspiring ideas to get you started:
Boho and Geometric Patterns
Use stencils or masking tape to create intricate shapes, such as triangles, diamonds, or tribal prints. These patterns add a vibrant, modern aesthetic to your pots, complementing a variety of interior and exterior styles.
Chalkboard Paint Sections
Apply sections of chalkboard paint to your pots, creating areas where you can write and rewrite plant names, care instructions, or seasonal messages. This adds both functionality and charm.
Ombre and Gradient Effects
Experiment with blending two or more colors for a striking ombre or gradient effect. This soft, fading color scheme adds elegance and can be tailored to match your existing décor.
Hand-lettered Quotes or Botanical Names
For a personal touch, use permanent markers or paint pens to script motivational quotes or the names of your plants. This hand-lettered touch creates a unique, custom design that enhances the personality of your space.
With a little creativity, your pots can become more than just plant holders—they can be standout pieces of décor.
Conclusion
Learning how to paint terra cotta pots is a fun, creative, and practical way to elevate your home or garden décor while extending the life of your pots. Proper preparation, including cleaning and sealing, ensures durability, while painting unlocks endless artistic possibilities to personalize your space.
Taking the time to seal the pots after painting protects the design and increases their longevity. Whether starting with simple materials or experimenting with intricate designs, this approachable project encourages creativity at any skill level. Grab your supplies, take the first step, and transform your pots into beautiful, functional pieces of art!
Specialization:
- Master of wheel-throwing, hand-building, and advanced glazing techniques
- Focus on creating both functional pottery and decorative art pieces
Recognition:
- Celebrated by collectors and art enthusiasts for creating one-of-a-kind pieces that blend artistry with functionality
- Participates in local and national exhibitions, earning accolades for his innovative designs and craftsmanship
Passion:
- Deeply committed to exploring and pushing the boundaries of ceramic artistry
- Continuously experiments with new materials, firing techniques, and artistic concepts to evolve his craft
Personal Philosophy:
- Believes in the transformative power of art, aiming to evoke emotions and connections through his ceramic creations
- Advocates for sustainability in ceramics, using eco-friendly materials and practices whenever possible