


Ceramic countertops are popular for kitchens and bathrooms due to their durability, versatility, and stylish appearance. Known for their ability to withstand heat, stains, and daily wear, these surfaces offer both functionality and elegance.
However, ceramic countertops can lose their luster over time, appearing dull or scratched. Maintaining their shine and smoothness is essential for preserving their aesthetics and ensuring long-term performance and hygiene.
Understanding “how to polish ceramic countertops” is key to restoring their original beauty and keeping them in top condition. The process involves a step-by-step approach, starting with thorough cleaning to remove dirt and debris, repairing any minor imperfections, then carefully polishing the surface, and finally sealing it for added protection.
With the right tools and attention to detail, achieving a gleaming, smooth finish on ceramic countertops is both manageable and rewarding.
Choosing the Right Coloring Agents
Choosing coloring agents is crucial in achieving the desired aesthetic for your ceramic surfaces. By selecting the right agents, you can highlight the material’s unique characteristics while creating captivating visual effects.
Oxides and Stains
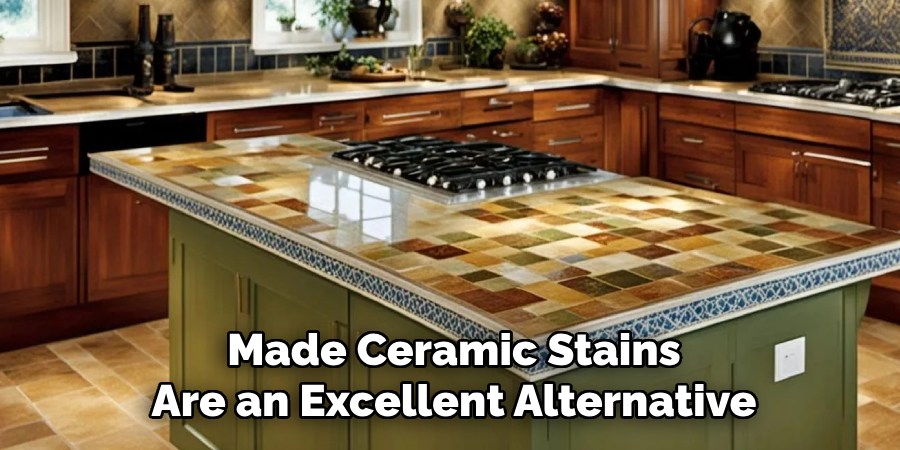
Metallic oxides are traditional favorites in ceramic coloring. Iron oxide, for example, produces rich earthy reds, while cobalt oxide creates vibrant blues, and chrome oxide imparts stunning greens. These oxides are prized for their durability and consistency. Additionally, pre-made ceramic stains are an excellent alternative for those seeking consistent and vibrant colors without mixing raw oxides.
Underglazes and Engobes
For surface decoration prior to glazing, underglazes and engobes offer great flexibility. These options allow you to apply detailed designs, textures, or patterns before finishing the piece with a glaze, enhancing depth and complexity in the final appearance.
Natural Additives
Experimenting with natural additives can yield unique results. Organic materials like ash or sand often produce subtle, earthy tones or intriguing textural variations, adding a personalized touch. Testing the coloring agent on a sample piece before applying it to your project is critical to avoid unexpected results, ensuring your vision is brought to life accurately and beautifully.
Preparing the Countertop
Thorough Cleaning
Begin by removing all items from the countertop to create a clear workspace. Use a pH-neutral cleaner to effectively remove dirt, grease, and other debris without damaging the surface.
Opt for a soft sponge or cloth to gently clean the surface while avoiding scratches. Once cleaned, dry the countertop thoroughly with a microfiber cloth to prevent water spots and ensure a smooth foundation for further work.
Inspect for Damage
Before proceeding, inspect the countertop for any visible chips, scratches, or cracks. Identifying these imperfections early is crucial to achieving a flawless result. For minor damage, use ceramic filler or epoxy to repair the surface. Follow the product’s instructions to ensure a stable and lasting fix.
Once the repairs are complete and fully set, lightly sand the repaired areas using fine-grit sandpaper to create a smooth, even surface. This step must ensure the countertop is properly prepared for subsequent treatments or finishes.
How to Polish Ceramic Countertops: Polishing Process
Applying Polish
Begin by selecting a ceramic-safe polishing compound specifically designed for countertops. These compounds are formulated to enhance the natural shine while protecting the surface.
Apply a small amount of the polishing compound to the countertop, working in manageable sections for optimal results. Focus on evenly distributing the polish to ensure a uniform application across the entire surface.
Buffing the Surface
Using a soft buffing pad or a microfiber cloth, buff the surface in gentle circular motions. This technique helps to work the polishing compound into the surface while reducing the appearance of minor scratches or dullness.
Pay special attention to areas that seem more worn or lackluster, as these spots may require additional effort to restore their shine. Always use light pressure to avoid causing accidental damage to the glaze.
Repeating if Necessary
For countertops that experience heavy daily use, a single round of polishing may not achieve the desired result. If necessary, repeat the application and buffing process to build consistency and even shine. Be patient and ensure that each layer of polish is fully buffed before moving on to the next application to prevent streaks or uneven spots.
Avoiding Over-Polishing
While polishing can significantly enhance the countertop’s appearance, avoiding overworking any specific area is crucial. Excessive polishing may thin the protective glaze, reducing the countertop’s durability and potentially exposing it to further damage. Keep an eye on the overall finish, and aim to maintain a balanced, natural-looking shine across the entire surface rather than obsessing over isolated imperfections.
Sealing the Surface
Why Sealing is Important
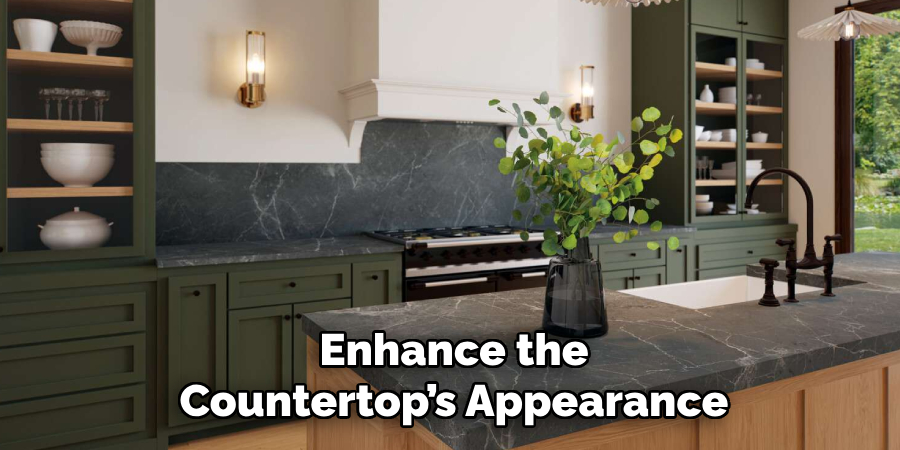
Sealing your countertop is a critical final step in preserving its beauty and functionality. A proper sealer acts as a protective barrier, shielding the surface from stains, water damage, and daily wear.
Spills from acidic or colored substances, if left unaddressed, can penetrate unsealed surfaces and result in permanent discoloration. Sealing prevents such damage and enhances the polished shine achieved during earlier steps, giving the countertop a cohesive, lustrous finish that lasts longer with regular maintenance.
Choosing the Right Sealer
Selecting the appropriate sealer is essential to achieving the best results. For ceramic countertops, opt for a ceramic-specific sealer or a high-quality multi-surface product designed to work on similar materials.
When choosing a sealer for indoor use, avoid high-VOC (volatile organic compound) formulations, as they can release harmful fumes into your home. Instead, look for low-VOC or eco-friendly alternatives that provide excellent protection without compromising indoor air quality.
Application Process
To apply the sealer, start by ensuring the surface is clean and dry. Using a clean cloth or brush, distribute the sealer evenly across the countertop in thin, uniform layers. Take care to cover every inch of the surface, paying special attention to edges and corners.
Once applied, allow the sealer to cure fully as per the manufacturer’s instructions. Curing times can vary, so resist the urge to use the countertop until the curing process is complete for maximum effectiveness and durability.

Maintenance Tips for Long-Lasting Shine
Daily Care
To keep your countertop looking its best, address spills promptly to avoid stains or discoloration. Always use coasters under glasses and trivets under hot pans to prevent scratches and heat damage. Avoid using abrasive cleaners or scrubbers, as they can mar the surface. Instead, stick to gentle cleaning methods to maintain the countertop’s finish.
Regular Cleaning
For routine upkeep, dust the countertop daily and wipe it down with a damp microfiber cloth at least once a week. Microfiber is ideal as it lifts dirt and grime without scratching the surface, leaving a streak-free shine. Use a mild, non-abrasive cleaner if needed, and always dry the surface afterward to prevent water spots.
Repolishing Schedule
Over time, wear and tear can dull the surface of even the most meticulously cared-for countertops. To restore their original luster, schedule a repolishing session every 6 to 12 months, depending on the intensity of use. This can be done using a high-quality countertop polish designed for your specific material. Consistent repolishing rejuvenates the surface’s shine and extends its lifespan by reinforcing its protective barrier.
Troubleshooting Common Issues
Even with proper care, issues may occasionally arise that require attention. Here are some common problems and their solutions:
Persistent Dull Spots
If certain countertop areas appear dull even after cleaning and polishing, check for residue buildup. This can often occur when cleaning products or water aren’t thoroughly wiped away. Re-clean the surface using a damp microfiber cloth and a mild cleaner, and then reapply polish to restore its shine.
Visible Scratches After Polishing
For minor scratches that remain visible even after polishing, use fine-grit sandpaper to carefully smooth the area. Followed by reapplying polish to blend the finish and restore its uniform appearance. Always work gently to avoid causing further damage.
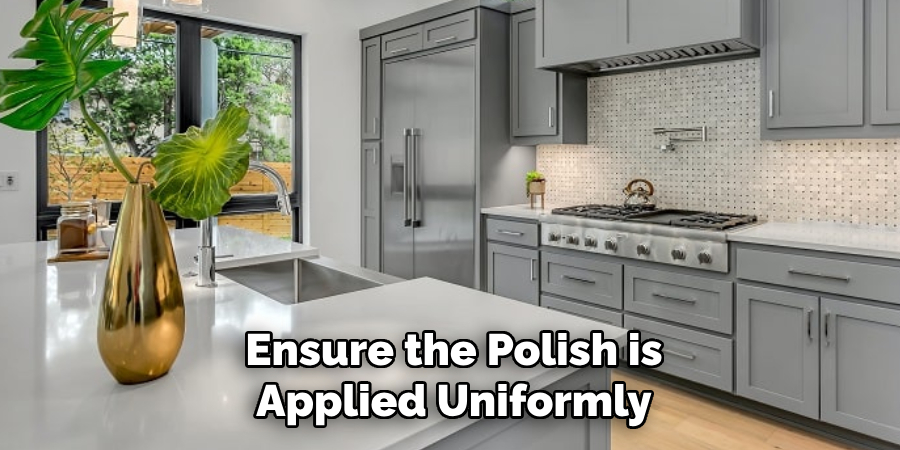
Uneven Shine
If the surface appears streaky or uneven after polishing, it is likely due to uneven application. Ensure the polish is applied uniformly, and buff it evenly across the entire surface using a clean, microfiber cloth or buffer to achieve consistent results.
Conclusion
Polishing ceramic countertops is essential for maintaining their original beauty and extending their lifespan. Restoring their shine becomes straightforward and highly effective with the right tools and methods. Approach each step with care to achieve a smooth, uniform surface that enhances your countertop’s aesthetic appeal.
Regular maintenance keeps your countertops looking pristine and prevents potential damage over time. By understanding “how to polish ceramic countertops,” you ensure they remain a stunning and durable feature in your home for years to come. Proper upkeep makes all the difference in preserving their elegance and functionality.
Specialization:
- Master of wheel-throwing, hand-building, and advanced glazing techniques
- Focus on creating both functional pottery and decorative art pieces
Recognition:
- Celebrated by collectors and art enthusiasts for creating one-of-a-kind pieces that blend artistry with functionality
- Participates in local and national exhibitions, earning accolades for his innovative designs and craftsmanship
Passion:
- Deeply committed to exploring and pushing the boundaries of ceramic artistry
- Continuously experiments with new materials, firing techniques, and artistic concepts to evolve his craft
Personal Philosophy:
- Believes in the transformative power of art, aiming to evoke emotions and connections through his ceramic creations
- Advocates for sustainability in ceramics, using eco-friendly materials and practices whenever possible