Polymer clay is a versatile and popular medium among artists and crafters for its ability to hold intricate details and its ease of use. Unlike traditional clay that hardens with air or heat, polymer clay remains pliable until it is baked, making it an ideal choice for a variety of projects—from jewelry and miniatures to decorative items and sculptures.

Whether you are a seasoned artist or a beginner looking to explore a new creative outlet, preparing polymer clay is an essential skill that will set the foundation for your crafting endeavors.
This guide on how to prepare polymer clay will outline the steps needed to condition and shape polymer clay, ensuring you achieve professional-quality results with every project.
What is Polymer Clay?
Polymer clay is an art medium that is made from polyvinyl chloride (PVC), a type of plastic that is unique from natural clay. It is formulated to remain soft and flexible until it is cured, which occurs through baking in a standard home oven at low temperatures. Available in a wide range of vibrant colors and finishes, polymer clay can mimic a variety of materials such as stone, wood, or glass when properly crafted.
Its synthetic composition allows for a smooth texture and the application of fine details, making it a favorite material for artists interested in precision work. Additionally, polymer clay can be mixed to create custom colors, adding to its versatility and appeal for endless creative possibilities.
Materials Needed
- Polymer Clay of Your Choice
- Plastic Sheet or Parchment Paper
- Roller Tool (Such as a Pasta Machine or Acrylic Roller)
- Craft Knife or Clay Cutting Tools
- Work Surface (Preferably Glass or Ceramic)
8 Simple Step-by-step Guidelines on How to Prepare Polymer Clay
Step 1: Condition the Clay
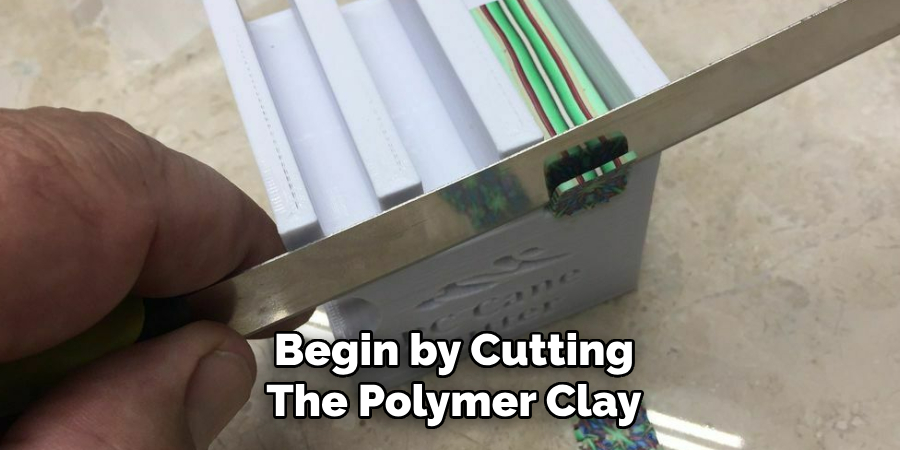
Conditioning polymer clay is a crucial step that involves kneading and softening the material to ensure an even texture and consistent color throughout your piece. Begin by cutting the polymer clay block into smaller, manageable pieces with a craft knife. These pieces should be taken one at a time and manually kneaded with your hands for several minutes. If the clay is hard or stiff, warm it slightly in your hands before kneading to make it more pliable.

Alternatively, you can use a pasta machine to roll and fold the clay repeatedly, which speeds up the conditioning process. The clay is ready once it has a smooth, even consistency and is easily workable without cracking or crumbling. Properly conditioned clay not only holds details better but also avoids air bubbles that can emerge during baking, ensuring a uniform finish.
Step 2: Choose a Work Surface
Selecting an appropriate work surface is pivotal when working with polymer clay to ensure ease of shaping and to avoid unintentional stickiness. Ideally, choose a smooth, non-porous surface such as glass, ceramic, or marble. These materials prevent the clay from adhering and are easy to clean. If such surfaces are not available, a sheet of parchment paper or a plastic placemat can serve as suitable alternatives.
Ensure the work area is clear of debris or dust, as these can become embedded in the clay and affect the quality of your final piece. A well-chosen work surface allows for better manipulation of the clay and contributes to a more efficient crafting process.
Step 3: Prepare Your Clay Shaping Tools
Before you begin shaping your polymer clay, it’s essential to have the necessary tools at hand. Depending on your project and personal preference, these tools may include a craft knife, sculpting tools, texture sheets, or molds.
It is advisable to separate and organize your tools according to their function for easy access during crafting. Additionally, keep a moist paper towel nearby to clean your hands or remove excess clay residue while working.
Step 4: Shape Your Polymer Clay
Once conditioned and with all the necessary materials in place, you can proceed to shape the polymer clay into your desired form. Roll out the conditioned clay using a roller tool until it is approximately 1/4 inch thick. If using a pasta machine, ensure the clay is rolled through the machine on its thickest setting to prevent distortion.
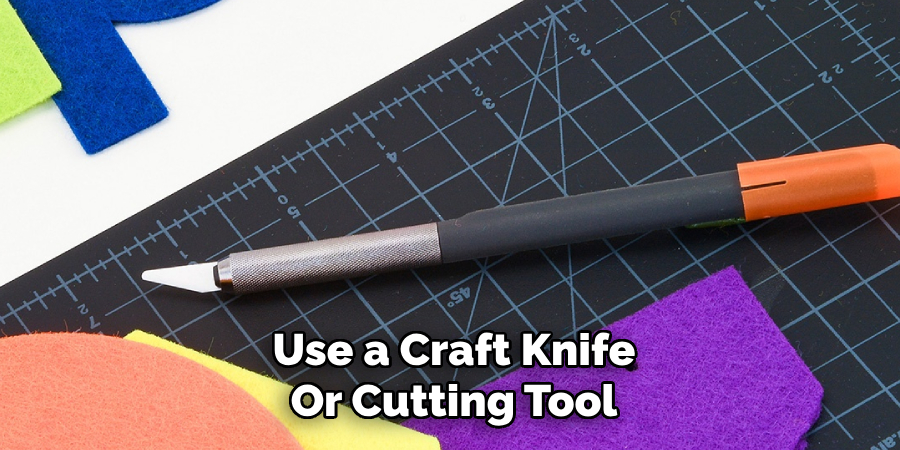
Next, place your chosen template or stencil over the clay and use a craft knife or cutting tool to cut out your desired shapes. Alternatively, you can also sculpt the clay by hand using your fingers or sculpting tools for more organic forms. Be mindful of any details you wish to incorporate into your piece and create them before baking.

Step 5: Smooth Out Any Imperfections
After shaping your polymer clay, carefully inspect it for any unwanted marks or bumps that may have formed during handling. Use a clean finger or tool to gently smooth out any imperfections on the surface of your piece.
Do this carefully, as pressing too hard may distort or alter the shape of your clay. Smooth lines and creases with a small amount of water or rubbing alcohol for a clean finish.
Step 6: Add Texture
Adding texture to your polymer clay can greatly enhance the visual interest and tactile feel of your project. Depending on the design you have in mind, you can create texture using tools such as texture sheets, stamps, or found objects like leaves or fabric. Begin by gently pressing the selected textured object onto the surface of your clay, ensuring even pressure for a uniform impression. Experiment with different tools, such as toothpicks, needles, or even your fingertips, to create unique patterns or effects.
When incorporating texture, be mindful of the overall design to maintain balance and cohesion throughout your piece. Adding texture allows you to mimic natural materials or add intricate detail, elevating your clay craft to a professional level.
Step 7: Bake Your Polymer Clay
Once you have completed shaping and adding texture to your clay, it’s time to bake it in the oven. Preheat your oven according to the manufacturer’s instructions on the packaging of your polymer clay. Generally, polymer clay should be baked at a low temperature between 265-275°F (130-135°C) for a specific amount of time-based on the thickness of your piece.
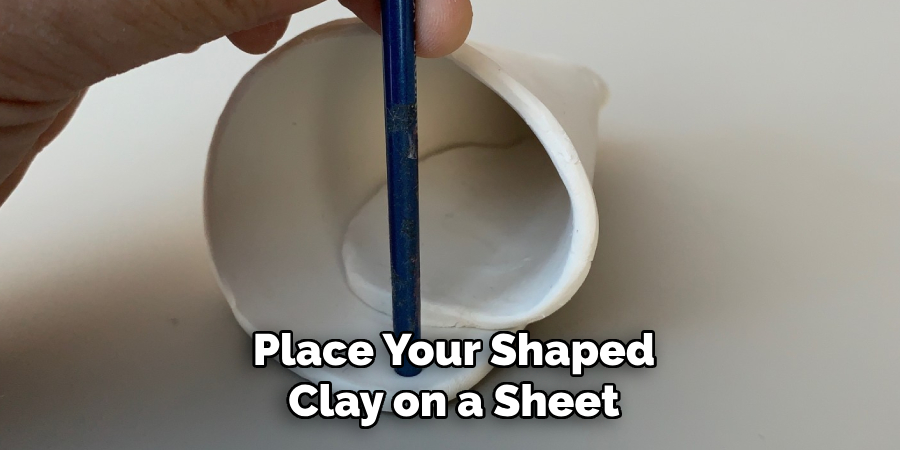
Place your shaped clay on a sheet of parchment paper or plastic sheet, then onto a baking tray and make sure it does not touch any surfaces or other pieces during baking. Baking times typically range from 15-30 minutes, but keep an eye on your piece throughout the process to avoid overbaking.

Step 8: Finishing Touches
After baking, allow your polymer clay piece to cool completely before handling it. Once cooled, you can add any final touches such as painting, glazing, or jewelry findings if desired.
Congratulations! You now have a beautifully crafted polymer clay creation ready to be displayed or used in various forms of art and crafting. With these simple steps on how to prepare polymer clay, you can create endless possibilities with polymer clay and continue exploring new techniques and designs for future projects. Keep experimenting and let your creativity flourish! Happy crafting!
Frequently Asked Questions
Q: What is the Best Way to Condition Polymer Clay?
A: The best way to condition polymer clay is by kneading and manipulating it with your hands until it has a smooth, even consistency. The clay can also be passed through a pasta machine on its thickest setting for quicker and more efficient conditioning.
Q: Can I Use the Same Tools for Other Types of Clay?
A: While some tools may work well with different types of clay, it is advisable to use specific tools made for working with polymer clay. This ensures the best results and prevents cross-contamination between different types of clays.
Q: How Long Should I Bake My Polymer Clay?
A: Baking times vary depending on the thickness of your piece and the brand of polymer clay being used. It is important to follow the manufacturer’s instructions on packaging or conduct a small test piece before baking larger projects. The general rule is to bake at a low temperature between 265-275°F (130-135°C) for a specific amount of time-based on the thickness of your piece. It is always better to slightly underbake your piece and add more time if needed, as overbaking can cause the clay to become brittle or change color.
Q: Can I Mix Different Colors of Polymer Clay Together?
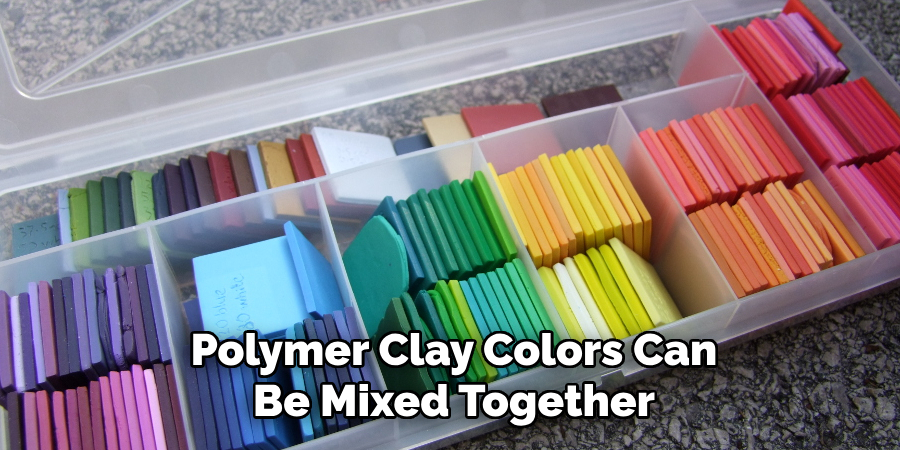
A: Yes, polymer clay colors can be mixed together to create custom shades and designs. Knead the colors together until they are evenly blended, and layers of different colored clays can also be stacked for a marbled effect. Experimenting with different color combinations adds depth and interest to your polymer clay projects.

Conclusion
Crafting with polymer clay is an engaging and highly rewarding hobby that allows for limitless creativity and expression. By carefully following each step on how to prepare polymer clay from conditioning to finishing touches, you ensure the creation of high-quality and durable pieces. The process offers a therapeutic outlet and the joy of seeing your imaginative designs come to life. Whether you are an experienced artisan or a beginner starting to explore your creativity, polymer clay provides an excellent medium for artistic exploration and personal satisfaction.
As you refine your skills and experiment with new techniques, remember that the possibilities are only limited by your imagination. Enjoy the journey and continue creating unique and personalized works of art that reflect your personal style and creativity.
Specialization:
- Master of wheel-throwing, hand-building, and advanced glazing techniques
- Focus on creating both functional pottery and decorative art pieces
Recognition:
- Celebrated by collectors and art enthusiasts for creating one-of-a-kind pieces that blend artistry with functionality
- Participates in local and national exhibitions, earning accolades for his innovative designs and craftsmanship
Passion:
- Deeply committed to exploring and pushing the boundaries of ceramic artistry
- Continuously experiments with new materials, firing techniques, and artistic concepts to evolve his craft
Personal Philosophy:
- Believes in the transformative power of art, aiming to evoke emotions and connections through his ceramic creations
- Advocates for sustainability in ceramics, using eco-friendly materials and practices whenever possible


