Outdoor ceramic items such as pots, tiles, and decorations add beauty and personality to gardens, patios, and balconies. However, exposure to the elements—rain, sunlight, snow, and temperature fluctuations—can cause wear and damage over time. Common issues with outdoor ceramics include cracking, fading, and weathering, all of which can affect the longevity of these beautiful pieces.
Protecting ceramics from harsh weather conditions is key to preserving their appearance and structural integrity. This article on how to protect outdoor ceramics will provide practical strategies to safeguard them from weather damage, ensuring they remain beautiful and durable year-round. By implementing these techniques, you can enjoy the aesthetic appeal and functional benefits of your outdoor ceramics without worrying about deterioration due to environmental factors.

Materials You Will Need
To effectively protect your outdoor ceramics from the elements, you’ll need to gather the right materials.
Protective Materials:
- Waterproofing Sealant: Essential for sealing ceramic surfaces to prevent moisture infiltration.
- Clear Outdoor Polyurethane Varnish: Provides an extra layer of protection against UV rays and weathering.
- Felt or Foam Pads: Place these underneath pots to minimize the risk of chipping or cracking on hard surfaces.
- Weather-Resistant Covers: Use these to shield your ceramics from rain, snow, and extreme temperatures.
- Soft Cloths and Brushes: Helpful for applying sealants and varnish without scratching surfaces.
Cleaning Supplies:
- Mild Soap or Ceramic-Safe Cleaning Solution: Keeps the surface clean without causing damage.
- Water and Sponge: For gentle cleaning of ceramic surfaces.
- Soft-Bristle Brush: Useful for reaching intricate ceramic designs.
- Towel for Drying: Essential for removing excess water after cleaning.
Seasonal Care Supplies:
- Tarps or Heavy-Duty Plastic Covers for Winter: Protect ceramics from harsh winter conditions.
- Shelving or Indoor Storage for Fragile Pieces: Prevents damage during extreme weather.
- Sand or Gravel for Added Drainage in Pots: Helps prevent water buildup that can freeze and crack pots.
Cleaning and Preparing Outdoor Ceramics
Step 1: Clean the Surface
Clean the ceramic surface with a soft cloth or sponge and a mild soap solution. This will remove any dirt, grime, or residue that may have built up over time. Cleaning also ensures that any protective coatings applied will bond properly with the ceramic.
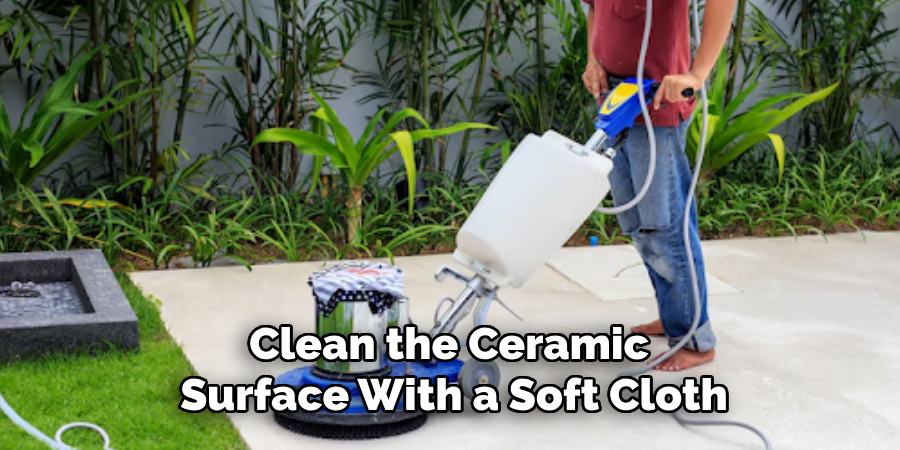
Tip: Avoid abrasive cleaners or brushes, as they can scratch or damage the ceramic surface.
Step 2: Rinse and Dry Thoroughly
Rinse the ceramic item thoroughly with clean water to remove any soap residue, and allow it to air dry completely before applying any sealant or protective coating. Moisture trapped under a coating can lead to cracking or mold growth.
Tip: Leave them to dry in direct sunlight for larger ceramic pots or sculptures for faster drying.
Step 3: Check for Existing Damage
Inspect the ceramic item for cracks, chips, or weak spots. Address any damage with ceramic repair products before proceeding with weatherproofing.
Tip: Minor cracks can be filled with ceramic glue or epoxy, while larger cracks may require professional repair.
How to Protect Outdoor Ceramics: Applying a Waterproof Sealant
Why Seal Your Ceramics?
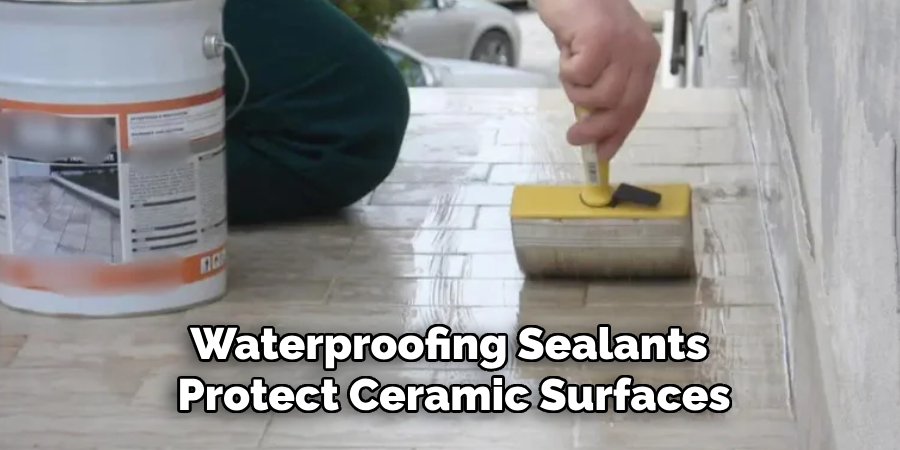
Waterproofing sealants protect ceramic surfaces from moisture intrusion, which can lead to cracking, mold, or water damage in porous ceramic materials. By creating a protective barrier, the sealant ensures that rain and snow do not penetrate the ceramic, thereby extending its lifespan and preserving its aesthetics.
Step 1: Choose the Right Sealant
To begin with, select a sealant designed specifically for outdoor ceramics or masonry. Various options are available, such as silicon-based or acrylic sealants, but it’s essential to choose a product labeled as waterproof and weather-resistant.
Tip: Clear, matte-finish sealants are often preferred for decorative ceramics as they protect without altering the natural appearance with unwanted shine.
Step 2: Apply the Sealant
Once you have chosen the right sealant, apply a thin, even coat using a soft brush or spray, following the instructions on the product label. Ensure thorough coverage by applying the sealant to the entire ceramic surface, including the bottom and any intricate areas or crevices where water collects.
Tip: Avoid applying the sealant during humid or rainy conditions, as this could interfere with the proper drying process.
Step 3: Allow to Dry and Cure
After application, allow the sealant to dry according to the manufacturer’s guidance, which might take several hours to a full day. To enhance protection, consider applying a second coat once the initial layer has fully dried.
Step 4: Reapply as Needed
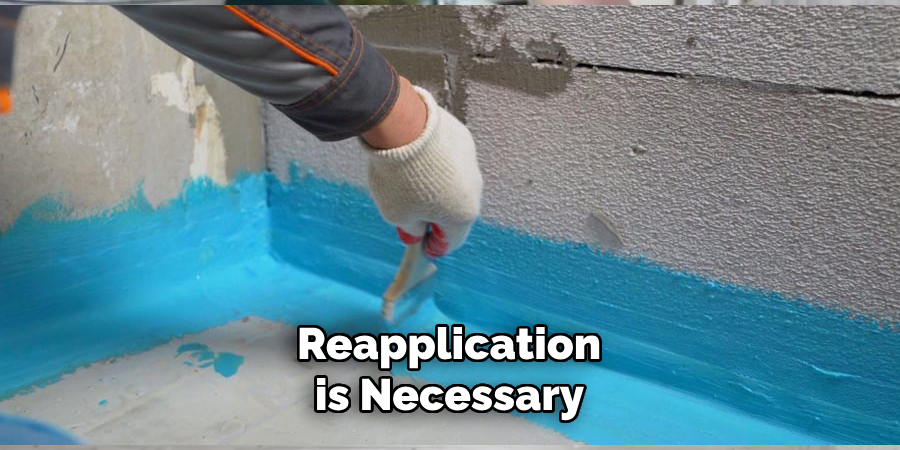
Reapplication is necessary because the waterproof sealant will degrade with ongoing exposure to weather conditions. Plan to refresh the sealant every 1–2 years to maintain optimal protection for your ceramics.
Tip: Regularly inspect your ceramic pieces for signs of wear, and perform touch-ups on areas where the sealant shows signs of thinning or damage. This proactive maintenance will help ensure the longevity and resilience of your outdoor ceramics against the elements.
How to Protect Outdoor Ceramics: Adding a Varnish Topcoat for UV Protection
Why Add a Varnish Coat?
Ultraviolet (UV) rays from the sun can cause fading and discoloration of ceramic surfaces over time. A clear outdoor varnish with UV protection helps prevent this type of damage and can extend the life of your outdoor ceramics by preserving their vibrant colors and original appearance. This additional layer not only protects from UV damage but also enhances the overall durability of the ceramics, ensuring that they withstand varying weather conditions throughout the year.
Step 1: Choose a UV-resistant Varnish
Opt for a clear outdoor polyurethane varnish that specifically mentions UV protection. These varnishes are designed to shield surfaces from sun exposure without altering the appearance of your ceramics. Their clear formulation ensures that your ceramics’ natural beauty and texture remain unchanged while benefiting from enhanced protection.
Tip: If your ceramics are glazed, a varnish can add an additional layer of protection without interfering with the glaze, ensuring a seamless finish.
Step 2: Apply the Varnish
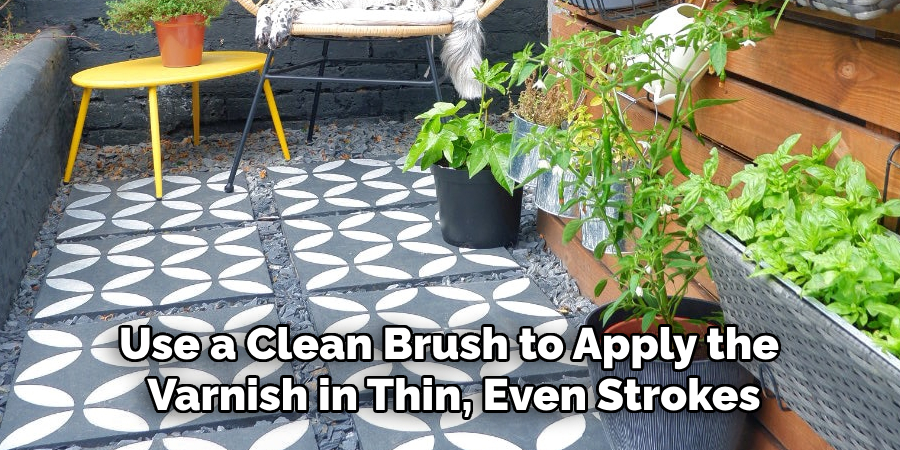
Use a clean brush to apply the varnish in thin, even strokes over the ceramic surface. This approach ensures a smooth, uniform finish and minimizes the risk of streaks or uneven drying. Ensure complete coverage, especially in areas that will be exposed to direct sunlight.
Tip: If your ceramic piece has intricate details or textures, use a smaller brush to reach crevices and prevent pooling. This attention to detail helps maintain the protective barrier without compromising the piece’s design.
Step 3: Allow to Dry
Let the varnish dry for the recommended time before exposing the ceramic item to outdoor conditions. The drying process is crucial to ensure proper adhesion and effectiveness. Depending on the product, you may need to apply multiple coats for maximum protection.
Tip: Varnishes can take longer to cure than sealants, so ensure the item is kept in a dry, shaded area while drying. This prevents any dust or debris from settling on the wet varnish surface, which could compromise the finish.
Step 4: Regular Maintenance
Over time, UV varnishes may need reapplication, especially in climates with intense sun exposure. Routine inspection will help identify fading or dullness, which are indicators for reapplication. To maintain the protection, inspect for any signs of wear and reapply the varnish as needed, typically every 2–3 years. Continuous maintenance ensures that your outdoor ceramics remain as vibrant and resilient as the day they were first treated.
Protecting Ceramics from Winter Damage
Why Winter is Hard on Ceramics
Cold weather presents a significant challenge for ceramics, particularly due to freezing and thawing cycles. When water seeps into tiny cracks or crevices in ceramic pieces and then freezes, it expands, which can cause the ceramic to crack or break, even if they are seemingly robust. This makes winter protection essential, especially in harsh, freezing conditions. Ensuring that your ceramics are adequately safeguarded during winter will help maintain their integrity and prolong their lifespan.
Step 1: Move Fragile Items Indoors
Whenever feasible, relocate smaller or more fragile ceramic items indoors during the winter. Keeping these pieces on shelves in a garage, shed, or basement can protect them from the damaging effects of freezing temperatures.

Tip: Cover large items that cannot be easily moved with weather-resistant tarps or plastic sheeting to shield them from moisture and frost.
Step 2: Elevate Ceramic Pots
Outdoor planters are particularly vulnerable, as water can pool beneath them and freeze. Elevate ceramic pots using pot feet, stones, or raised stands to ensure better drainage, thus reducing the likelihood of cracks forming due to ice expansion.
Tip: Adding a layer of sand or gravel at the bottom of planters can further improve drainage.
Step 3: Use Felt Pads or Foam
Place felt pads or foam underneath for smaller decorative items like tiles or statues to prevent direct contact with frozen surfaces. This simple measure can help buffer your ceramics from ground frost damage.
Step 4: Empty and Clean Planters
Before winter arrives, thoroughly empty ceramic planters of soil and plants because wet soil within can freeze and expand, potentially cracking the pot. Clean these planters and store them upside-down in a protected area or securely cover them with a tarp to avoid exposure to elements.
Tip: Opt for plastic or frost-resistant pots during winter for any plants that need to remain outdoors.
Step 5: Apply Extra Sealant
Apply an additional coat of waterproof sealant for ceramics that must remain outside before winter sets in. This added layer of protection can effectively block moisture from penetrating any existing cracks or pores, which helps minimize damage due to freezing conditions.
By taking these precautionary steps, you can significantly reduce the risk of winter damage to your ceramic pieces, ensuring they emerge unscathed and ready to beautify your outdoor space in the coming seasons.
Additional Tips for Long-Term Ceramic Care
Regular Cleaning
Keep your outdoor ceramics clean by regularly wiping away dirt, bird droppings, or debris that may accumulate. Regular cleaning helps to maintain the protective coatings and prevents deterioration.
Rotate or Reposition Ceramics
Occasionally, moving ceramics to different spots can reduce prolonged exposure to certain elements (like direct sunlight or rain) and extend their lifespan.
Inspect for Damage
Make it a habit to inspect your outdoor ceramics for any signs of damage, such as cracks, chips, or worn coatings. Addressing small issues early prevents them from becoming larger problems.
Use Weather-Resistant Ceramic Products
Some ceramics are specifically designed for outdoor use and are more resistant to the elements. Opt for frost-resistant or weatherproof ceramics to reduce the needed upkeep when purchasing new pieces.
By following these additional tips, you can enhance the longevity and beauty of your outdoor ceramics, keeping them in excellent condition throughout the year.
Conclusion
Protecting your outdoor ceramic items from the elements requires proper cleaning, waterproofing, UV protection, and winter care. By following a comprehensive approach on how to protect outdoor ceramics, from moving fragile items indoors during the winter to applying additional sealant, you can ensure their durability. Regular maintenance, such as cleaning and inspection, will help identify early signs of damage, allowing you to take swift action to prevent further deterioration.
Investing in these protective measures ensures that your ceramics, functional planters, decorative tiles, and artistic sculptures remain in excellent condition. These precautions will significantly extend the lifespan of your pieces, maintaining their beauty and functionality.
By keeping your ceramics in pristine condition, you can fully enjoy a vibrant and elegant outdoor living area year after year.
Specialization:
- Master of wheel-throwing, hand-building, and advanced glazing techniques
- Focus on creating both functional pottery and decorative art pieces
Recognition:
- Celebrated by collectors and art enthusiasts for creating one-of-a-kind pieces that blend artistry with functionality
- Participates in local and national exhibitions, earning accolades for his innovative designs and craftsmanship
Passion:
- Deeply committed to exploring and pushing the boundaries of ceramic artistry
- Continuously experiments with new materials, firing techniques, and artistic concepts to evolve his craft
Personal Philosophy:
- Believes in the transformative power of art, aiming to evoke emotions and connections through his ceramic creations
- Advocates for sustainability in ceramics, using eco-friendly materials and practices whenever possible


