Cooking with a clay pot offers a unique culinary experience, preserving the rich flavors and nutrition of the ingredients. However, one common challenge is dealing with burnt stains that can accumulate over time from high-heat cooking or accidental overheating. Removing these burnt stains is crucial not only for maintaining the aesthetic appearance of the clay pot but also for ensuring that flavors from previous meals do not mix into future dishes.
This guide on how to remove burnt stain from claypot will walk you through effective methods for cleaning and maintaining your claypot, helping you keep it in optimal condition and extend its lifespan.
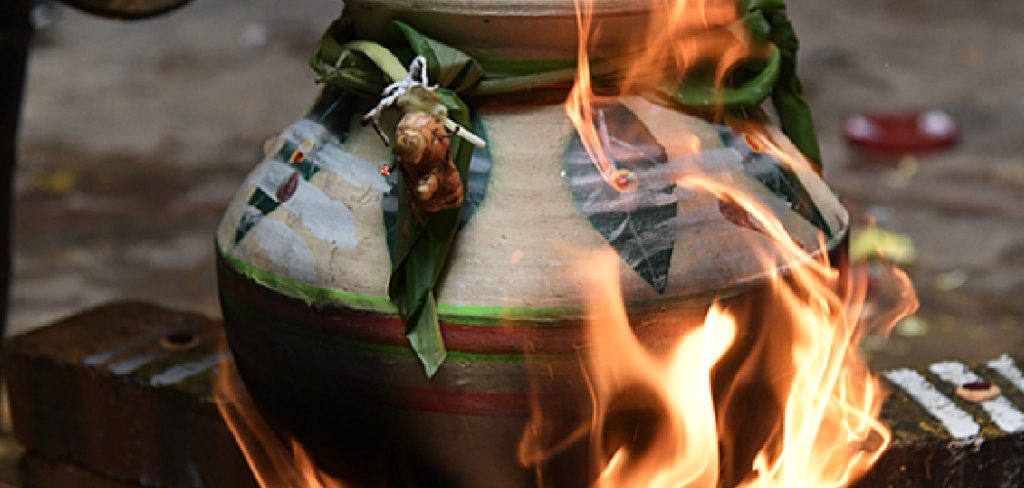
Materials Needed:
Warm Water:
Use warm water to loosen the burnt stain and make it easier to remove.
Baking Soda:
Baking soda is a natural abrasive that can help lift stubborn burnt stains from clay pots without damaging the surface.
White Vinegar:
White vinegar has acidic properties that can help dissolve tough stains and residue.
Pot Scrubber or Sponge:
A pot scrubber or sponge with a rough side is necessary for scrubbing off the burnt stain without scratching the surface of the claypot.
8 Simple Step-by-step Guidelines on How to Remove Burnt Stain From Claypot
Step 1: Soak the Claypot in Warm Water
Begin the cleaning process by filling your sink or a large basin with warm water. Submerge the clay pot entirely, ensuring that the burnt stain is adequately covered. Allow it to soak for at least 30 minutes or longer if the stain is particularly stubborn.
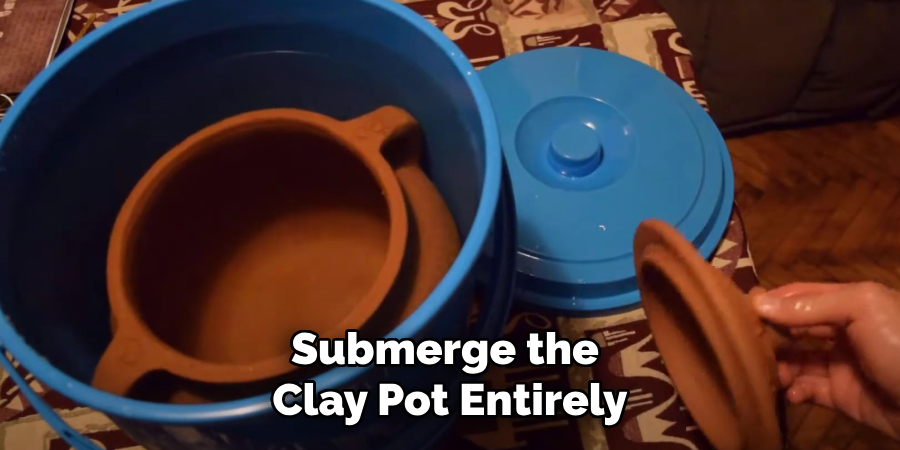
The warm water will help to loosen any burnt-on residue, making it easier to remove in subsequent steps without damaging the clay pot’s surface.
Step 2: Scrub the Claypot With Baking Soda
After soaking, drain the warm water from the claypot and sprinkle a generous amount of baking soda onto the stained areas. Using a pot scrubber or a sponge with a rough side, gently scrub the surface in circular motions. The abrasive nature of the baking soda will help lift the burnt residue without scratching or damaging the claypot.
Continue scrubbing until you see visible improvement, and ensure that you cover all affected areas thoroughly. If necessary, sprinkle more baking soda to tackle tougher spots. Once satisfied, rinse the clay pot with clean water to remove any baking soda residue before proceeding to the next step.
Step 3: Create a Baking Soda and Water Paste
In some cases, the burnt stain may be more persistent and require additional treatment. To tackle this, create a paste by mixing equal parts of baking soda and water in a small bowl until you achieve a thick, spreadable consistency. Apply this paste directly onto the remaining stained areas of the clay pot, ensuring even coverage over the tough spots. Allow the paste to sit on the stains for about 15-20 minutes.
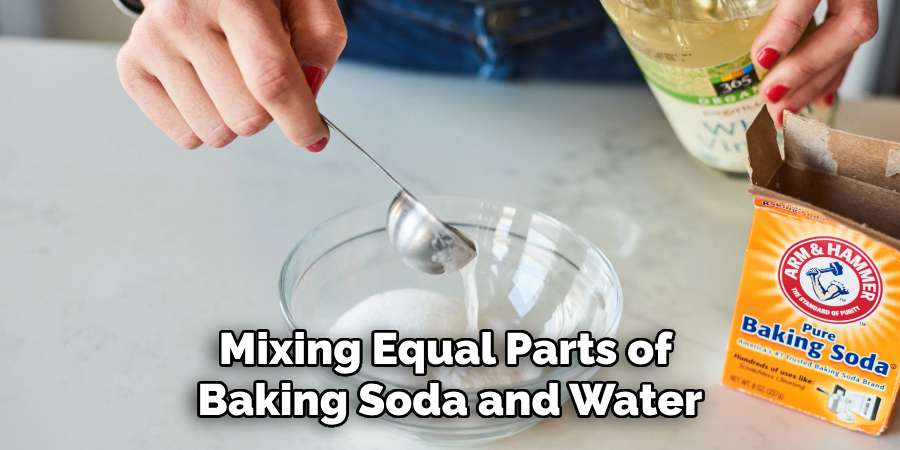
This soaking time will allow the baking soda to penetrate deeper, loosening any entrenched residue without harming the integrity of the clay pot. Once the time has elapsed, proceed to gently scrub the paste away, using either a pot scrubber or a sponge. Rinse thoroughly with warm water to remove any remnants of the baking soda paste.
Step 4: Use White Vinegar to Tackle Stubborn Stains
If the burnt stain is still visible after following the previous steps, you may need to use a more potent solution. In this case, white vinegar can come in handy, thanks to its acidic properties that can dissolve tough stains and residue effectively. Sprinkle some baking soda onto the stained areas of the claypot before pouring a small amount of white vinegar on top. The reaction between the two ingredients will cause some foaming and bubbling action, which helps to loosen the stubborn stains further.
Allow this mixture to sit for about 10 minutes before scrubbing it off gently with a pot scrubber or sponge. Rinse the claypot thoroughly with warm water to remove any remaining residue.
Step 5: Rinse and Dry the Claypot
Once you have successfully lifted the stains using the white vinegar and baking soda mixture, it is crucial to rinse the claypot thoroughly. Use warm water to rinse every part of the claypot, ensuring that you remove any lingering residue of baking soda, vinegar, or loosened debris. This will help preserve the taste and quality of future dishes cooked in the claypot.
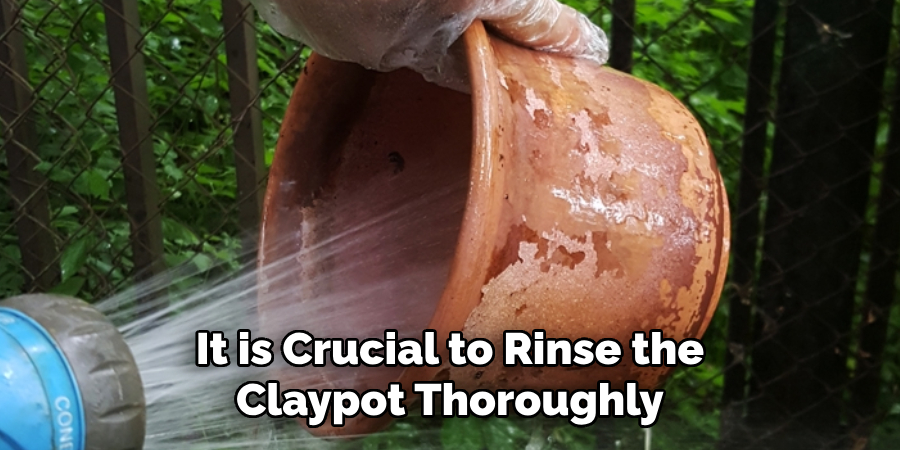
After rinsing, gently pat the claypot dry with a clean towel. Make sure the claypot is completely dry before storing it to prevent any moisture-related issues like mold or odors. Proper drying is essential to maintain the condition of the claypot and prolong its lifespan.
Step 6: Repeat as Needed
If any burnt stains persist after the initial cleaning attempt, don’t hesitate to repeat the process. Depending on the severity of the stain, multiple rounds of soaking, scrubbing, and applying baking soda paste or vinegar may be necessary to fully restore your clay pot. Be patient and gentle with each repetition to avoid damaging the pot’s surface.
Over time, such thorough cleaning will not only enhance the pot’s appearance but also ensure it continues delivering delicious, untainted flavors in your culinary creations. Regular maintenance can prevent stubborn stains from forming in the future, making future cleanings more manageable.
Step 7: Avoid Harsh Cleaners and Tools
To preserve the integrity of your clay pot, it’s crucial to avoid using harsh chemical cleaners or abrasive tools. Claypots are made from natural materials that can be vulnerable to damage if treated roughly. Abrasive scrubbers, steel wool, or strong chemical detergents can scratch or erode the surface, compromising its structure and potentially affecting the flavor of your dishes.
Instead, stick to the gentler cleaning methods outlined in this guide, ensuring that your clay pot remains in excellent condition for many years of culinary enjoyment. Emphasizing gentle cleaning techniques will maintain the pot’s longevity and allow it to continue enhancing the taste and aroma of your meals.
Step 8: Store the Claypot Properly
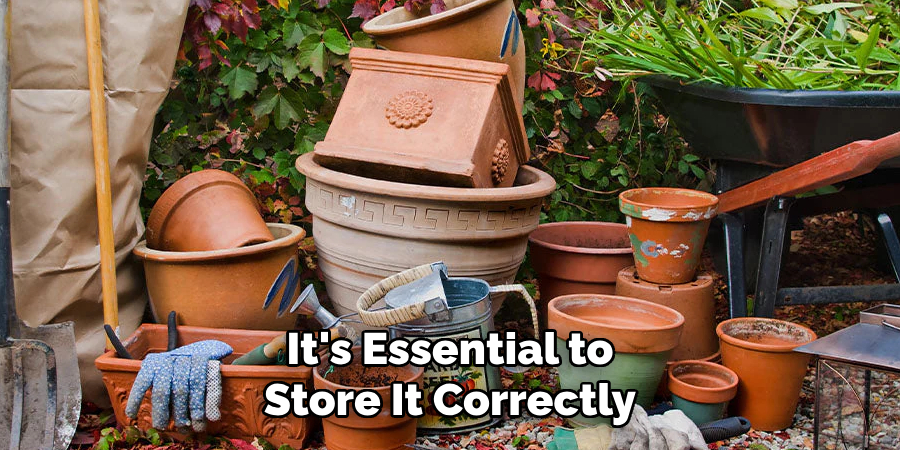
After cleaning, drying, and ensuring that your claypot is free of any stains, it’s essential to store it correctly. To avoid scratching or damaging the pot’s surface, avoid stacking other pots or pans on top of it. If you are short on storage space, place a soft cloth between the claypot and any other kitchenware to provide a barrier against potential scratches. Storing the pot in a cool, dry place will also help prevent mold growth.
Following these simple guidelines on how to remove burnt stain from claypot will ensure that your claypot remains in pristine condition for years to come while continuing to deliver amazing flavors in your cooking. Remember to clean and dry your clay pot thoroughly after each use and address any burnt stains promptly to prevent them from becoming tougher to remove in the future. Enjoy the unique benefits and flavors that cooking with a clay pot can bring, and maintain its quality through proper care. Happy cooking!
Additional Tips for Cleaning and Maintaining Your Claypot
- If you accidentally leave food burning in the clay pot, it’s best not to attempt to scrape it off while it’s still hot. Instead, fill the pot with water and let it soak for a few hours to help loosen the burnt food before cleaning.
- Avoid sudden temperature changes, such as placing a hot claypot in cold water or vice versa, as this can cause cracking or warping of the pot.
- When storing your claypot, make sure it is completely dry to prevent any moisture-related issues. You can also leave the lid slightly ajar to allow air circulation and prevent mold growth.
- If your claypot develops hairline cracks over time, don’t worry. These are natural and won’t affect its performance. However, if you notice larger cracks or breakage, it’s best to replace the pot for safety reasons.
- Some people prefer to season their claypots before use by soaking it overnight in water, then coating the inside with vegetable oil and baking it in the oven for an hour. This can help improve the pot’s non-stick properties and prevent food from sticking to it.
- For tough, stubborn stains on the exterior of your claypot, you can try using a mixture of white vinegar and water or lemon juice and salt to scrub them off gently. Rinse thoroughly afterward.
- If your claypot has a glazed surface, avoid using any acidic ingredients like lemon or tomato-based sauces as they may react with the glaze and affect its appearance.
- Regularly inspect your claypot for any signs of wear and tear, such as cracks or chips. If you notice any damage, it’s best to replace the pot rather than risk using a potentially unsafe cooking vessel.
- Always refer to the manufacturer’s instructions for specific care guidelines for your particular type of clay pot. Different materials and designs may require slightly different cleaning and maintenance methods.
- Lastly, have fun experimenting with different recipes and flavors in you claypot. Its unique properties and ability to enhance the taste of dishes make it a valuable addition to any kitchen. With proper care, your claypot can become a cherished cooking tool for many years to come. So, take good care of it and enjoy delicious meals! Stay safe and happy cooking!
Frequently Asked Questions
Q1: Can I Use Dish Soap to Clean My Claypot?
A: It is not recommended to use dish soap on a claypot as it can leave behind residue and potentially affect the flavor of future dishes. Stick to natural cleaning methods like baking soda and white vinegar.
Q2: Is it Necessary to Season My Claypot after Cleaning?
A: Yes, it is recommended to season your claypot after cleaning to enhance its non-stick properties and prevent sticking during cooking. Simply rub a small amount of oil on the inside surface of the pot before each use.
Q3: Can I Use My Claypot on an Induction Stove?
A: Some claypots are not suitable for use on induction stoves due to their material composition. Check with the manufacturer or do a compatibility test before using your claypot on an induction stove.
Q4: How Often Should I Clean My Claypot?
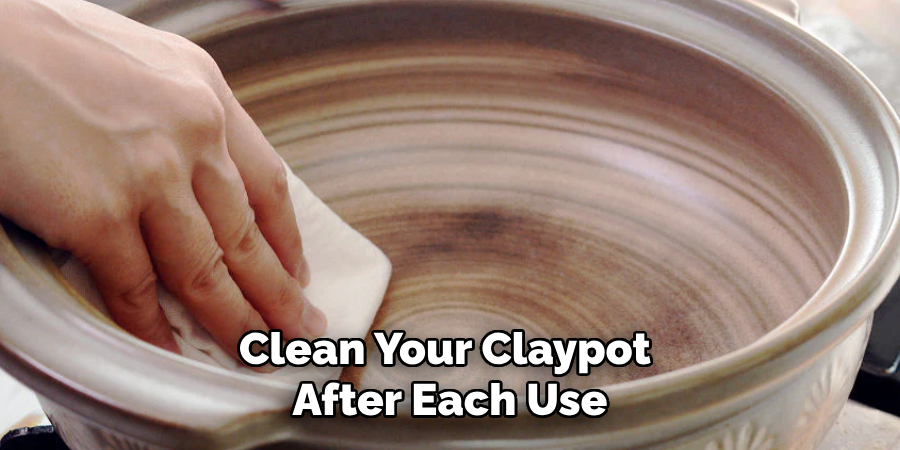
A: It is best to clean your claypot after each use to maintain its condition and prevent stubborn stains from forming. Regular maintenance will also ensure that your claypot continues to deliver delicious flavors in your cooking.
Conclusion
Caring for your clay pot is essential to preserve its unique qualities and enhance your culinary experiences. By following the guidelines on how to remove burnt stain from claypot outlined in this document, you can effectively clean and maintain your claypot, ensuring it remains a valuable tool in your kitchen for many years. Gentle cleaning methods, proper storage, and regular inspection for damage are key practices to maintain the clay pot’s functionality and safety.
Also, experimenting with seasonings and recipes in a well-maintained claypot can open up a world of flavors and textures. Embrace the versatility and traditional charm of cooking with clay while taking the necessary steps to keep your claypot in top condition. With these practices, you’ll create delightful dishes that consistently impress, adding cherished memories to your culinary journey. Happy cooking!
Specialization:
- Master of wheel-throwing, hand-building, and advanced glazing techniques
- Focus on creating both functional pottery and decorative art pieces
Recognition:
- Celebrated by collectors and art enthusiasts for creating one-of-a-kind pieces that blend artistry with functionality
- Participates in local and national exhibitions, earning accolades for his innovative designs and craftsmanship
Passion:
- Deeply committed to exploring and pushing the boundaries of ceramic artistry
- Continuously experiments with new materials, firing techniques, and artistic concepts to evolve his craft
Personal Philosophy:
- Believes in the transformative power of art, aiming to evoke emotions and connections through his ceramic creations
- Advocates for sustainability in ceramics, using eco-friendly materials and practices whenever possible


