Removing ceramic tile from a concrete surface can be a challenging but rewarding project, whether you’re updating an outdated floor or fixing damaged areas. This process involves several steps to ensure the tiles are removed efficiently without damaging the subfloor underneath. With the right tools and preparation, you can successfully tackle this task and create a fresh canvas for your next flooring project. In this guide, we’ll walk you through how to remove ceramic tile from concrete, providing helpful tips and safety precautions along the way.
Common Reasons for Removing Ceramic Tiles
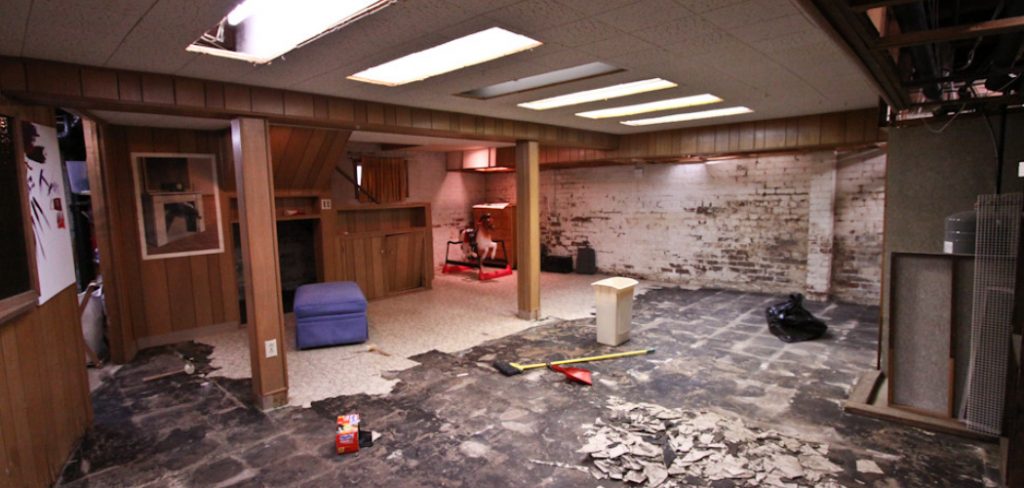
There are several reasons why you might choose to remove ceramic tiles from a concrete floor. One of the most common motivations is the desire to update the look and style of a space. Over time, tile patterns and colors can become outdated or may not suit the homeowner’s current aesthetic preferences. Additionally, damaged tiles due to wear, cracking, or chipping can necessitate their removal to ensure the integrity and safety of the floor. In some cases, water damage or mold growth may be the culprit, which requires immediate attention to prevent further issues.
Tools and Supplies Needed
To successfully remove ceramic tile from concrete, it’s essential to have the appropriate tools and supplies on hand. Here is a list of what you’ll need:
- Safety Gear:
- Safety goggles
- Dust mask or respirator
- Work gloves
- Knee pads
- Tile Removal Tools:
- Chisel or putty knife
- Hammer or mallet
- Pry bar
- Power Tools (Optional):
- Rotary hammer or hammer drill with a chisel bit
- Angle grinder with a diamond blade (for cutting tile)
- Clean-up Supplies:
- Shop vacuum or broom
- Heavy-duty trash bags
- Dustpan
- Additional Supplies:
- Plastic sheeting or drop cloths to protect surrounding areas
- Painters tape to secure plastic sheeting
10 Methods How to Remove Ceramic Tile from Concrete
1. Prepare the Work Area

Before starting, prepare your work area to make the process safer and more efficient. Wear protective gear, including gloves, eye protection, and a dust mask, as tile removal creates dust and sharp debris. Clear the area of any loose items and cover nearby surfaces with drop cloths or plastic sheeting to minimize cleanup later. Mark any areas where tile doesn’t need to be removed to prevent accidental damage. Prepping the area thoroughly not only protects you but also ensures a smooth and safe removal process.
2. Loosen Tiles with Heat
Using heat is an effective way to soften the adhesive, making tile removal easier. A heat gun or hairdryer on high heat can be directed at each tile for 1-2 minutes, which helps break down the adhesive bond between the tile and concrete. Be sure to avoid overheating to prevent cracking tiles unexpectedly. Once heated, start prying at the edges with a chisel or putty knife. This method is particularly useful for tiles that are difficult to lift with just prying alone.
3. Use a Chisel and Hammer for Manual Removal
For a more traditional approach, use a chisel and hammer to break the bond between the tile and concrete. Position the chisel at a low angle at the edge of a tile and tap gently with the hammer to lift it from the adhesive. This process is time-consuming but highly effective for smaller areas or particularly stubborn tiles. Always work carefully to avoid damaging the concrete beneath, especially if it’s in good condition.
4. Employ an Electric Chisel or Rotary Hammer
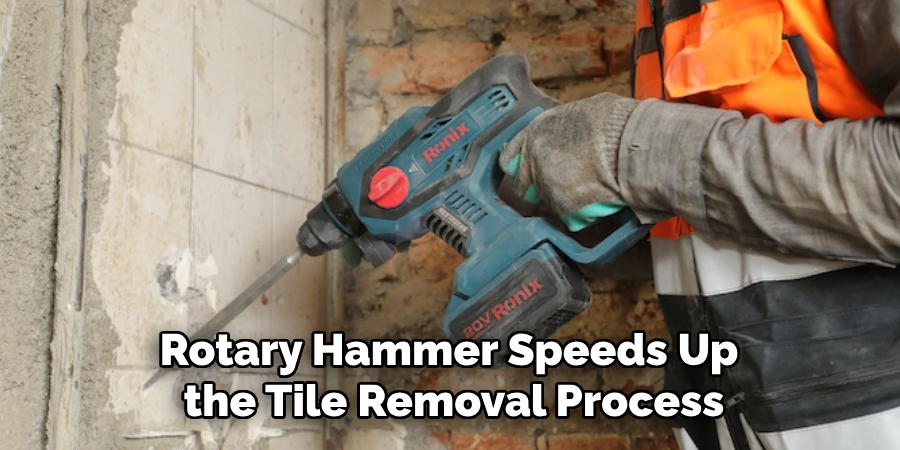
For larger jobs, an electric chisel or rotary hammer speeds up the tile removal process significantly. Use a flat chisel attachment and work at a shallow angle to chip away tiles without gouging the concrete. This tool can handle thick tiles and stubborn adhesive without much physical strain. Electric chisels are ideal for large areas as they offer the power to remove tiles quickly, but always ensure you have adequate control to avoid damaging the concrete surface.
5. Score the Grout Lines with a Utility Knife
Scoring grout lines with a utility knife or grout saw can make it easier to lift tiles. Run the blade along each grout line surrounding a tile to break up the grout, which helps reduce resistance when prying up tiles. This method is especially helpful if the grout is still strong and intact, as it allows you to lift tiles without pulling up the concrete underneath. Use caution when scoring to avoid cutting too deeply into the concrete.
6. Try a Floor Scraper Tool for Adhesive Removal
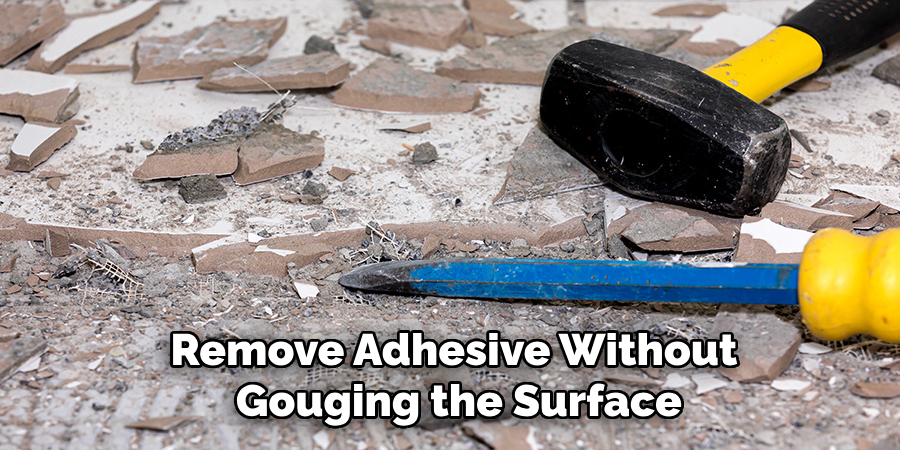
Once tiles are removed, you’ll likely find adhesive residue on the concrete. A floor scraper tool, either manual or powered, helps remove adhesive without gouging the surface. Start by angling the scraper at 45 degrees and pushing it under the adhesive layer, gradually lifting it off. This step is crucial for preparing the concrete for new tile or another type of flooring, as leftover adhesive can interfere with proper bonding.
7. Soften Adhesive with Hot Water
Hot water is a great, low-cost method for loosening adhesive without damaging concrete. Pour hot (but not boiling) water over the adhesive and let it sit for 10-15 minutes. The water softens the adhesive, making it easier to scrape off with a putty knife or floor scraper. This approach is especially useful for adhesive that is too stubborn to remove by scraping alone and helps avoid using harsh chemicals on the concrete.
8. Use Chemical Adhesive Removers
For strong adhesives that can’t be loosened by heat or water, consider using a chemical adhesive remover. Apply the product following the manufacturer’s instructions, typically by spreading it over the adhesive and letting it sit to dissolve the bond. Scrape off the softened adhesive afterward. Be sure to use these chemicals in a well-ventilated area, wear gloves, and follow safety guidelines, as they can be harsh. Chemical removers are highly effective but should be used carefully to avoid affecting the integrity of the concrete.
9. Score and Break Tiles for Easier Removal
Breaking tiles into smaller sections makes it easier to pry them off. Use a hammer or sledgehammer to break each tile, taking care not to damage the concrete underneath. This technique is especially helpful when dealing with large, heavy tiles that are challenging to lift intact. Once broken into pieces, use a chisel to lift the fragments. Be cautious when hammering to control the force applied and prevent cracks in the concrete base.
10. Clean and Smooth the Concrete Surface
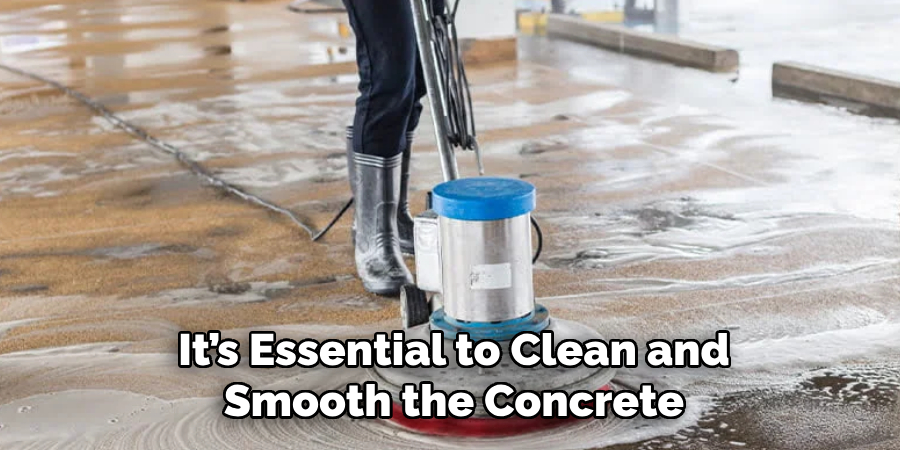
After all tiles and adhesive have been removed, it’s essential to clean and smooth the concrete surface to prepare it for new flooring. Use a damp mop to remove dust and debris, followed by a final pass with a vacuum to ensure thorough cleanliness. For any remaining rough patches, sand them down with a handheld sander or a grinder. This last step provides a smooth, even surface, perfect for installing new tile or other flooring types. Clean, smooth concrete ensures proper adhesion for new materials, making this an important finishing touch.
Things to Consider When Removing Tiles
- Safety Equipment: Always wear appropriate safety gear, including gloves, protective eyewear, and a dust mask, to protect yourself from sharp tile fragments and dust.
- Surface Condition: Assess the condition of the concrete surface before starting. If the concrete is cracked or damaged, be careful with aggressive approaches to avoid causing more harm.
- Tool Selection: Choose your tools based on the area size and the type of tiles and adhesive. Smaller tools like a chisel may be effective for minor areas, while electrical tools work better for larger sites.
- Disposal: Plan how to dispose of tile debris and adhesive, as these can create a significant amount of waste that needs proper disposal.
- Ventilation: Ensure good ventilation when using chemical adhesive removers to prevent the buildup of fumes for your safety.
- Surface Repair: After removal, inspect the concrete for any necessary repairs to ensure a smooth and safe base for new flooring.
Common Mistakes to Avoid
When removing tiles from concrete, it’s important to be aware of common pitfalls that can lead to complications or damage. One frequent mistake is not wearing adequate protective gear, which can result in injuries from dust and sharp tile pieces. Additionally, ignoring the importance of properly scoring grout lines before prying up tiles often makes the process harder and can damage the concrete. Underestimating the value of taking time to heat or soften adhesive prior to removal can lead to cracked tiles or extreme difficulty in removal. It’s also crucial not to skip the step of thoroughly cleaning the concrete surface before installation of new flooring, as remnants of adhesive can prevent proper bonding.
Conclusion
Removing tiles from concrete can be a challenging task, but with the right tools and techniques, it can be accomplished effectively and safely. By thoroughly preparing the area, utilizing heat, manual, and electric tools, and taking care with adhesive residues, you ensure that the concrete remains in good condition, ready for any new flooring installation. Follow these simple instructions outlined in this blog post about how to remove ceramic tile from concrete, and you’ll be able to get the job done with ease.
Specialization:
- Master of wheel-throwing, hand-building, and advanced glazing techniques
- Focus on creating both functional pottery and decorative art pieces
Recognition:
- Celebrated by collectors and art enthusiasts for creating one-of-a-kind pieces that blend artistry with functionality
- Participates in local and national exhibitions, earning accolades for his innovative designs and craftsmanship
Passion:
- Deeply committed to exploring and pushing the boundaries of ceramic artistry
- Continuously experiments with new materials, firing techniques, and artistic concepts to evolve his craft
Personal Philosophy:
- Believes in the transformative power of art, aiming to evoke emotions and connections through his ceramic creations
- Advocates for sustainability in ceramics, using eco-friendly materials and practices whenever possible


