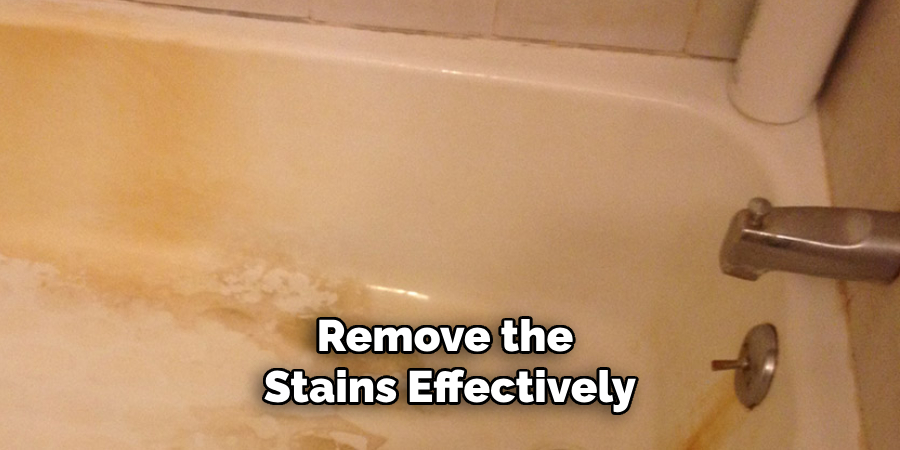
Are you tired of seeing stubborn stains on your reglazed tub? Don’t worry, you’re not alone.
How to remove stains from reglazed tub can breathe new life into your bathroom, giving it a sleek, refreshed appearance without the cost of a complete replacement. However, over time, stains can develop on a reglazed surface due to soap scum, hard water, and everyday use. It’s essential to address these stains promptly to maintain your tub’s pristine finish and prevent damage to the reglazed surface.
This guide will explore practical and safe methods for removing these stains, ensuring your tub remains a standout feature of your bathroom for years to come. Whether dealing with minor discoloration or more stubborn marks, our tips will aid in preserving the tub’s glossy new look.
What Will You Need?
Before you begin, gather the necessary supplies. You will need:
- Gentle cleaning products such as dish soap or baking soda
- White vinegar
- A soft scrub brush or non-abrasive sponge
- Microfiber cloths
- A plastic scraper (for tougher stains)
Once you have these items, you’re ready to tackle those stubborn stains.
10 Easy Steps on How to Remove Stains From Reglazed Tub
Step 1: Prep Your Tub
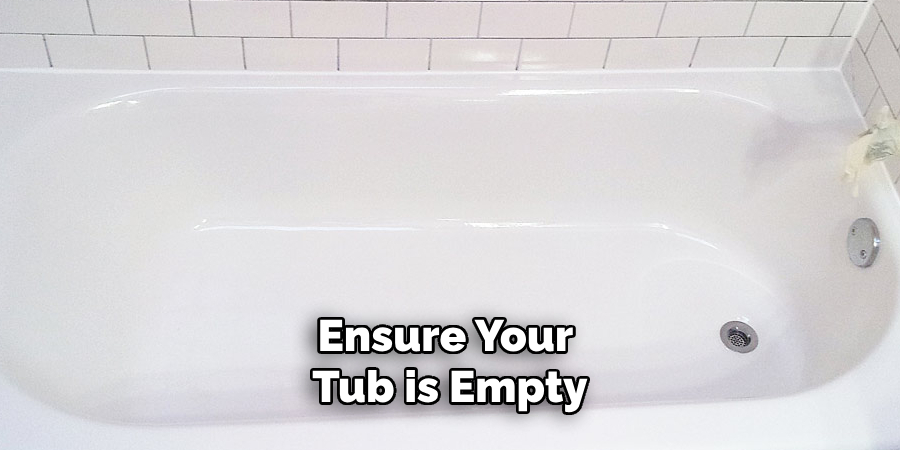
Ensure your tub is empty and free from personal items or bath accessories that could obstruct your cleaning process. It’s also a good idea to open a window or turn on an exhaust fan to provide adequate ventilation during cleaning. Begin by running warm water over the tub’s surface to loosen any surface dirt or soap scum. This preliminary rinse will make the cleaning agents more effective when applied. Additionally, take this opportunity to inspect the entire tub for any signs of damage or areas that may require extra attention, as identifying these spots early will guide you in applying more focused cleaning efforts in the subsequent steps.

Step 2: Apply the Cleaning Solution
Mix equal parts of dish soap and white vinegar in a small bowl to create a gentle cleaning solution. Alternatively, you can substitute baking soda for dish soap if you prefer a slightly abrasive cleaner. Once the solution is ready, apply it evenly across the stained areas of the tub. You can do this by dipping your non-abrasive sponge or soft scrub brush into the mixture and gently scrubbing the affected spots. Focus on areas where stains are most prominent and allow the solution to sit for 5-10 minutes, giving it time to break down the stains effectively. If you’re dealing with tougher stains, apply the mixture and let it sit for 15-20 minutes.
Step 3: Scrub the Stains
After allowing the cleaning solution to sit for the recommended time, it’s time to scrub the stains gently. Work in small, circular motions over the stained areas using your non-abrasive sponge or soft scrub brush. Be sure to apply moderate pressure to remove the stains effectively without damaging the reglazed surface. For particularly stubborn spots, you can use a plastic scraper cautiously to avoid gouging the tub’s surface. Take your time and be thorough, as patience and careful scrubbing yield the best results.

Step 4: Rinse Thoroughly
Once you’ve scrubbed the stains, it’s crucial to rinse the tub thoroughly to remove any residue from the cleaning solution. Use warm water to wash away the solution, ensuring all soap and vinegar are removed from the surface. This step not only helps to highlight areas that may need a second pass but also prevents any cleaning agents from lingering and potentially dulling the reglazed finish. Substitute fresh water for another rinse to guarantee that no cleaning product remains visible or can affect the tub’s glossy appeal.
Step 5: Inspect and Repeat if Necessary
After rinsing, closely inspect the tub’s surface for any remaining stains or patches that might need additional attention. If stubborn stains persist, revisit those areas with the cleaning solution and repeat the scrubbing process. It may take an additional cleaning cycle to fully eliminate harsh residues, especially in areas with more extensive staining. Remember to use gentle, circular motions while scrubbing to maintain the integrity of the reglazed surface. Once satisfied with the level of cleanliness, proceed to rinse thoroughly again to ensure all cleaning agents have been removed. Patience during this step will help restore the tub’s pristine appearance.
Step 6: Dry the Tub
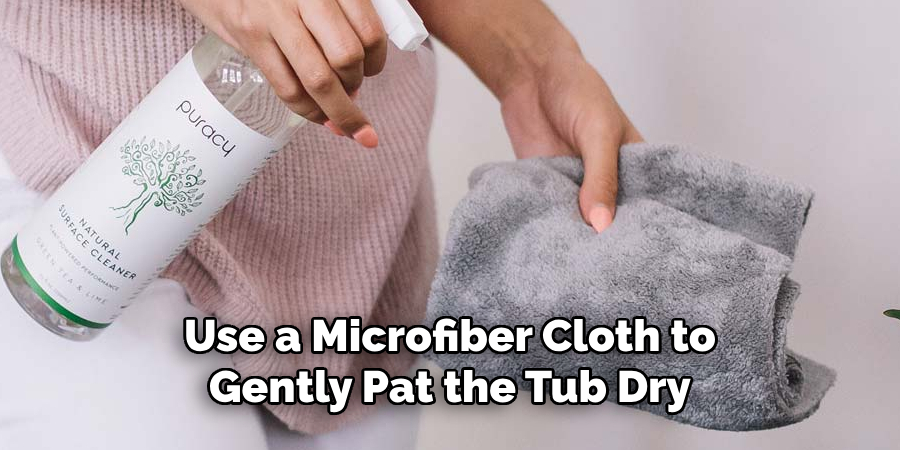
After ensuring all stains have been addressed and the tub is free of cleaning residues, it’s important to dry the surface thoroughly. Use a microfiber cloth to gently pat the tub dry, as this material is highly absorbent and won’t scratch the reglazed surface. This step helps prevent water spots or streaks from forming and ensures your tub maintains its glossy finish. Pay special attention to corners and edges where water might accumulate. Proper drying also reduces the chance of slip hazards and keeps your bathroom tidy and well-maintained. Once the tub is completely dry, you can restore any personal items or bath accessories to their original positions.

Step 7: Apply a Protective Layer
Consider applying a protective layer to prolong the life of your reglazed tub and keep it looking new. There are products specifically designed to protect and enhance the shine of bathroom surfaces. Using a high-quality car wax or a specially formulated tub polish, lightly buff the surface to create a water-repellent barrier. This step not only adds an extra layer of protection against stains but also helps water to bead off more quickly, reducing the build-up of soap scum and minerals. Follow the product’s instructions for application and drying times, and always use a soft cloth to avoid scratching the tub. Regular maintenance with a protective application every few months will extend the life of the reglaze and keep your bathroom looking its best.
Step 8: Maintain Regular Cleaning
To keep your reglazed tub looking pristine, establish a regular cleaning routine. This involves wiping down the tub with a damp microfiber cloth after each use to remove any soap residues or mineral deposits that could lead to stains over time. Using mild dish soap or a specialized bathroom cleaner once a week can help maintain the tub’s shine and cleanliness. Avoid using harsh chemicals or abrasive cleaning tools, as they can damage the reglazed surface. Consistency in upkeep goes a long way in preserving the tub’s finish and preventing the need for more intensive cleaning efforts. Remember to also check for any signs of damage or wear and tear during regular cleanings so that you can address them promptly if needed.
Step 9: Schedule Professional Maintenance
Although regular cleaning helps maintain your reglazed tub, scheduling professional maintenance yearly can significantly enhance its longevity. Professionals have the expertise and tools to thoroughly inspect the tub, apply any necessary touch-ups, or refinish. This inspection helps identify small cracks or wear that might not be visible to the untrained eye. Regular professional check-ups ensure that any potential issues are addressed before they develop into more significant problems, thereby preserving the investment in your bathroom’s aesthetics and functionality. Regular professional maintenance complements your routine efforts, ensuring your tub remains in peak condition.
Step 10: Avoid Harsh Chemicals
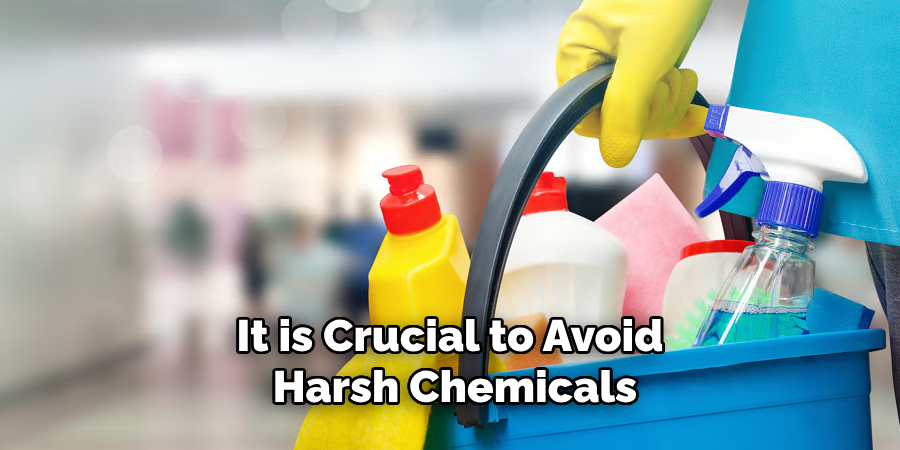
To ensure the longevity and appearance of your reglazed tub, it is crucial to avoid harsh chemicals. Cleaning products containing bleach, ammonia, or acidic substances can damage the reglazed surface, resulting in discoloration or deterioration over time. Instead, opt for natural, gentle cleaning solutions or those formulated explicitly for reglazed surfaces. Also, avoid abrasive cleaning tools or scrub pads that can scratch or wear down the finish. By adhering to this precaution, you help ensure your tub remains vibrant and intact, prolonging the life of its reglazing and maintaining its aesthetic appeal.
With these steps, you can effectively clean and maintain your reglazed tub, ensuring it remains a beautiful centerpiece in your bathroom for years.

Can You Use Epsom Salt in a Reglazed Tub?
Epsom salt is a popular ingredient in many DIY cleaning solutions, and it can be tempting to use it on your reglazed tub.
However, it is not recommended for use on a reglazed surface. Epsom salt contains magnesium sulfate, which can be abrasive and may cause scratches or damage the tub’s finish over time. To ensure the longevity of your tub’s appearance, it is best to stick to gentle cleaning products specifically formulated for reglazed surfaces. Additionally, some cleaning products may contain harsh chemicals that could damage the finish as well.
Always check the labels and avoid using any product with ingredients known to be harmful or abrasive for reglazed surfaces.
Conclusion
In conclusion, how to remove stains from reglazed tub is a task that requires patience, care, and the right cleaning techniques.
By adhering to the steps outlined, such as using mild cleaning agents, employing gentle scrubbing methods, and maintaining regular cleaning routines, you can clean and preserve the condition of your tub. Avoiding harsh chemicals and abrasive materials will protect the delicate reglazed surface, ensuring it remains pristine over time. Regular professional maintenance and protective applications can further extend the life of the reglazing.
With dedicated care and attention, your reglazed tub can maintain its attractive, glossy finish for many years, continuing to enhance the beauty of your bathroom.
Specialization:
- Master of wheel-throwing, hand-building, and advanced glazing techniques
- Focus on creating both functional pottery and decorative art pieces
Recognition:
- Celebrated by collectors and art enthusiasts for creating one-of-a-kind pieces that blend artistry with functionality
- Participates in local and national exhibitions, earning accolades for his innovative designs and craftsmanship
Passion:
- Deeply committed to exploring and pushing the boundaries of ceramic artistry
- Continuously experiments with new materials, firing techniques, and artistic concepts to evolve his craft
Personal Philosophy:
- Believes in the transformative power of art, aiming to evoke emotions and connections through his ceramic creations
- Advocates for sustainability in ceramics, using eco-friendly materials and practices whenever possible