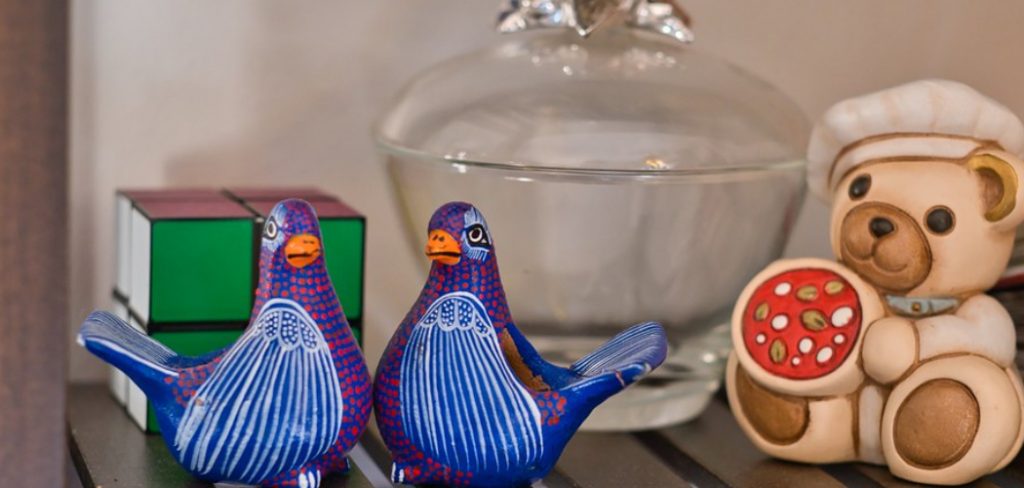
Ceramic figurines have long been treasured as decorative pieces, adding charm and character to homes, art collections, and craft projects. These cherished objects range from intricate, lifelike sculptures to whimsical, abstract designs, each telling its own story. However, these figurines can become faded, chipped, or damaged over time, losing their original luster and appeal. Fortunately, there’s a way to restore and even enhance these beloved items through the art of repainting.
This process not only revives their appearance but also offers an opportunity for personalization and creative expression. This article serves as a comprehensive guide on how to repaint ceramic figurines, walking you through every essential step—from cleaning and prepping the surface to skillfully applying new paint and properly sealing the figurine for lasting protection. Whether you are a seasoned artist or a novice crafter, this guide will help you transform any old ceramic piece into a freshly reimagined work of art.
Materials and Tools Needed
To successfully repaint ceramic figurines, you’ll need a specific set of materials and tools designed to ensure optimal results.
Materials:
- Acrylic paint (various colors): These paints offer excellent coverage and vibrant color options, perfect for both broad strokes and intricate details on ceramic surfaces.
- Primer (for ceramics): Helps the paint adhere better to the ceramic surface, which is essential for achieving a smooth, even base.
- Sealer (clear varnish or polyurethane): Protects the painted surface from damage and fading, providing a durable and long-lasting finish.
- Paint thinner or water: Used for cleaning brushes and thinning paints if necessary.
- Sandpaper (fine-grit): Prepares the surface by smoothing any rough spots and ensuring proper paint adhesion.
- Cleaning solution (mild soap or ceramic cleaner): Clean the figurine before painting to remove dust, oils, and residues.
Tools:
- Paintbrushes (different sizes): A variety of brushes are essential for handling both detail work and larger surface areas on the figurine.
- Palette or container: For mixing and holding paint.
- Protective gloves and mask: Important for safety when working with chemicals such as sealer.
- Drop cloth or newspaper: Protects the work surface from spills and splatters.
- Cotton cloth or soft brush: Used for cleaning the figurine prior to painting.
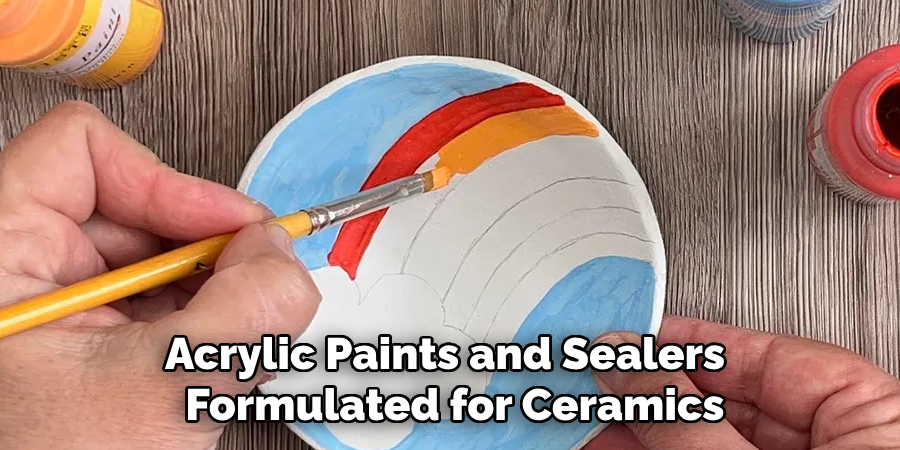
Acrylic paints and sealers specifically formulated for ceramics are vital, as they provide superior adhesion and durability on ceramic surfaces. When selecting your tools, consider the size and detail of the figurine to ensure you’re well-equipped for both intricate and broad painting tasks.
Cleaning and Prepping the Figurine
Step 1: Clean the Figurine
Begin by cleaning the figurine with mild soap and water or a specialized ceramic cleaner to remove any dirt, dust, and grease. Use a soft brush to gently scrub any intricate details, taking care not to damage the surface. This initial cleaning step ensures the paint adheres properly to the figurine.
Step 2: Inspect the Figurine for Damage
Thoroughly inspect the figurine for chips, cracks, or other damage that might interfere with the painting process. Consider using ceramic repair products to mend these areas before painting if you encounter significant damage. Addressing these issues beforehand ensures a smooth, finished look.
Step 3: Sand the Surface (Optional)
Lightly sand the surface of the figurine using fine-grit sandpaper to create a smooth painting surface and remove any old paint. Be careful to sand evenly around curves and detailed areas to maintain the figurine’s integrity.
Step 4: Apply Primer
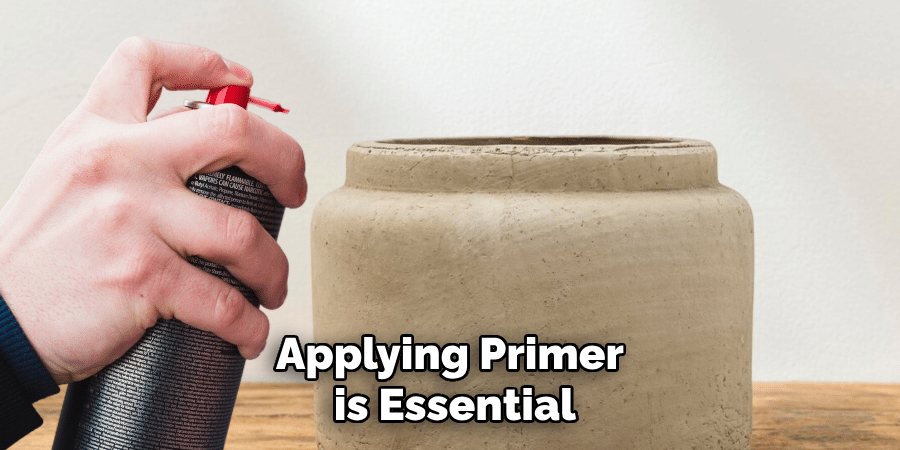
Applying primer is essential to create a smooth, paintable surface on ceramics. Use a thin coat of ceramic primer, ensuring even coverage across the figurine. This step enhances paint adhesion and vibrancy.
Step 5: Let the Primer Dry
Allow the primer to dry completely before moving on to painting. Typically, the drying process takes about 24 hours. Ensure that the primer is fully dry by gently touching the surface in a discreet area before beginning the painting process.
Choosing the Right Paint
Step 1: Selecting Acrylic Paint
Acrylic paint is ideal for ceramic figurines due to its remarkable durability and fast drying time. This type of paint is available in various colors and finishes, making it perfect for all kinds of decorative styles. Whether you prefer a matte, glossy, or metallic finish, acrylic paints offer flexibility and long-lasting results.
Step 2: Mixing Paint Colors
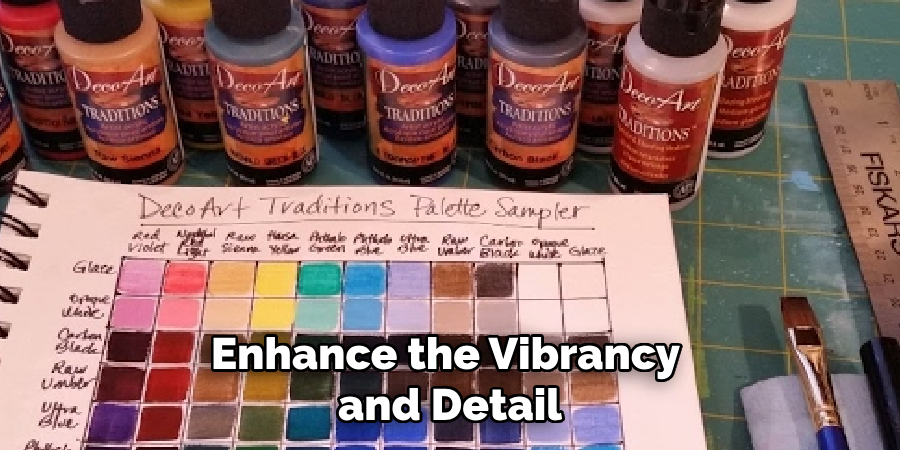
Creating custom shades or gradients can enhance the vibrancy and detail of your artwork. Use a palette to mix acrylic paints, allowing you to achieve precise colors that complement your vision. Testing these colors on an inconspicuous section of the figurine is crucial to ensure they meet your expectations before applying them broadly.
Step 3: Choosing the Right Paintbrushes
Selecting the correct brush sizes and shapes is essential when painting figurines. Round, flat, and detail brushes each serve specific purposes, from covering large areas to highlighting intricate details. Smaller brushes are best for fine details, while larger brushes effectively cover broader surfaces, ensuring an even, polished finish.
How to Repaint Ceramic Figurines: Painting the Ceramic Figurine
Step 1: Apply the Base Coat
Begin by applying a base coat to your ceramic figurine, providing a solid foundation for your design. Use a larger brush to effectively cover the majority of the figurine with a consistent color. It’s important to apply thin, even coats of paint, which helps to avoid streaks and ensures a smooth, uniform finish. If the base coat appears too light or uneven, allow it to dry before applying another thin layer to achieve the desired opacity.
Step 2: Paint Layer by Layer
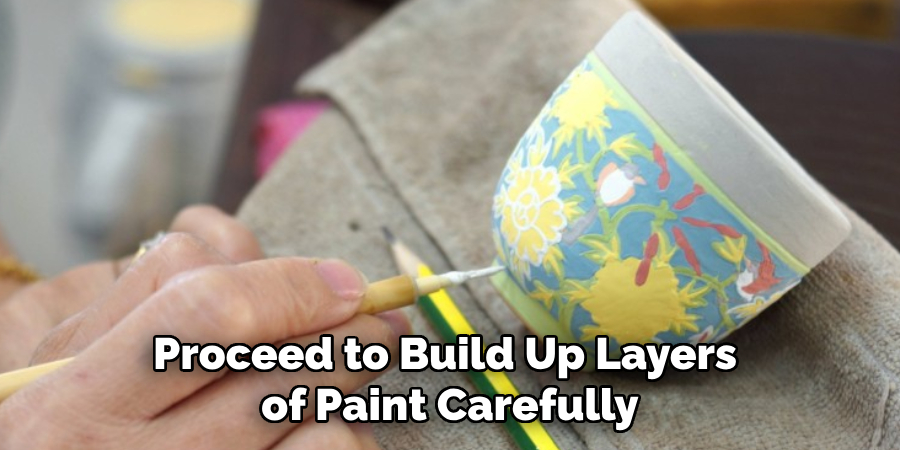
Once the base coat has dried thoroughly, proceed to build up layers of paint carefully. Applying each layer only after the previous one has dried prevents any unintended blending or smudging of colors. This technique is crucial for achieving a vibrant, richly colored finish. Depending on the intensity of the color you aim for, you may repeat this process several times, ensuring each layer enhances the depth of the overall color scheme.
Step 3: Add Fine Details
For intricate details, employ smaller brushes to navigate specific sections of the figurine, such as facial features, patterns, or clothing. Work meticulously and take your time to capture the essence of the design. Reference images can be incredibly helpful, especially if you’re aiming for a particular style or realism. Patience is key here, as careful attention to detail will enhance the distinction of your figurine.
Step 4: Create Shading and Highlights
Adding shading and highlights can significantly enhance your figurine’s depth and visual interest. Employ darker shades to create shadows in recesses or folds, and use lighter tones for highlights on raised or protruding areas. Blending color transitions smoothly is essential, and you can achieve this by gently using a dry brush or sponge. This technique brings your figurine to life, accentuating its three-dimensional form and features.
Step 5: Correct Mistakes
Mistakes are bound to happen; fortunately, most are easily fixable. Allow any errors to dry before touching them up to prevent further spreading. Use a fresh coat of paint over the mistake area, making sure the layers below have completely dried. A fine-tipped brush offers precision for detailed corrections, so don’t hesitate to employ this tool to achieve a clean and polished look.
Step 6: Let the Paint Dry
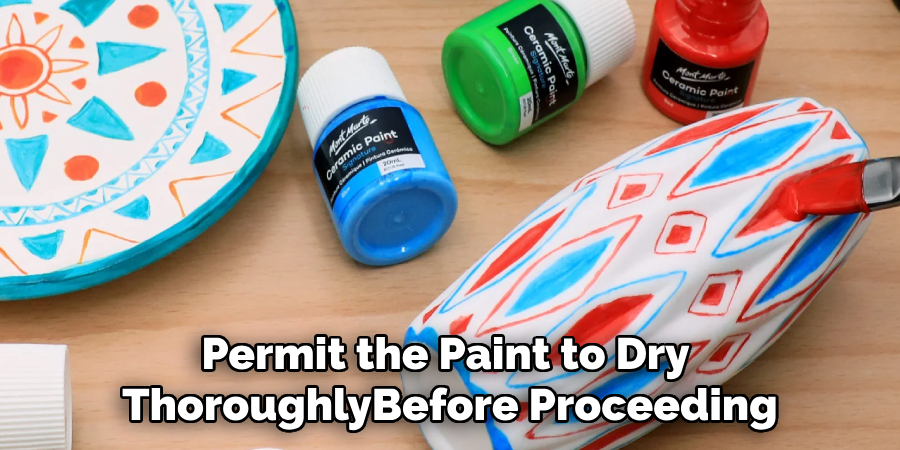
After completing your painting, it’s vital to permit the paint to dry thoroughly before proceeding to the final sealing step. Check all areas of the figurine to confirm there are no wet or tacky spots that might disrupt the sealant’s application. Typically, a curing time of 24 hours is sufficient, ensuring that your beautiful paintwork is ready for protection and showcasing.
Sealing the Figurine
Step 1: Choose a Sealer
Selecting the right sealer is crucial to preserve the vibrancy and durability of your painted ceramic figurine. Clear varnish and polyurethane are popular choices, available in finishes such as glossy or matte, depending on your aesthetic preference. Glossy finishes create a shiny, reflective surface, while matte offers a subtle, non-reflective look. Sealing protects the painted surface from potential damage, wear, and fading, ensuring your artwork remains beautiful for years to come.
Step 2: Apply the Sealer
To apply the sealer, use a clean brush or spray to ensure a thin, even coat over the entire figurine. Start by gently covering large areas before moving on to detailed or hard-to-reach spots, avoiding drips or uneven application. It’s important to achieve full coverage to maximize protection. A light hand and patience will allow the sealer to enhance the finish without altering the details.
Step 3: Let the Sealer Dry
The drying process is critical to a successful seal. Allow the sealer to dry completely according to the manufacturer’s directions, typically for 24-48 hours. Avoid touching or moving the figurine to prevent fingerprints or smudges from marring the finish during this time. Once the sealer has fully cured, your beautifully painted ceramic figurine will be ready for display or use, with an added layer of protection to withstand time and handling.
Additional Tips for Repainting Ceramic Figurines
Tip 1: Test Colors Before Applying
Before committing to a full application, test your chosen colors on a small, hidden part of the figurine or on a scrap piece of ceramic. This allows you to see how the shade and finish will appear once dry, helping you make any necessary adjustments to achieve your desired outcome.
Tip 2: Use a Rotating Stand
Utilizing a rotating stand can be incredibly beneficial when painting a figurine. This tool allows you to paint all sides easily without handling the figurine directly, which helps to prevent smudges or unwanted marks on your artwork.
Tip 3: Work in a Well-Ventilated Area
Always ensure you are working in a well-ventilated area or use a face mask to avoid inhaling any harmful fumes from the paint or sealer. Safety is paramount to protect your health during the creative process.
Tip 4: Experiment with Different Techniques
Don’t hesitate to experiment with various painting techniques, such as dry brushing or sponging. These methods can create unique textures and effects, adding depth and personality to each figurine you paint, resulting in a truly one-of-a-kind piece.
Conclusion
Repainting ceramic figurines can be a rewarding and creative process. Cleaning and prepping the surface ensures a smooth base, followed by carefully applying each paint layer to build depth and vibrancy. Sealing your work protects it for long-lasting enjoyment. Patience is vital, especially with delicate details—taking time leads to outstanding results. The satisfaction of “how to repaint ceramic figurines” lies in personalizing your pieces and breathing new life into them. Whether for personal pleasure or a craft project, this journey offers both creativity and fulfillment.
Specialization:
- Master of wheel-throwing, hand-building, and advanced glazing techniques
- Focus on creating both functional pottery and decorative art pieces
Recognition:
- Celebrated by collectors and art enthusiasts for creating one-of-a-kind pieces that blend artistry with functionality
- Participates in local and national exhibitions, earning accolades for his innovative designs and craftsmanship
Passion:
- Deeply committed to exploring and pushing the boundaries of ceramic artistry
- Continuously experiments with new materials, firing techniques, and artistic concepts to evolve his craft
Personal Philosophy:
- Believes in the transformative power of art, aiming to evoke emotions and connections through his ceramic creations
- Advocates for sustainability in ceramics, using eco-friendly materials and practices whenever possible


