


Abstract ceramic pieces, whether decorative sculptures or functional items, can add unique character and creativity to any space. However, these delicate creations, such as cracks, breaks, or missing fragments, are susceptible to damage. Understanding how to repair abstract ceramics is essential for preserving their artistic and functional integrity. Proper repair techniques not only restore the physical structure of the item but also help maintain its original aesthetic appeal, which is particularly important for handmade or one-of-a-kind pieces.
This article aims to provide a comprehensive step-by-step guide on how to repair abstract ceramics. By following these methods, you can ensure your treasured ceramics regain their beauty and continue to serve as a testament to the craftsmanship and artistry behind them.
Assessing the Damage
When repairing ceramics, it is crucial first to assess the extent and type of damage. Understanding the nature of the damage will determine the most effective repair approach and ensure optimal results. Here are the common types of ceramic damage:
Hairline Cracks
These are delicate, minor fractures that might not immediately affect the appearance but can weaken the structure over time if left untreated.
Chips and Missing Pieces
This type of damage involves small sections that have broken off, requiring careful filling and shaping to restore the original form.
Breaks and Shattered Pieces
For ceramics that have broken into multiple parts or shattered entirely, precise reconstruction using strong adhesives is necessary to regain structural integrity.
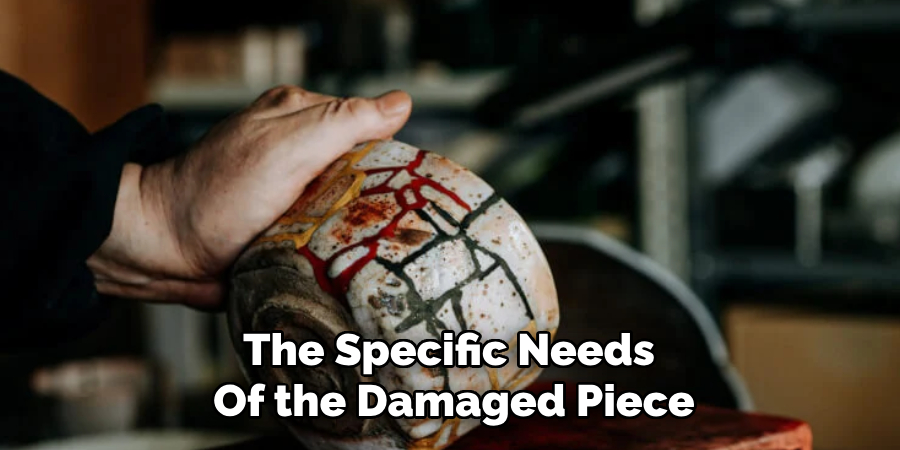
Determining the Repair Approach
The severity of the damage dictates the methods you should use for restoration. For light cracks, simple glues or epoxies may suffice, while major breaks may require advanced restoration techniques involving reinforcement and sanding for a seamless finish. Additionally, it is essential to check for glaze damage. If the surface glaze is compromised, employing surface restoration techniques, such as reapplying glaze or using touch-up paints, can help recover the ceramic’s aesthetic appeal. Proper evaluation ensures that your repair process is tailored to the specific needs of the damaged piece.
Gathering Materials and Tools
Repairing ceramics effectively begins with assembling the right materials and tools to ensure a precise and durable restoration. Below is a list of essential items and their purposes:
Essential Materials:
- Two-part epoxy resin or ceramic adhesive for strong bonding of broken pieces.
- Super glue (cyanoacrylate) for quick and small repairs.
- Ceramic filler or putty to replace missing or chipped sections.
- Acrylic paints or ceramic glazes for restoring the original colors and finish.
Tools Needed:
- Fine-grit sandpaper for smoothing rough or uneven edges before bonding.
- Clamps or rubber bands to firmly hold pieces together while the adhesive cures.
- Small brushes for detailed and precise paint or glaze application.
- Cotton swabs and alcohol to thoroughly clean surfaces, removing dust or grease, which ensures proper adhesion.
These readily available materials and tools can streamline the repair process and yield a professional-looking result. Each item is crucial, from preparing the surface to piecing fragments together and completing the restoration with an aesthetic finish. Proper preparation is key to success in ceramic restoration projects.
Cleaning and Preparing the Broken Edges
Properly cleaning and preparing the broken edges of ceramic pieces is a crucial step in achieving a seamless restoration. By following these meticulous steps, you can ensure a strong bond and enhance the final appearance of your repaired item.
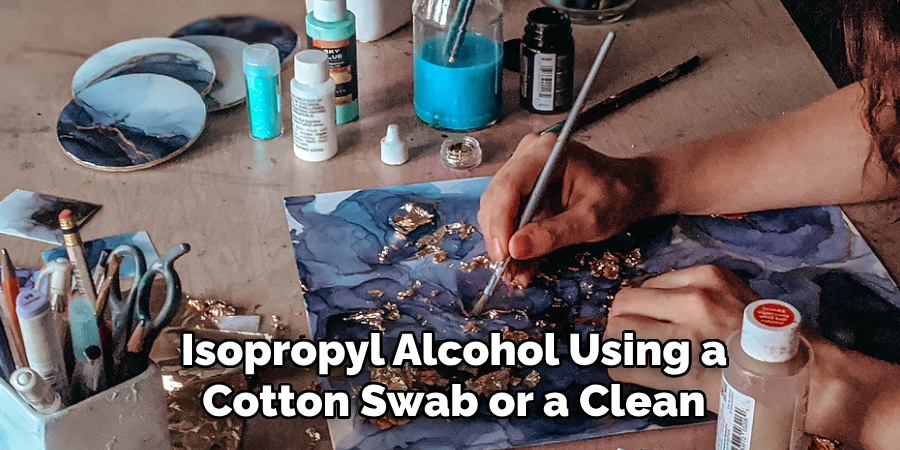
Step 1: Removing Debris and Dust
Start by removing all debris and dust from the broken edges. Use a dry, soft-bristled brush to sweep away any loose particles gently. Alternatively, compressed air can blow away dust and small fragments. Once the surface is debris-free, wipe the edges with isopropyl alcohol using a cotton swab or a clean cloth. This will remove any grease or residue and improve the adhesion of the glue.
Step 2: Smoothing Sharp Edges
If the broken edges are particularly jagged or sharp, lightly sand them using fine-grit sandpaper. Be careful not to over-sand, as this could alter the fit of the pieces. Smoothing the edges ensures a cleaner and more stable fit, allowing the glue to bond the surfaces evenly.
Step 3: Test Fitting Pieces Together
Before applying adhesive, test-fit the broken pieces together. Align them carefully to ensure a proper fit and make any necessary adjustments. This dry fitting process helps you familiarize yourself with how the pieces will join and ensures a correct alignment during the actual gluing process.
How to Repair Abstract Ceramics: Gluing and Reassembling the Ceramic Piece
Step 1: Applying the Adhesive
Begin by carefully applying a small amount of epoxy or ceramic glue along the broken edges of the ceramic piece. Using an appropriate adhesive is essential, as this will ensure a strong and durable bond. Avoid using excessive glue, as this could lead to unsightly overflow or uneven bonding. A fine applicator or toothpick can be helpful for precision in spreading the glue evenly along the edges.
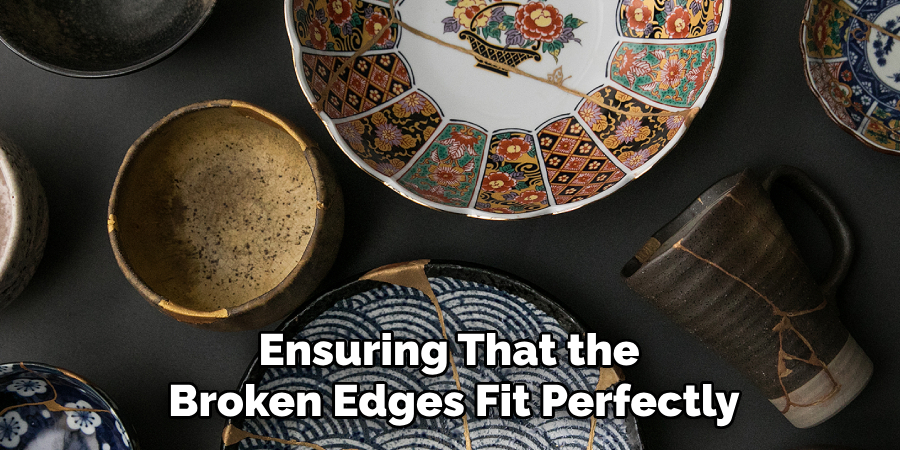
Step 2: Pressing and Holding Pieces in Place
Once the adhesive is applied, align the broken pieces together and press them firmly into place. Hold them in position for 1-2 minutes, ensuring that the broken edges fit perfectly and that there are no gaps. Depending on the size and shape of the piece, you may need to use clamps, rubber bands, or tape to secure the pieces and maintain alignment while the adhesive sets. Be gentle when attaching any supportive tools to avoid additional damage to the ceramic surface.
Step 3: Allowing the Adhesive to Cure
Allow the adhesive to cure fully according to the manufacturer’s instructions. Most epoxy adhesives require at least 24 hours to dry and set properly. Avoid disturbing the piece during this time to ensure the bond is strong. Place the reassembled ceramic item in a safe, stable location where it won’t be knocked or moved. Following proper curing times is crucial for achieving a long-lasting repair.
Filling Gaps and Missing Pieces
Step 1: Using Ceramic Filler or Epoxy Putty
Use a ceramic filler or epoxy putty to repair gaps or reconstruct missing areas in your ceramic item. Begin by mixing the filler or putty according to the manufacturer’s instructions. Once prepared, apply it carefully to the damaged area using a sculpting tool, applicator, or even your fingers (wear gloves for safety). Pay close attention to the shape and contours of the piece, attempting to replicate the original design as accurately as possible. If needed, smooth the applied putty with a damp sponge or cloth to ensure an even surface before it begins to set. Work quickly, as most fillers and putties start to harden within a short time frame.
Step 2: Sanding for a Seamless Finish
Once the filler or epoxy putty has dried and hardened completely—this may take several hours or even a day depending on the product—use fine-grit sandpaper to sand the repaired area. Gently sand the surface to blend the repaired section seamlessly with the surrounding ceramic material. Ensure that you achieve a smooth and uniform finish, as this step will also prepare the surface for any additional steps, such as painting or glazing. Take extra care not to oversand, as this can damage the surrounding material. Proper sanding ensures that the repair work remains subtle and visually appealing, preserving the overall look of the item while restoring its functionality.
Painting and Finishing Touches
Step 1: Matching Colors
To restore the original design, use high-quality acrylic paints or ceramic glazes that are suitable for the item’s surface. Begin by carefully mixing the colors to match the original tones and patterns as closely as possible. Try blending small amounts and testing on a spare surface to ensure an accurate match. This step is crucial for maintaining the authenticity of the repaired piece. Apply the paint or glaze in thin, even layers, working methodically to avoid streaks or uneven patches.

Step 2: Sealing the Surface
Once the paint or glaze has dried completely, protect the repaired area by applying a clear sealant or ceramic glaze. This layer protects against wear and tear, ensuring the repair remains durable over time. Use a brush or applicator suitable for the chosen sealant and evenly coat the surface, avoiding buildup or dripping. As per the manufacturer’s guidelines, allow the sealant to dry thoroughly before moving to the next step.
Step 3: Buffing for a Smooth Finish
Lightly buff the repaired area with a soft cloth or fine polishing tool for a polished, professional appearance. This final touch will smooth out any imperfections and blend the repair seamlessly with the rest of the item. The result will be a restored piece with a natural, flawless finish.
Preventing Future Damage
Adopting preventive measures is essential to ensure the longevity of your repaired ceramic piece.
Proper Handling and Placement
Always handle your ceramics with care and avoid placing them in areas where they are at risk of falling or being knocked over, such as edges of tables or high-traffic zones. Opt for secure, stable display locations to minimize potential hazards.
Temperature Considerations
Ceramics are sensitive to extreme temperature changes, which can lead to expansion, contraction, and eventual cracking. Avoid exposing your piece to sudden temperature shifts, such as moving it directly from a cold environment to a hot one or placing it near heat sources like radiators or stoves.
Regular Maintenance
Keep your ceramic items clean using gentle, non-abrasive methods, such as a soft, damp cloth or a mild cleaning solution. This will help maintain the integrity of the repaired areas and prevent further wear, preserving their beauty and functionality over time.
Conclusion
Repairing your ceramics can be a rewarding process when done carefully and patiently. To recap, the key steps for learning how to repair abstract ceramics include thorough cleaning, using the right adhesive for precise gluing, filling any gaps seamlessly, skillfully painting to restore appearance, and sealing the surface for durability. Taking your time with each step will ensure a long-lasting repair and help preserve the piece’s charm. If your ceramic item holds significant value, don’t hesitate to seek professional restoration services for the best results. With dedication, you can give new life to your cherished ceramics.
Specialization:
- Master of wheel-throwing, hand-building, and advanced glazing techniques
- Focus on creating both functional pottery and decorative art pieces
Recognition:
- Celebrated by collectors and art enthusiasts for creating one-of-a-kind pieces that blend artistry with functionality
- Participates in local and national exhibitions, earning accolades for his innovative designs and craftsmanship
Passion:
- Deeply committed to exploring and pushing the boundaries of ceramic artistry
- Continuously experiments with new materials, firing techniques, and artistic concepts to evolve his craft
Personal Philosophy:
- Believes in the transformative power of art, aiming to evoke emotions and connections through his ceramic creations
- Advocates for sustainability in ceramics, using eco-friendly materials and practices whenever possible