Ceramic bowls are a staple in many households, cherished not only for their functionality but also for their sentimental value. Whether a family heirloom passed down through generations or a handcrafted piece acquired from a memorable trip, these items often become more than mere kitchenware. Unfortunately, ceramic bowls can be prone to chipping or breaking due to their fragile nature.

Learning how to repair ceramic bowl damages promptly is essential to prevent minor chips from escalating into major breakages. Quick action ensures that these treasured pieces maintain their usefulness and aesthetic appeal. Effective repairs can often be achieved with the right methods and materials, such as ceramic adhesives, epoxy, and gentle sanding tools. By restoring a broken ceramic bowl, you preserve its practical use and the memories and emotions associated with it, bringing it back to its rightful place in your collection.
Materials You Will Need
Before embarking on the repair of your cherished ceramic bowl, gathering the right materials is crucial to ensure a seamless restoration process. The primary material you will need is Epoxy Adhesive or Ceramic Glue. Opt for a strong adhesive specifically designed for ceramics, and if the repaired bowl is used for eating, confirm that the adhesive is food-safe to prevent any harmful contamination.
Next, you will need Cleaning Supplies, such as dish soap, water, and a soft cloth or sponge. These are essential for thoroughly cleaning the bowl before undertaking repairs, as a clean surface ensures better adhesive performance and durability. A Toothpick or Small Applicator will help apply glue precisely in the cracks or breaks, allowing you to accurately manage difficult repairs.
To ensure the broken pieces remain in place while the adhesive cures, gather Rubber Bands or Clamps. These will hold pieces together tightly, preventing any movement from compromising the repair. For refining the final repair, Fine Sandpaper or a Scraper can be useful to smooth out any rough edges once the glue has dried. Lastly, a Clear Sealant is optional but recommended for added protection over the repaired area, ensuring your ceramic bowl endures for years to come.
Assessing the Damage
When faced with a damaged ceramic bowl, your first step is to thoroughly inspect the breaks or cracks. Carefully examine the entire bowl to comprehend the extent of the damage—determine whether it is a clean break, which might result in a seamless repair, or if any pieces are missing, which could complicate the restoration process. Assemble all bowl fragments meticulously, as complete repair hinges on accurately reuniting every piece. Missing small pieces can be problematic; in such cases, consider utilizing a ceramic filler or paint to effectively disguise any loss and blend it seamlessly with the existing surface.
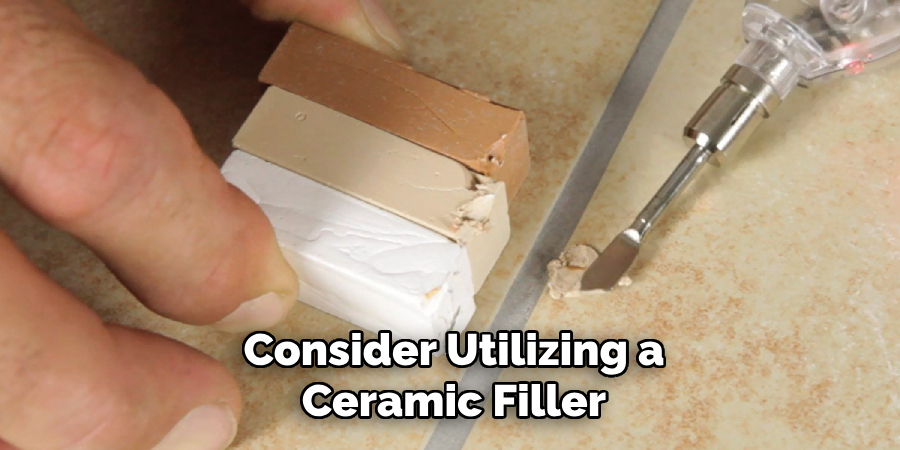
Next, decide on the most appropriate repair method based on the damage assessment. If the damage consists of straightforward cracks or clean breaks, a simple adhesive application using ceramic glue or epoxy might fulfill the task. However, for more extensive damage where gaps are evident, or pieces are entirely missing, it’s essential to consider employing additional techniques like filling the gaps with ceramic filler. This step ensures that the structural integrity of the bowl is fully restored. By assessing the damage comprehensively, you create a solid foundation for a successful repair that brings your cherished ceramic bowl back to its original form.
Cleaning the Bowl Before Repair
Before beginning the repair process, it’s essential to meticulously clean the ceramic bowl to ensure the adhesive bonds effectively.
Wash the Bowl Thoroughly:
Start by gently washing the entire bowl with warm water and mild dish soap. Pay special attention to the areas surrounding the cracks or breaks, as these need to be impeccably clean for a successful repair. Use your fingers or a soft sponge to clean these areas without excessive force, which might aggravate the damage.
Remove Any Dust or Debris:
After washing, inspect the bowl for any remaining dust or debris. Even the smallest particles can hinder the adhesive’s performance, so make extra effort to ensure these surfaces are pristine. Use a fine brush or a clean, damp cloth to remove any stubborn dirt around the cracks and broken edges. The surfaces to be glued must be completely free of dirt, grease, or moisture to achieve optimal adhesion.
Dry the Bowl Completely:
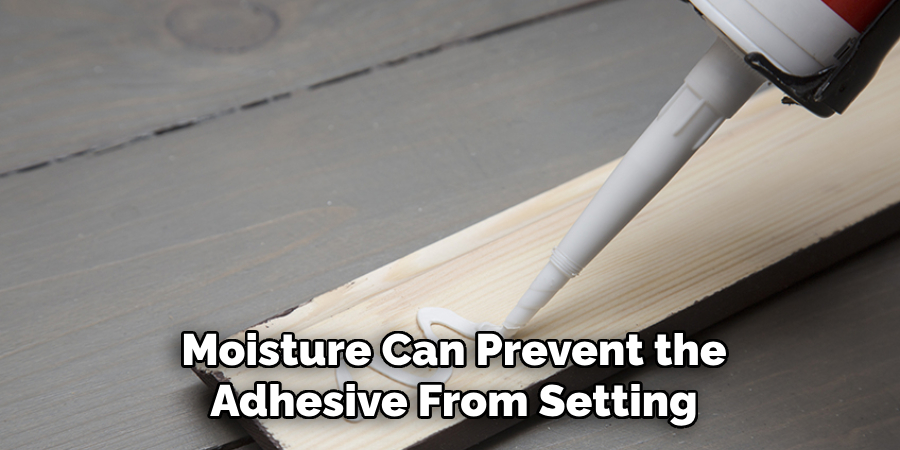
Once clean, promptly dry the bowl using a soft, lint-free cloth. Ensure that every part of the bowl is fully dry, particularly around the damaged areas, as lingering moisture can prevent the adhesive from setting properly.
Setting the bowl aside in a dry, warm place for a few minutes will ensure no moisture remains. With the bowl thoroughly cleaned and dried, you’re now ready to embark on the repair process, laying the groundwork for an effective restoration.
How to Repair Ceramic Bowl: Applying the Adhesive
1.Prepare the Adhesive:
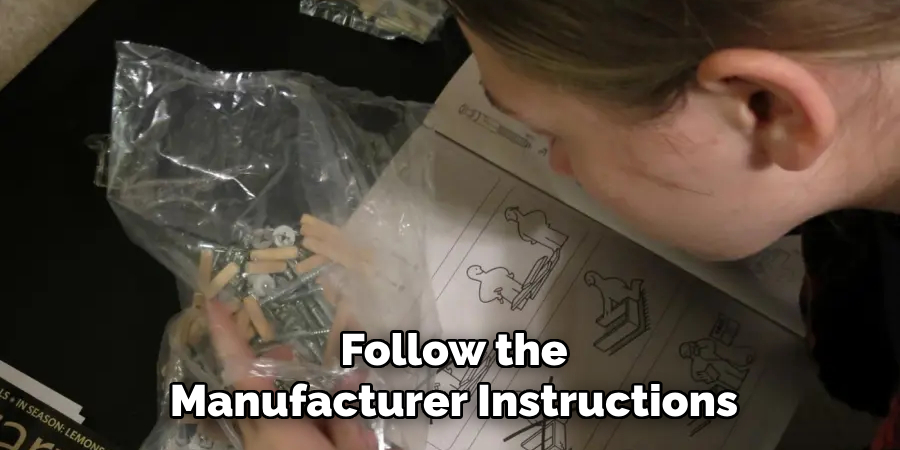
If you have chosen epoxy for the repair, following the manufacturer’s instructions closely is crucial to ensure it is mixed correctly. The usual process involves combining the resin and hardener in equal parts to activate the adhesive’s bonding properties. For single-part ceramic glue, confirm that it is ready for immediate application.
2.Apply the Glue:
With your adhesive ready, use a toothpick or small applicator to apply a thin, even layer of glue to the edges of the broken ceramic pieces. Precision in this step is key, particularly for intricate fractures, as it ensures that the adhesive will bond effectively without excess overflow, which can affect the bowl’s appearance.
3.Align the Pieces Carefully:
Do not smear the adhesive; gently press the broken pieces together. Ensuring proper alignment is essential, as any misplacement can lead to a permanent misalignment that is difficult to correct after the adhesive sets. Hold the pieces together firmly for a few moments to establish initial adhesion, making sure they remain steady and in the correct position.
4.Secure with Rubber Bands or Clamps:
To ensure structural integrity is maintained as the adhesive cures, use rubber bands to wrap around the bowl, holding the fragments securely in place. Alternatively, if the shape of the bowl allows, use clamps for an even tighter hold. This step is vital to applying consistent pressure and preventing any shift during the curing period.
5.Wipe Away Excess Adhesive:
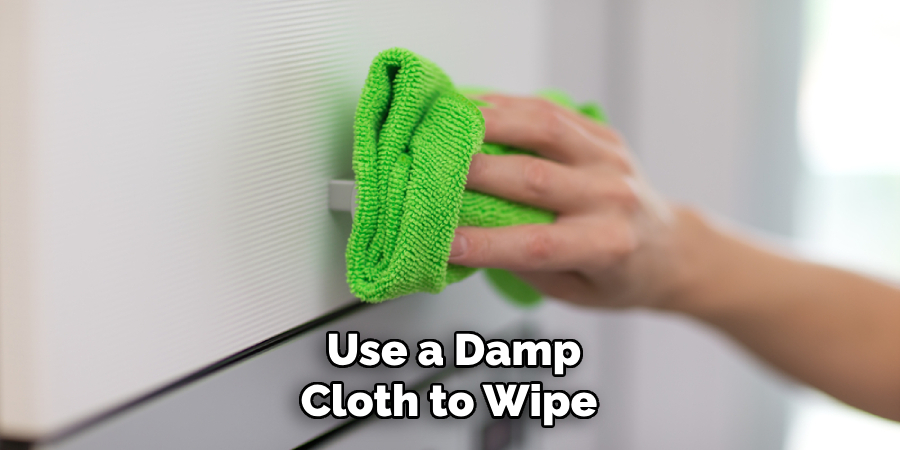
While the adhesive is still wet, use a damp cloth to gently wipe away any excess glue that seeps out from the joints. Be careful to avoid disturbing the alignment of the pieces; maintaining a delicate touch here will ensure a neat, professional finish. Once you’ve done this, leave the bowl undisturbed to allow the adhesive to cure completely, guaranteeing that your ceramic bowl repair is both durable and seamless.
How to Repair Ceramic Bowl: Letting the Adhesive Cure
Curing Time:
After applying the adhesive, it is imperative to let the bond fully cure according to the manufacturer’s instructions, typically for about 24 hours. This ensures that the ceramic pieces achieve maximum strength and durability in their connection. During this period, patience is essential as rushing the process can weaken the bond, leading to potential damage in the future.
Avoid Disturbing the Repair:
Choose a safe, stable location to set the bowl as it cures. Ensure it remains undisturbed and out of reach of potential disruptions such as pets, children, or accidental knocks. This precaution prevents any shift in alignment or pressure that might compromise the adhesion process, preserving the meticulous work you’ve completed thus far.
Inspect the Repair:
Once the recommended curing time has elapsed, carefully examine your ceramic bowl to confirm that all pieces are securely bonded. Look for any signs of loose connections or visible cracks. A successful repair will showcase a clean, seamless appearance with no gaps or weak spots along the glued edges.
Sanding and Smoothing (Optional):
If you notice any rough edges or remnants of excess adhesive that detract from the bowl’s finish, gently remove them with fine sandpaper. Be delicate in this step to avoid scratching or damaging the surrounding ceramic surface. The goal is to restore the bowl to its best possible condition, blending any repairs with its original aesthetic. Follow these steps to ensure that your ceramic bowl not only retains its beauty but also regains its full functionality.
Sealing and Finishing the Repair (Optional)
Applying a Clear Sealant:
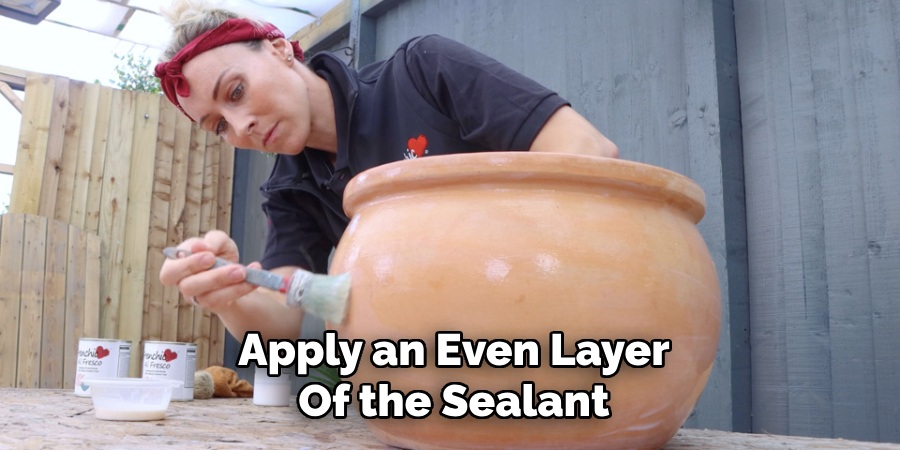
If you want additional protection for your repaired ceramic bowl, applying a clear ceramic sealant over the mended area is worthwhile. This can enhance the durability of the repair and provide a smoother finish. It is crucial to ensure that the sealant is food-safe if you plan to use the bowl for food-related purposes. Use a soft brush to apply an even layer of the sealant over the entire repaired section, taking care to cover all adhesive surfaces while avoiding overflow onto the surrounding areas.
Letting the Sealant Dry:
After applying the sealant, be sure to meticulously follow the drying instructions provided on the sealant package. Typically, the sealant will require several hours, possibly up to a full day, to dry completely. Place the bowl in a well-ventilated area where it can remain undisturbed during this drying period. Proper drying is essential to achieving the additional protection layer and ensuring that the sealant sets appropriately.
Painting Over Repairs (If Necessary):
For aesthetic purposes, consider using ceramic paint to touch up any areas that differ from the bowl’s original color, often resulting from repairs. Select a paint that matches the existing color scheme and gently apply it over the repaired areas using a fine brush. This process can help to seamlessly blend the repair with the rest of the bowl, restoring its appearance to as close to the original as possible. Allow the paint to dry thoroughly before using or displaying your newly restored ceramic bowl.
Conclusion
Repairing a damaged ceramic bowl doesn’t have to be a daunting task. By learning how to repair ceramic bowl with the right materials and techniques, you can effortlessly restore its functionality and beauty. The process emphasizes precision, from selecting the appropriate adhesive to carefully aligning the broken pieces and diligently curing the bond. By applying these steps with care, you ensure the longevity of the repair. This revives a cherished item and extends its utility, reducing waste and preserving its irreplaceable sentimental value.
Embracing the DIY spirit in repairing your kitchenware can be incredibly rewarding. It allows you to take pride in revitalizing your favorite pieces and showcases your ability to breathe new life into them. By stepping into the world of DIY repairs, you celebrate resourcefulness and creativity, thus ensuring your beloved ceramic bowl remains a functional staple in your daily life.
Specialization:
- Master of wheel-throwing, hand-building, and advanced glazing techniques
- Focus on creating both functional pottery and decorative art pieces
Recognition:
- Celebrated by collectors and art enthusiasts for creating one-of-a-kind pieces that blend artistry with functionality
- Participates in local and national exhibitions, earning accolades for his innovative designs and craftsmanship
Passion:
- Deeply committed to exploring and pushing the boundaries of ceramic artistry
- Continuously experiments with new materials, firing techniques, and artistic concepts to evolve his craft
Personal Philosophy:
- Believes in the transformative power of art, aiming to evoke emotions and connections through his ceramic creations
- Advocates for sustainability in ceramics, using eco-friendly materials and practices whenever possible


