


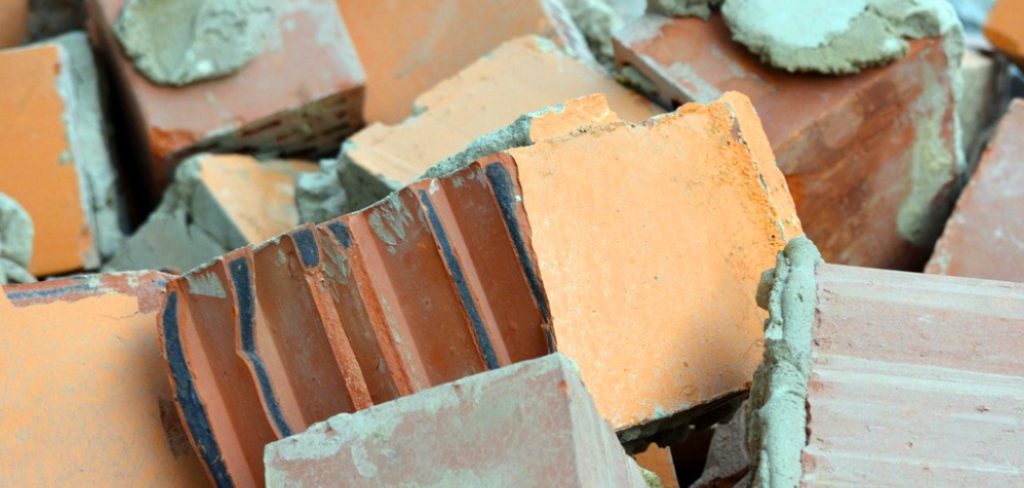
Are you a pottery enthusiast who has a kiln at home? Over time, the bricks in your kiln may become damaged or cracked due to constant exposure to high temperatures.
Kiln bricks, referred to as refractory bricks, play a critical role in maintaining the efficiency and safety of your kiln. Over time, these bricks can suffer from cracks, chips, or general wear due to the high temperatures and thermal stress they endure. Knowing how to repair kiln bricks is essential for preserving the functionality and longevity of your kiln.
This guide will provide step-by-step instructions and practical tips to effectively repair damaged kiln bricks, ensuring your kiln continues to operate at its best. Whether dealing with minor damage or more significant repairs, the process can be straightforward with the right tools and techniques.
What Are the Causes of Kiln Brick Damage?
Before diving into the repair process, it’s crucial to understand the common causes of kiln brick damage. This knowledge will help you prevent future damage and make informed decisions when selecting repair materials.
- Thermal Stress: Exposing kiln bricks to high temperatures can cause them to expand and contract, leading to cracks or chips over time.
- Physical Damage: Dropping heavy objects on the bricks or accidentally hitting them with tools can cause breakage or chipping.
- Chemical Corrosion: Some chemicals used in pottery processes may react with kiln bricks, causing damage and degradation over time.
These are just a few of the many factors that can cause damage to kiln bricks. It’s essential to regularly inspect your kiln for any signs of damage and address them promptly to prevent further deterioration.
What Will You Need?
Before starting the repair process, gather the necessary tools and materials. You will need:
- Kiln cement or mortar: This heat-resistant adhesive is used to bond kiln bricks together.
- Wire brush: Use this to clean any debris or residue from the damaged area.
- Cold chisel: This is used to remove damaged bricks and shape new ones.
- Safety gear: Wear protective gloves, goggles, and a dust mask when handling kiln brick repairs.
Once you have these items, you can repair your kiln bricks.
10 Easy Steps on How to Repair Kiln Brick
Step 1. Inspect the Damage
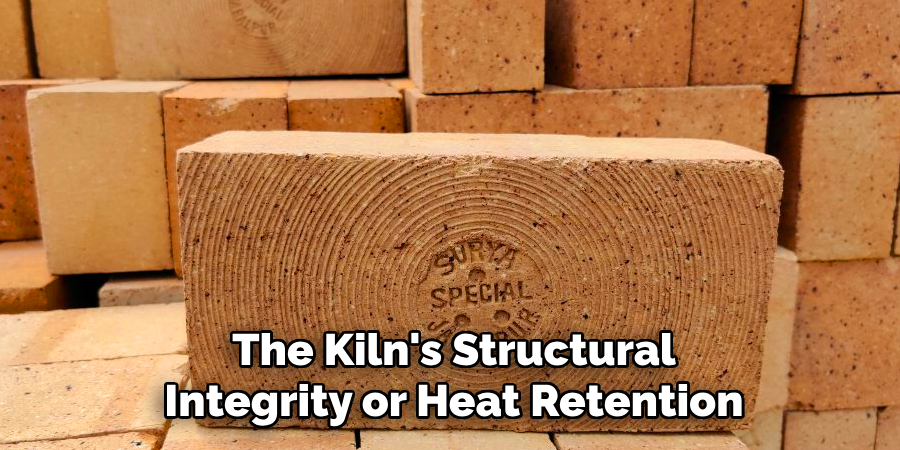
Begin by closely examining the damaged area of the kiln. Look for cracks, chips, or missing pieces in the bricks that could impair the kiln’s structural integrity or heat retention. Pay attention to the surrounding bricks, as damage is often interconnected and can spread if left untreated. Use a flashlight if needed to inspect hard-to-see areas. Take note of the extent of the damage, and if multiple sections of the kiln are affected, prioritize the most severe areas. Proper inspection is crucial for determining the scope of the repair work required and ensures that all problematic spots are identified before proceeding to the next step.
Step 2. Remove Debris and Loose Material
Carefully clean the damaged area by removing debris, dust, or loose brick material. Use a small brush or vacuum to ensure the area is free from particles that could interfere with the repair process. For larger loose fragments, gently remove them by hand or with a chisel, being cautious not to cause further damage to the surrounding bricks. Ensuring a clean surface is essential for the new materials to adhere properly during the repair.
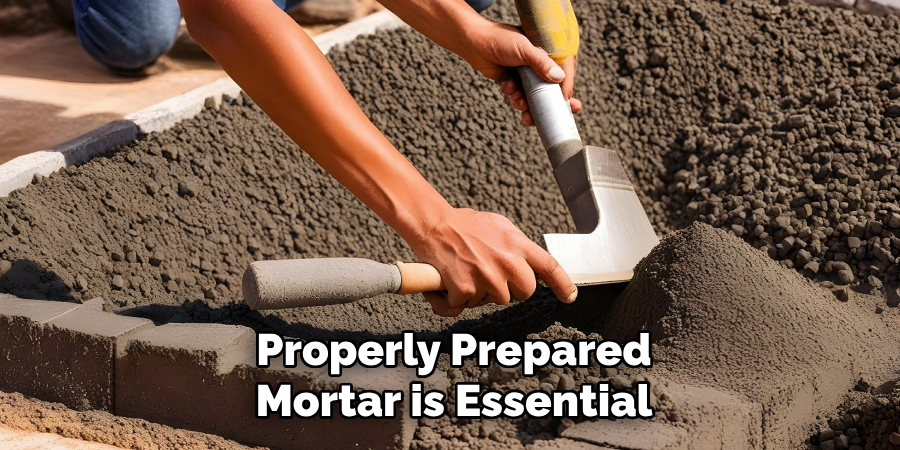
Step 3. Prepare the Refractory Mortar
Mix the refractory mortar according to the manufacturer’s instructions, ensuring the consistency is suitable for application. The mortar should be thick enough to hold its shape but not so dry that it becomes difficult to spread. Use a trowel or a similar tool to stir the mixture thoroughly, eliminating any lumps. Properly prepared mortar is essential for creating a strong and durable bond between the damaged and repaired sections of the kiln.
Step 4. Apply the Refractory Mortar
Using a trowel, carefully apply the prepared refractory mortar to the damaged area. Spread the mortar evenly, ensuring it fills all gaps and covers the surface evenly. Place replacement bricks or material into the mortar, pressing firmly to ensure they are securely set. Use the trowel to remove any excess mortar, smoothing it out for a clean finish. Ensure the repaired section aligns seamlessly with the surrounding bricks, creating a uniform surface. Proper application and alignment are crucial for the integrity of the repair.
Step 5. Allow the Mortar to Cure
Once the mortar has been applied and the repair is complete, allow the newly repaired area to cure properly. Avoid exposing the kiln to high temperatures or excessive moisture during this time, as this could compromise the mortar’s strength. Refer to the mortar manufacturer’s instructions for the recommended curing duration, which typically ranges from 24 to 48 hours. During this period, inspect the repaired section to ensure no cracks or misalignments develop. Proper curing is essential to achieving a durable and long-lasting repair.
Step 6. Test the Kiln
After the mortar has fully cured, test the kiln to ensure the repair is successful. Begin by gradually increasing the kiln’s temperature in small increments, monitoring it closely for any signs of instability or issues in the repaired area. Observe the repaired section for cracks, discoloration, or any unusual behavior that might indicate a problem. The kiln is ready for regular use if the repair holds up under normal operating conditions. Always prioritize safety by wearing appropriate protective equipment and following manufacturer guidelines during testing.

Step 7. Perform Regular Maintenance
To ensure the longevity and efficiency of your kiln, implement a routine maintenance schedule. Regularly inspect the kiln for signs of wear, such as cracks, weakened mortar, or damaged components. Clean the interior and remove any debris or residue interfering with its operation. Additionally, check the kiln’s mechanical and electrical systems to ensure they function correctly. Address minor issues promptly to prevent them escalating into more significant, costlier problems. Proper maintenance not only extends the lifespan of your kiln but also ensures its optimal performance over time.
Step 8. Store Kiln Supplies Properly
Proper storage of kiln supplies is essential for maintaining usability and ensuring efficient operation. Keep all tools, materials, and replacement parts in a clean, dry, and organized area to prevent damage from moisture, dust, or accidental mishandling. Store fragile items like kiln shelves and posts carefully to avoid chipping or breaking. Label storage areas clearly to make locating supplies easy and efficient when needed. By maintaining a well-organized storage system, you can simplify maintenance tasks and reduce downtime during kiln operations.
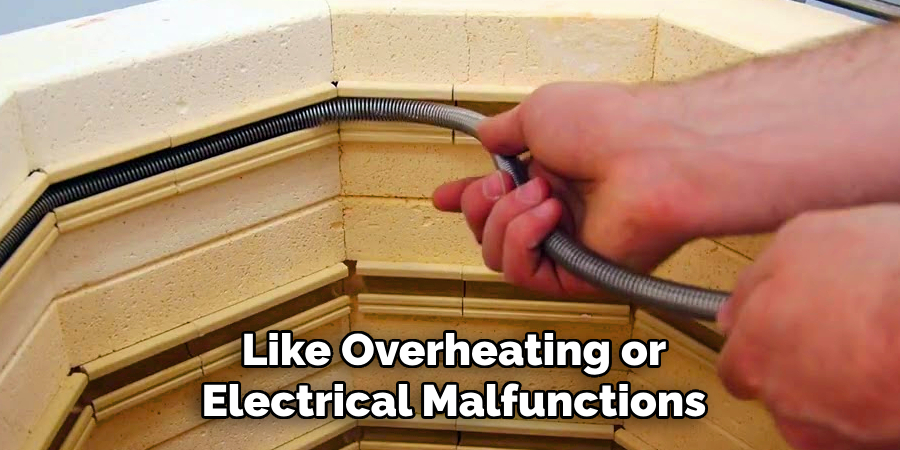
Step 9. Prepare for Emergency Situations
Proper preparation for emergencies is a critical aspect of kiln operation. Ensure you have appropriate safety equipment, such as fire extinguishers, gloves, and goggles, that is readily accessible and in good working condition. Create a clear plan for responding to potential issues, like overheating or electrical malfunctions, and ensure all operators are familiar with the procedures. Regularly review and practice emergency protocols to reinforce readiness. Taking these precautionary measures helps protect both the operators and the equipment, ensuring a safer and more secure work environment.
Step 10. Enjoy Your Kiln!
Your kiln can provide years of reliable service with proper care and maintenance. Following these repair and maintenance steps can extend its lifespan, reduce the risk of costly repairs, and ensure optimal performance. Enjoy your kiln’s creative possibilities and continue to hone your skills as you experiment with different firing techniques and materials. Remember, proper care and maintenance are the keys to a happy, healthy kiln that will keep you creating for years to come.
By following these steps and investing time in maintaining your kiln, you can ensure it remains a valuable tool in your artistic endeavors.
5 Things You Should Avoid
- Using the Wrong Type of Mortar: Avoid using general-purpose mortar not specifically designed for high-temperature applications, as it can crack or fail under kiln conditions.
- Neglecting to Clean the Surface Properly: Always ensure the brick surfaces are clean and free of dust or debris before applying any adhesive or mortar, as this could weaken the bond.
- Over-tightening Steel Bands or Straps: When securing the bricks during repair, over-tightening can lead to unnecessary stress and potential cracking.
- Ignoring Safety Precautions: Do not skip wearing protective gear like gloves, goggles, and masks to protect yourself from dust, sharp edges, and harmful materials during the repair process.
- Rushing the Curing Process: Avoid restarting the kiln or exposing the repair to high heat before the adhesive or mortar has had sufficient time to cure, as this can compromise the durability of the fix.
By avoiding these common mistakes, you can ensure a successful and long-lasting repair for your kiln.
Conclusion
How to repair kiln brick requires careful attention to detail and adherence to best practices to ensure a durable and practical outcome.
By following proper preparation methods, using appropriate materials, and allowing adequate time for curing, you can prevent further damage and maintain the efficiency of your kiln. Avoiding common pitfalls, such as neglecting safety measures or rushing the process, is key to achieving a successful repair.
With patience and the right approach, you can extend the lifespan of your kiln and ensure its reliable performance for years to come.
Specialization:
- Master of wheel-throwing, hand-building, and advanced glazing techniques
- Focus on creating both functional pottery and decorative art pieces
Recognition:
- Celebrated by collectors and art enthusiasts for creating one-of-a-kind pieces that blend artistry with functionality
- Participates in local and national exhibitions, earning accolades for his innovative designs and craftsmanship
Passion:
- Deeply committed to exploring and pushing the boundaries of ceramic artistry
- Continuously experiments with new materials, firing techniques, and artistic concepts to evolve his craft
Personal Philosophy:
- Believes in the transformative power of art, aiming to evoke emotions and connections through his ceramic creations
- Advocates for sustainability in ceramics, using eco-friendly materials and practices whenever possible