Porcelain sinks have long been favored in kitchens and bathrooms for their classic appeal and robust durability. These fixtures bring an elegant touch to any home, making them a popular choice among homeowners. However, porcelain sinks can develop chips, cracks, or stains with regular use over time despite their resilience. Accidental impacts or heavy objects can easily damage the surface, leading to unsightly blemishes.
This article aims to provide comprehensive guidance on how to repair porcelain sink, expertly addressing common issues such as chips, cracks, and even larger holes. We will walk readers through every step needed to restore their sinks, ensuring a smooth, polished finish that looks as good as new. Whether you are a seasoned DIY enthusiast or a beginner, this detailed repair guide will help you maintain your porcelain sinks, preserving their beauty and functionality for years to come.
Materials and Tools Needed
Having the right materials and tools is essential to achieving a professional finish when repairing a porcelain sink.
Materials:
- Porcelain repair kit (with epoxy or filler): A specialized kit ensures that repairs are both durable and aesthetically pleasing. These kits often include color-matched compounds specifically designed for porcelain surfaces.
- Sandpaper (fine-grit): Vital for smoothing repaired areas and ensuring they blend seamlessly with the surrounding surface.
- Porcelain touch-up paint or glaze: Essential for restoring the sink’s original appearance, providing a protective and glossy finish.
- Cleaning solution (mild soap or ceramic cleaner): Ensures the sink is free from dirt and debris before repairs commence.
- Painter’s tape (optional for protection): Useful for guarding areas that need to remain untouched during the repair process.
Tools:
- Putty knife or applicator: Required for precisely applying repair compounds to the damaged areas.
- Sponge or soft cloth: Cleaned and polished the repaired sink surface.
- Fine-tipped brush (for touch-up paint): Necessary for detailed work when painting repaired areas.
- Hairdryer or heat gun (optional for quick drying): Allows for faster drying times, speeding up the repair process.
- Protective gloves and mask: Important for safety when working with chemical substances found in repair kits.
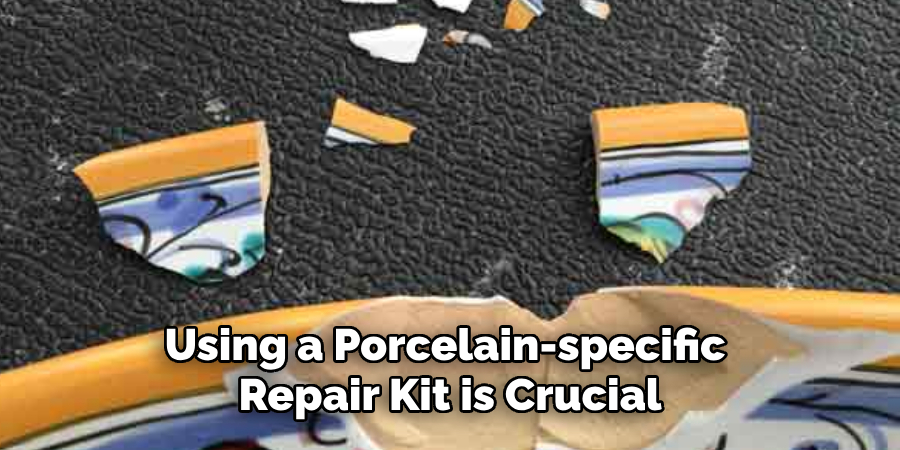
Using a porcelain-specific repair kit is crucial for long-lasting repairs, as these kits are formulated with materials that adhere optimally to porcelain. Selecting the appropriate materials based on the extent of the damage is key: epoxy is ideal for deep chips or larger cracks, while touch-up paint suits minor scratches or superficial imperfections. This approach ensures the repair not only restores functionality but also maintains the sink’s aesthetic integrity.
Cleaning and Prepping the Sink
Step 1: Clean the Sink
Begin by thoroughly cleaning the sink to prepare it for repair. Use mild soap and water or a specialized porcelain cleaner to effectively remove any dirt, grease, and debris. Pay special attention to the damaged areas to ensure they are completely free of grime, as any residual dirt can interfere with the repair process. A clean surface will provide the best foundation for the repair materials to adhere properly, ensuring a more durable and long-lasting fix.
Step 2: Inspect the Damage
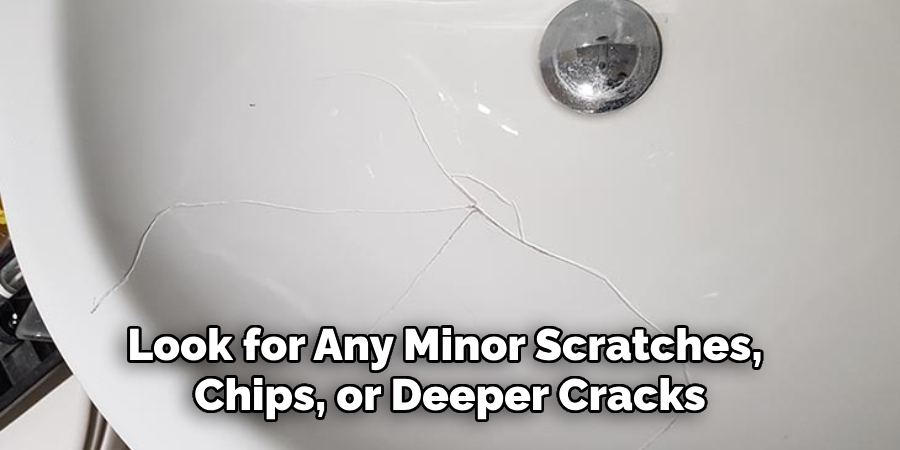
Once the sink is clean, carefully inspect the entire surface to accurately assess the extent of the damage. Look for any minor scratches, chips, or deeper cracks that may need attention. Identifying the severity of each area of damage is crucial for determining the appropriate repair method and materials to use. For instance, deep cracks may require an epoxy filler, while minor chips might only need touch-up paint.
Step 3: Protect the Surrounding Area (Optional)
To protect the rest of the sink or surrounding countertop during the repair process, you may choose to apply painter’s tape around the edges of the damaged area. This step is optional but highly recommended for keeping the unaffected areas pristine. Ensure that the area to be repaired is fully exposed and easily accessible, allowing you to work efficiently without risking damage to the surrounding surfaces.
How to Repair Porcelain Sink: Repairing Chips and Cracks
Step 1: Sand the Damaged Area
Begin the repair process by gently sanding the chipped or cracked area with a fine-grit sandpaper. This step is crucial for ensuring the repair compound properly adheres to the surface. Use light, even strokes, to avoid causing further damage to the surrounding porcelain. Focus on creating a smooth transition between the damaged and non-damaged areas to facilitate the application of repair materials. Consistency in sanding will help achieve a seamless repair, minimizing the visibility of the affected site once the repair is completed.
Step 2: Apply the Repair Compound
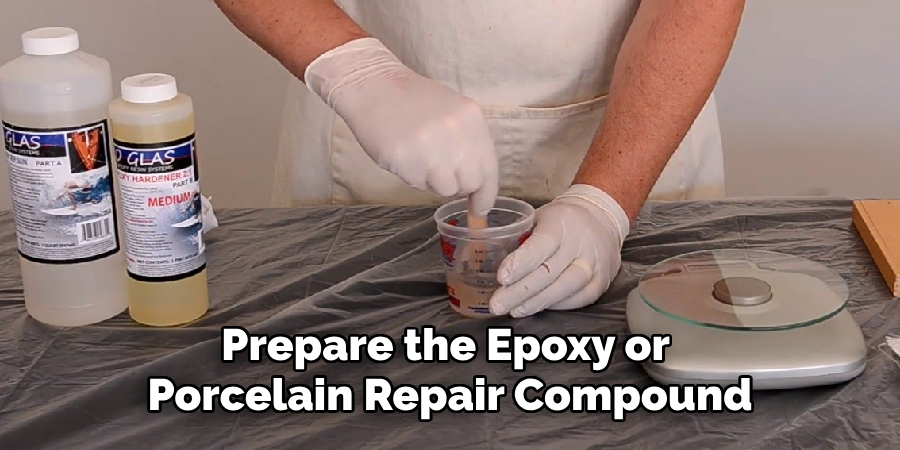
After sanding, prepare the epoxy or porcelain repair compound according to the product’s instructions, paying close attention to recommended mixing times and ratios. Use a putty knife or applicator to carefully apply the compound to the damaged area, ensuring complete filling of all chips and cracks. While applying, hold the applicator at a low angle to distribute the compound evenly, smoothing it out to be level with the surrounding porcelain. Avoid air bubbles and gaps for the best results; a smooth application ensures a professional finish and long-lasting repair.
Step 3: Let the Compound Dry
Allow the repair compound to cure fully over a period, usually specified as 24 hours by most manufacturers. Full drying ensures the compound is securely set and capable of withstanding daily use without crumbling or detaching. For those seeking to expedite the process, a hair dryer or heat gun may be used. However, exercise caution to maintain a safe distance at a low heat setting to prevent warping or additional damage to the porcelain.
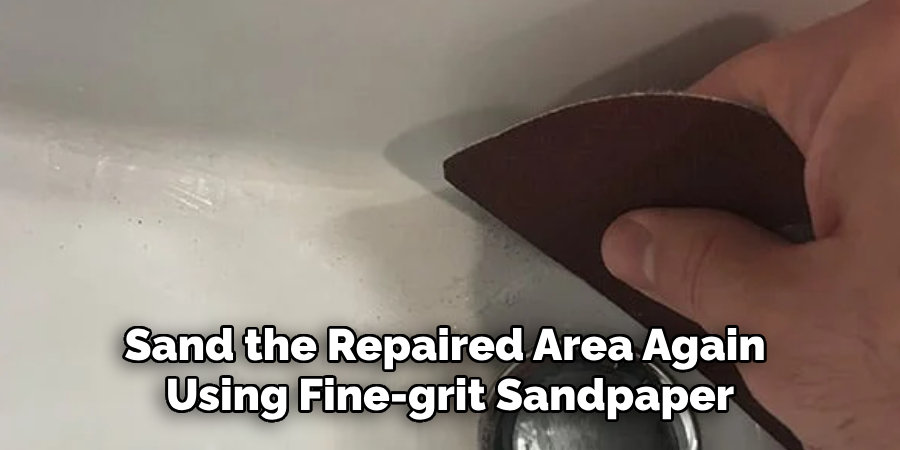
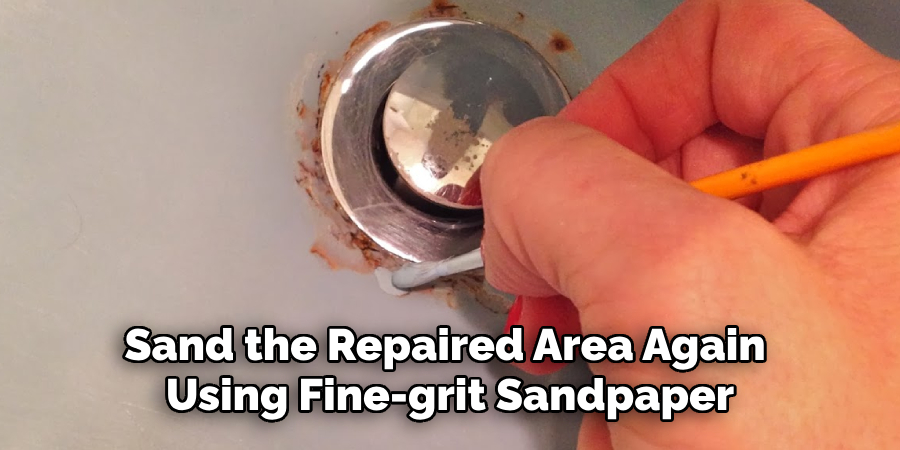
Step 4: Sand the Repaired Area
Once the compound is thoroughly dry, sand the repaired area again using fine-grit sandpaper. This step aims to blend the repair site seamlessly with the rest of the sink’s surface. Use a gentle touch to ensure you do not inadvertently damage the surrounding porcelain. The goal is to eliminate any excess compound that may have risen above the sink’s level during drying, resulting in a smooth, flawless finish ready for painting.
Step 5: Touch Up with Porcelain Paint
To complete the repair, apply porcelain touch-up paint or glaze to the repaired area to restore the sink’s original color and finish. Use a fine-tipped brush to apply the paint in thin, even layers. Allow each layer to dry fully before applying the next, which may take several hours, depending on the product used. Multiple coats may be needed to achieve the desired opacity and color match. This attention to detail is critical in ensuring that the repair is nearly invisible, reinstating the sink’s appeal and functionality.
How to Repair Porcelain Sink: Repairing Larger Cracks or Holes
Step 1: Clean and Sand the Area
Before starting the repair on larger cracks or holes, it’s essential to thoroughly clean the area using mild soap and water or a porcelain cleaner. Remove all residues and debris to create an ideal surface for bonding. After cleaning, dry the area completely and sand it with a coarse-grit sandpaper to roughen the surface, enhancing the repair’s adhesive quality.
Step 2: Apply Epoxy Filler
To address larger cracks or holes, carefully mix the epoxy filler according to the manufacturer’s instructions. Use a putty knife to press the filler firmly into the damaged area. Ensure the epoxy fills the crack or hole completely, avoiding air pockets, and is evenly spread across the surface. This will provide a solid foundation that adheres well to the porcelain, ensuring the durability of the repair.
Step 3: Let the Filler Dry
Allow the epoxy filler to dry and set as specified by the product instructions, which generally range from 24 to 48 hours. Complete curing is necessary for the filler to achieve maximum strength and reliability. A hairdryer set on low heat can be used for expedited drying, maintaining a safe distance to avoid damaging the porcelain.
Step 4: Sand and Paint the Repaired Area
Once the epoxy filler is dry, sand the surface again using fine-grit sandpaper until it is smooth and level with the surrounding porcelain. This step ensures a seamless integration of the repair. To finish, apply porcelain touch-up paint with a fine-tipped brush. Paint in thin layers, allowing each to dry before applying the next, effectively blending the repaired area with the sink’s original finish for a virtually invisible repair.
Polishing and Finishing the Surface
Step 1: Polish the Sink
To restore the shine to your sink’s surface, use a soft cloth or sponge to gently polish the repaired area. Opt for a ceramic-friendly polishing product to enhance the glossiness of the finish. Apply the polish in small, circular motions to ensure even coverage across the restored section, bringing back the sink’s original luster.
Step 2: Seal the Repaired Area
Consider applying a clear sealer over the repaired area for a longer-lasting repair. This optional step can protect the new paint or filler from wear and ensure durability. Choose a sealer compatible with porcelain, and apply it in even coats with a clean brush or cloth.
Step 3: Inspect the Final Result
Carefully inspect the sink to ensure the repair blends seamlessly, with no visible cracks, chips, or uneven surfaces. Maintaining a regular cleaning schedule and avoiding harsh chemicals will help prevent future damage, preserving the sink’s pristine appearance.
Preventing Future Damage
Tip 1: Avoid Abrasive Cleaners
To maintain the integrity of your porcelain sink, it is crucial to avoid using abrasive cleaners, which can scratch the surface and dull its finish. Opt for non-abrasive cleaning solutions specifically designed for ceramic or porcelain surfaces. Gentle products are effectively cleaned without causing damage, preserving the sink’s appearance.
Tip 2: Use Sink Mats or Grates
Place mats or grates on the bottom of your sink to protect it from potential chips and scratches. These accessories act as a buffer between the sink and heavy or sharp objects, preventing direct impact that can damage the porcelain. They offer an added layer of protection while also supporting efficient water drainage.
Tip 3: Regular Maintenance
Regularly inspect your sink to identify any minor chips or cracks early. Addressing these quickly can prevent them from expanding and causing significant damage. Routine checks ensure that your sink remains in optimal condition, extending its lifespan and maintaining its aesthetic appeal.
Conclusion
The journey of learning how to repair porcelain sink involves crucial steps that ensure lasting results. Begin by meticulously cleaning and sanding the damaged area before applying necessary repair compounds, such as epoxy filler. Finish by sanding again and touching up with porcelain paint for a seamless blend. Taking your time with each step guarantees the restoration of the sink’s original beauty and functionality. Emphasize regular maintenance and caution with cleaning products to prevent future damage. With proper care, a porcelain sink can maintain its pristine condition for years to come.
Specialization:
- Master of wheel-throwing, hand-building, and advanced glazing techniques
- Focus on creating both functional pottery and decorative art pieces
Recognition:
- Celebrated by collectors and art enthusiasts for creating one-of-a-kind pieces that blend artistry with functionality
- Participates in local and national exhibitions, earning accolades for his innovative designs and craftsmanship
Passion:
- Deeply committed to exploring and pushing the boundaries of ceramic artistry
- Continuously experiments with new materials, firing techniques, and artistic concepts to evolve his craft
Personal Philosophy:
- Believes in the transformative power of art, aiming to evoke emotions and connections through his ceramic creations
- Advocates for sustainability in ceramics, using eco-friendly materials and practices whenever possible


