Porcelain, known for its durability and glass-like finish, is often utilized in a variety of applications such as tiles, sinks, and bathtubs. This adaptable material combines strength with an elegant aesthetic, making it a popular choice for functional and decorative home and building items. However, there are instances when sanding porcelain becomes necessary. Whether it’s to smooth out rough edges, eliminate imperfections, or get the surface ready for painting or glazing, knowing how to effectively sand porcelain can make a substantial difference in the final appearance and quality of the product. This article aims to provide a comprehensive guide to how to sand porcelain, covering the essential tools required, the various techniques to use, and important safety tips to ensure the process is done efficiently and safely. With these guidelines, readers will be equipped to handle porcelain sanding projects with confidence.

Materials and Tools Needed
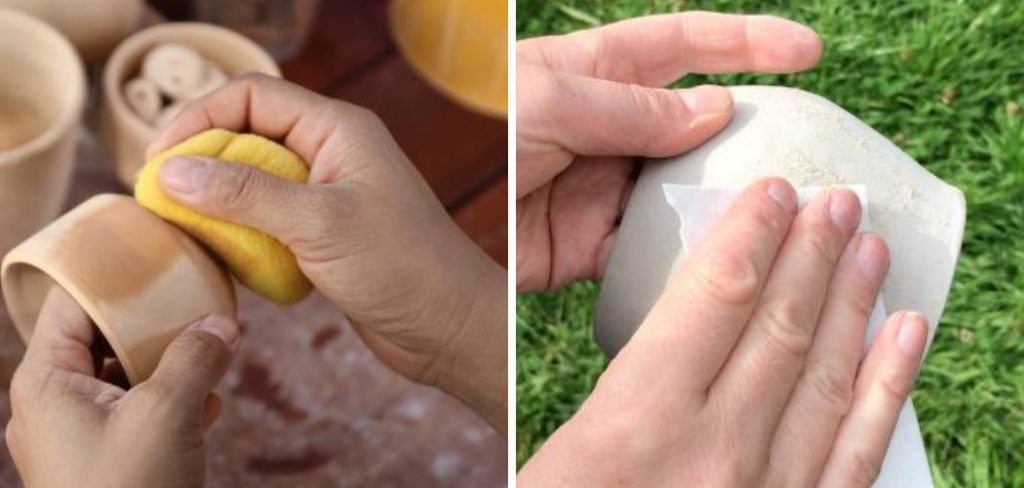
Successfully sanding porcelain requires the right materials and tools to ensure a smooth finish without causing damage. Fine-grit sandpaper is essential for materials, with wet/dry sandpaper ranging from 180 to 1200 grit being preferable. Fine-grit sandpaper is crucial as it minimizes the risk of scratching or damaging the porcelain’s surface while effectively smoothing imperfections. A porcelain cleaner or mild soap is necessary to prepare and clean the surface before and after sanding. Water is used for wet sanding to reduce dust and friction, providing a better finish. For the final touch, a polishing compound can be utilized to enhance the porcelain’s shine.
Essential tools for this process include a sanding block or sponge, which is ideal for hand sanding smaller or more delicate items where precision is needed. A rotary tool or electric sander is more efficient for larger surfaces, covering more area quickly while still providing control. A soft cloth or sponge is needed to clean off the porcelain surface throughout the process to ensure no residue is left behind. Safety should be a priority, so wearing a mask and protective gloves is recommended to avoid inhaling dust or coming into direct contact with chemicals. Selecting the correct tool—hand sanding for smaller, detailed work and electric tools for larger, flatter pieces—ensures the best results while protecting the integrity of the porcelain.
Preparing the Porcelain Surface
Step 1: Clean the Porcelain

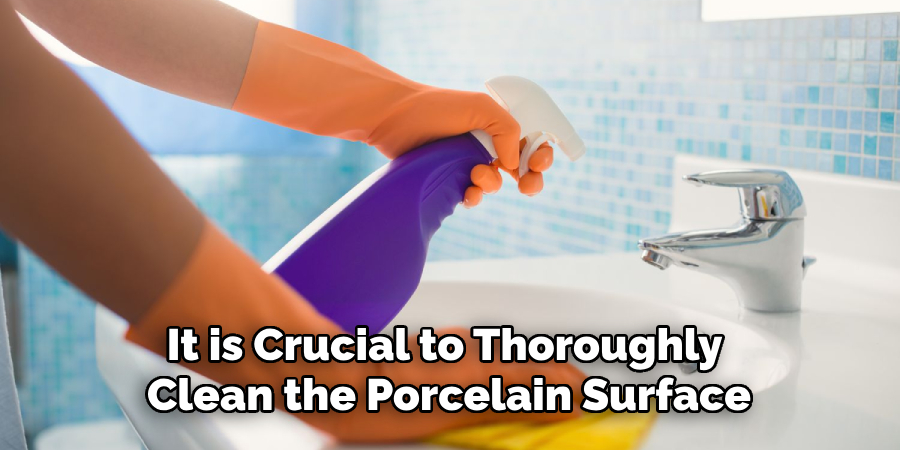
Before beginning the sanding process, it is crucial to thoroughly clean the porcelain surface to ensure the best results. Use mild soap and water or a specialized porcelain cleaner to remove all dust, dirt, and oils from the surface. This step is essential as any residue left on the porcelain can interfere with sanding, potentially leading to uneven smoothing or scuffs. A clean surface ensures that the sandpaper can grip properly, resulting in a consistent, polished finish.
Step 2: Inspect the Surface for Imperfections
Carefully inspect the porcelain to identify any chips, cracks, or rough edges that require attention. This involves closely examining the entire surface to determine areas that need sanding. Once identified, use a pencil or removable tape to mark these problem areas. This approach will help focus your efforts during sanding, ensuring you address all necessary spots without missing any imperfections.
Step 3: Protect the Surrounding Area (Optional)
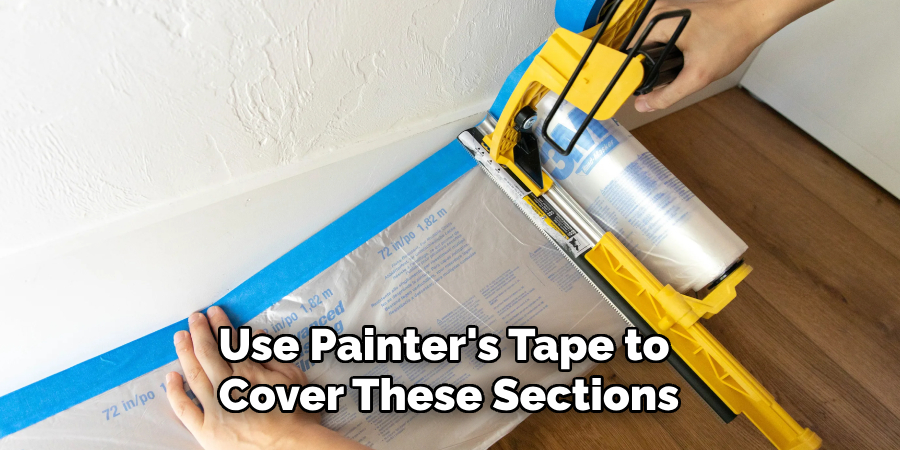
To safeguard areas of the porcelain that do not require sanding, use painter’s tape to cover these sections. This is particularly useful for protecting glossy finishes or painted parts. Ensuring that the surface to be sanded remains fully exposed is critical. The painter’s tape creates a clear boundary that helps maintain the integrity of the other porcelain parts while allowing you to work efficiently on the designated areas.

How to Sand Porcelain: Wet Sanding vs. Dry Sanding Porcelain
What is Wet Sanding?
Wet sanding is a process where water is used as a lubricant to prevent friction and heat buildup while sanding. This method is highly beneficial when working with porcelain as it significantly reduces the risk of scratches and helps achieve smoother results. By using water, the abrasive particles move more freely, preventing unwanted abrasive marks on the surface. To effectively perform wet sanding, you can use a spray bottle or a damp sponge to moisten the surface and sandpaper consistently. This helps keep the area saturated and minimizes dust production.
What is Dry Sanding?
Dry sanding, in contrast, involves sanding without the use of water. This technique is suitable for smaller repairs or for lightly smoothing already-glazed surfaces. While it is more efficient for quick touch-ups, it also poses a higher risk of scratching if not carried out carefully. When dry sanding, applying minimal pressure and continuously checking the surface is imperative to ensure you’re not causing excessive damage to the porcelain.
How to Choose the Right Grit
For heavy imperfections, such as deep chips or scratches, starting with sandpaper in the 180-240 grit range is recommended. This grit is coarse enough to tackle major blemishes. However, applying light pressure is crucial to prevent further damage. For smoothing and finishing, it’s important to gradually move to higher grits, such as 600 to 1200 grit, to ensure a smooth, polished finish. Using a 1200-grit sandpaper will help achieve a glass-like sheen on the porcelain, enhancing its overall appearance.

Sanding Techniques
Step 1: Sand in Circular Motions
When sanding, small, circular motions are effective. This technique helps to evenly smooth out imperfections without concentrating the pressure in a single area. Ensuring light, consistent pressure is applied is essential to maintaining the porcelain’s integrity and avoiding creating new scratches.
Step 2: Regularly Check the Surface
It is important to periodically stop sanding to inspect the surface. Wiping it clean allows you to clearly assess the progress and avoid over-sanding, which can result in permanent alterations to the porcelain. Taking these pauses ensures you correctly address the imperfections and achieve the desired finish.
Step 3: Rinse and Repeat
During wet sanding, frequently rinse both the surface and the sandpaper to remove debris and maintain smooth outcomes. Identify when to cease using a coarser grit and switch to a finer one for final finishing. This cycle of rinsing and repeating aids in perfecting the surface, contributing to a professional end result.
Smoothing Porcelain Edges
Step 1: Use Fine-Grit Sandpaper
Begin smoothing sharp or rough edges on porcelain items by selecting fine-grit sandpaper within the 400-600 grit range. This grit level is ideal for gently refining the edges of tiles, dishes, or porcelain objects. If the edge is particularly jagged or rough, start with a coarser grit to remove larger imperfections before moving to the finer grit. This progression helps to shape the edge initially and prepare it for a smoother finish.
Step 2: Sand the Edges Evenly
Hold the sandpaper at a slight angle to the porcelain edge to achieve even smoothing. Use smooth, consistent strokes to gradually round or smooth the edge. Rotate the object or sand along the entire edge to maintain an even finish, ensuring that no area is neglected. This technique ensures a uniform appearance, providing a seamless edge that complements the rest of the porcelain item.
Step 3: Finish with Ultra-Fine Grit
Once the edges are initially smoothed, refine them further with ultra-fine sandpaper, ranging from 1000 to 1200 grit. This final step polishes the edge, creating a smooth, sleek finish. For an optional enhancement, apply a polishing compound to achieve a glossy shine, highlighting the piece’s craftsmanship and detail. This comprehensive approach ensures a professional-quality edge that enhances the porcelain’s overall aesthetic.
Polishing and Buffing the Porcelain
Step 1: Clean the Sanded Surface
Begin by thoroughly wiping the sanded surface with a damp cloth to eliminate all traces of sanding dust and debris. It’s essential to ensure the surface is clean and dry before transitioning to the polishing phase. This preparation step prevents particles from interfering with the polishing process and guarantees optimal results.
Step 2: Apply Polishing Compound (Optional)
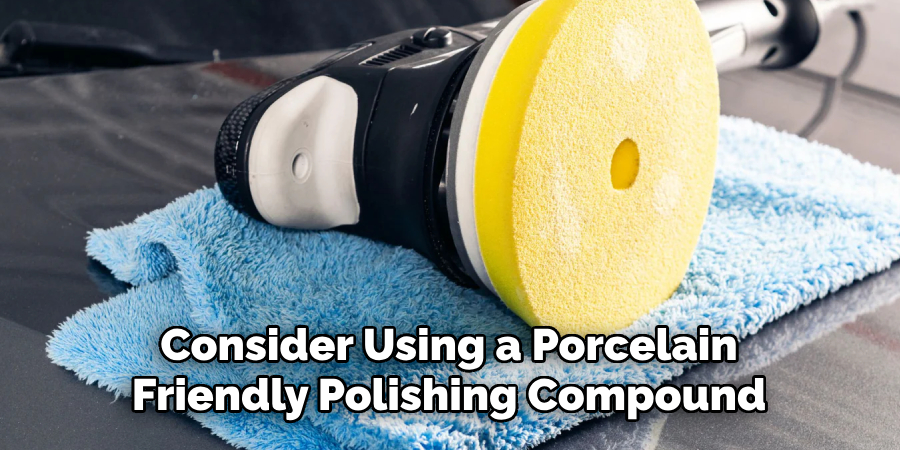
Consider using a porcelain-friendly polishing compound to enhance the smoothness and shine of the porcelain. Apply the compound with a soft cloth to the surface in gentle, circular motions. This method helps distribute the polish evenly, ensuring that the surface achieves a lustrous finish without streaks or spots.

Step 3: Buff the Surface
For the final touch, buff the porcelain surface using either a clean cloth or a rotary buffer. Carefully work the buffing tool in gentle circles, bringing out the desired sheen without applying excessive force. Overbuffing can dull the surface, so the key is to aim for an even and polished finish while maintaining the porcelain’s inherent glimmer and elegance.
Safety Tips for Sanding Porcelain
Tip 1: Wear Protective Gear
Wearing a mask and gloves is crucial when sanding porcelain, especially dry sanding. This protective gear helps prevent inhaling harmful dust particles and shields your skin from possible contact with chemicals. Ensuring proper ventilation, particularly indoors, is vital to maintaining good air quality and minimizing health risks.
Tip 2: Avoid Excessive Pressure
Applying light pressure is essential during the sanding process to prevent creating cracks or scratches on the porcelain surface. Gentle sanding allows for better control and reduces the risk of damaging the material, ensuring a smoother and more uniform finish.
Tip 3: Test on a Small Area
Before proceeding with full-scale sanding, always test your techniques on a small, inconspicuous area. This approach ensures that the methods used effectively achieve the desired outcome without compromising the integrity or appearance of the entire porcelain surface.
Conclusion
Sanding porcelain requires patience and precision, but mastering how to sand porcelain can significantly enhance your project’s result. Begin with selecting appropriate tools and materials, ensuring the right grit level for your needs. Apply careful sanding techniques, such as using circular motions and checking progress consistently. Take time to gradually transition through grits for a polished finish. Remember to always prioritize safety by wearing protective gear and testing on small areas before expanding to larger surfaces. Embrace the process, and you’ll achieve a smooth, professional appearance every time.
Check it out: How to Repair Ceramic Figurine
Specialization:
- Master of wheel-throwing, hand-building, and advanced glazing techniques
- Focus on creating both functional pottery and decorative art pieces
Recognition:
- Celebrated by collectors and art enthusiasts for creating one-of-a-kind pieces that blend artistry with functionality
- Participates in local and national exhibitions, earning accolades for his innovative designs and craftsmanship
Passion:
- Deeply committed to exploring and pushing the boundaries of ceramic artistry
- Continuously experiments with new materials, firing techniques, and artistic concepts to evolve his craft
Personal Philosophy:
- Believes in the transformative power of art, aiming to evoke emotions and connections through his ceramic creations
- Advocates for sustainability in ceramics, using eco-friendly materials and practices whenever possible


