


Are you tired of your air clay being too rough and need a solution to fix it? Look no further! In this guide, we will discuss how to smooth air dry clay so that you can achieve the perfect finish for your project.

Smoothing air-dry clay is essential for artists and crafters looking to create polished and professional-looking pieces. Unlike traditional clay fired in a kiln, air-dry clay hardens naturally over time, making it a versatile and accessible medium for projects of all kinds. However, achieving a smooth and refined finish often requires specific techniques and tools to avoid cracks, rough surfaces, or imperfections.
This guide will provide you with simple yet effective methods to ensure your air-dried clay creations are smooth and ready for painting, decorating, or displaying.
What Are the Benefits of Smoothing Air Dry Clay?
There are several benefits to smoothing air dry clay, including:
- Aesthetic Appeal: A smooth finish can make your project look more polished and professional.
- Ease of Painting or Decorating: A smooth surface allows for better adhesion of paint or other decorative materials.
- Preventing Cracks and Imperfections: By smoothing out the clay, you can avoid cracks and bumps that may occur during the drying process.
What Will You Need?
To smooth your air-dry clay, you will need the following materials and tools:
- Air Dry Clay: Choose a brand known for its smooth consistency and easy workability.
- Sandpaper: Use fine-grit sandpaper to gently buff out any rough spots on the surface of your clay.
- Water: A small bowl of water will moisten the clay and aid in smoothing it out.
- Clay Shaper Tool: This tool has a rubber or silicone tip that can gently press and smooth the surface of the clay.
- Rolling Pin: A rolling pin is useful for flattening any uneven areas or texture on your clay piece.
- Sanding Sealer: This optional tool can be used as a final step to seal and protect your smoothed clay piece.
Once you have gathered all the necessary materials and tools, you can begin the process of smoothing your air dry clay.
8 Easy Steps on How to Smooth Air Dry Clay
Step 1. Prepare Your Workspace:
Make sure your workspace is clean, organized, and free of dust or debris that could stick to your clay. Choose a sturdy, flat surface to work on, such as a table or countertop, that provides ample space for your tools and materials.
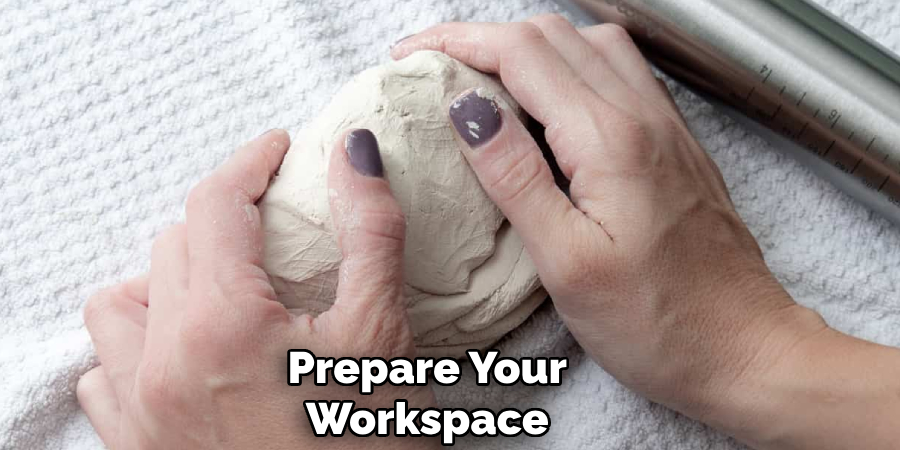
Cover your workspace with a protective layer, like wax paper or a silicone mat, to prevent the clay from adhering to the surface and to make cleanup easier. Ensure good lighting; this will help you spot imperfections in your clay while smoothing it out. Having all your tools and materials within easy reach will streamline the process and allow you to focus solely on perfecting your piece.
Step 2. Knead the Clay Thoroughly:
Begin by kneading your air-dried clay to improve its consistency and remove any trapped air bubbles. To do this, press and fold the clay repeatedly with your hands, ensuring it becomes soft, smooth, and workable. Proper kneading will also help prevent cracks in your final piece as the clay dries.
If the clay feels too stiff, add a small amount of water and continue kneading until it reaches the desired texture. Avoid over-saturating the clay, as excess water can weaken its structure. Kneading prepares the clay for smoothing and makes it easier to shape and mold into your desired design.
Step 3. Shape Your Design:
Once the clay is thoroughly kneaded, shape it into your desired design. Use your hands and sculpting tools to mold the clay with precision and creativity. Start with the basic outline of your piece, gradually adding details as you go. If you’re working on a complex design, divide it into smaller sections and assemble them carefully.
Keep a damp sponge or cloth handy to smooth out edges and seams, ensuring a polished finish. Remember to work steadily to prevent the clay from drying out before you’re done shaping.
Step 4. Dry and Finish the Clay:
After shaping your design, allow the clay to dry completely before handling it further. Place the piece in a cool, dry area with good air circulation, and avoid direct sunlight, as rapid drying can cause cracking. Depending on the thickness of the clay, this process may take several hours to a few days.
Once dry, inspect your creation for any imperfections, such as rough edges or uneven surfaces. Use fine-grit sandpaper to gently smooth out these areas for a clean and finished appearance. If desired, you can paint or glaze the piece to enhance its aesthetic appeal and protect its surface.

Step 5. Seal and Preserve the Clay:
To ensure the longevity of your clay creation, consider sealing it with a protective finish. Apply a clear sealant, varnish, or glaze designed for your specific type of clay. This step provides durability and adds a glossy or matte finish, depending on your preference. Follow the manufacturer’s instructions for application, and allow the sealant to cure fully before displaying or using your piece. Sealing helps protect against moisture, dust, and wear, preserving your artwork for years.
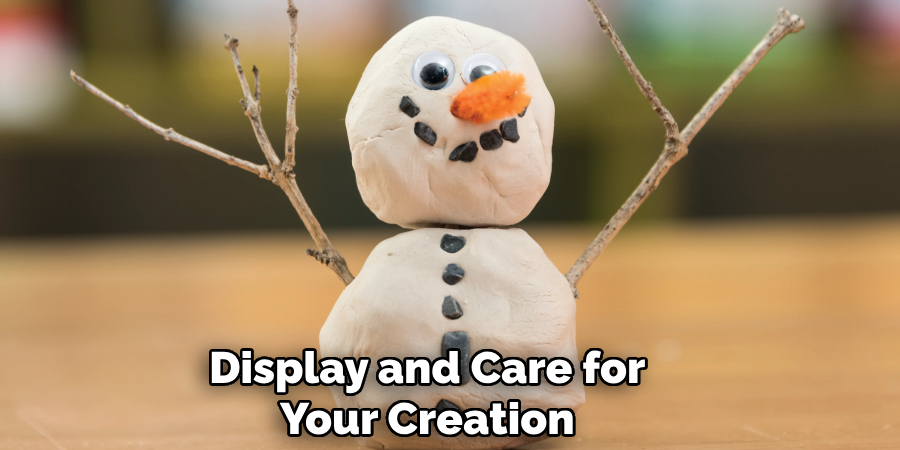
Step 6. Display and Care for Your Creation:
Once your clay piece is fully dried, sealed, and finished, it is ready to be displayed or used. Choose a suitable place to showcase your creation, whether it’s a shelf, table, or dedicated display area. If the piece is functional, such as a bowl or decorative item, handle it carefully to prevent damage. Regularly clean your clay creation with a soft, dry cloth to remove dust and maintain its appearance. Avoid exposing it to extreme temperatures or direct sunlight for prolonged periods, as this could affect its durability or color. Proper care ensures that your handmade piece remains a cherished part of your collection for years.
Step 7. Experiment and Expand Your Skills:
After completing your clay project consider experimenting with new techniques, materials, and designs to expand your skills. Try incorporating different textures, patterns, or tools into your next creation. Explore advanced methods like carving, adding intricate details, or blending colors.
Joining a local workshop or online clay crafting community can provide inspiration and valuable feedback. Each new project helps refine your craftsmanship and opens up endless possibilities for your creative expression.
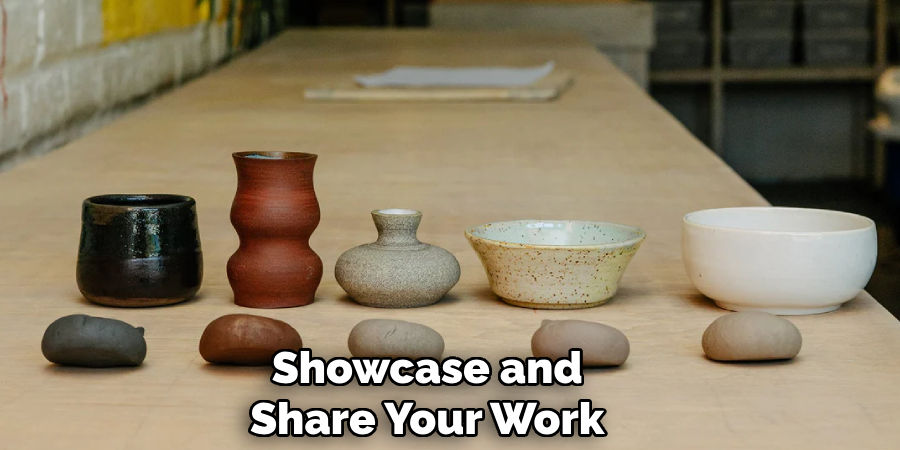
Step 8. Showcase and Share Your Work:
Once you’ve honed your skills and completed your clay creations, take the opportunity to showcase your work. Display your pieces at home, gift them to loved ones, or participate in local craft fairs and exhibitions. Sharing photos of your projects on social media or in online crafting groups can inspire others and connect you with fellow enthusiasts. Celebrating your achievements builds confidence and motivates you to continue exploring and pushing your creative boundaries.
By following these eight easy steps, you can create beautiful and smooth air-dry clay projects with ease.
5 Things You Should Avoid
- Using Too Much Water: While a small amount can help smooth the surface, excessive water will weaken the clay and make it crack as it dries.
- Skipping Proper Sanding: Once the clay is dehydrated, failing to sand the surface lightly can leave rough patches and imperfections, impacting the final finish.
- Applying Pressure Unevenly: Uneven pressure during the smoothing process can create dips or unintended textures that are difficult to correct after drying.
- Hurrying the Drying Process: Trying to speed up the drying process by exposing the clay to direct heat can cause warping or splitting, ruining your work.
- Ignoring Surface Cleaning: Smoothing tools or fingers with debris or residue can embed unwanted particles into the clay, resulting in a flawed surface.
You can achieve a smooth and flawless finish on your clay projects by avoiding these common mistakes.
Can Dried Air Dry Clay Be Reused?
One common question when working with air-dry clay is whether or not it can be reused. The answer to this question depends on a few factors.
Firstly, the type of air clay used will play a role in its reusability. Some types of air-dry clay, such as those made from natural materials like paper pulp or cellulose fibers, can be rehydrated and reused multiple times. However, other types of air-dry clay made from synthetic materials may not have the same ability to be reused.
Secondly, the condition and storage of the dried air clay will also impact its reusability. If the clay has been properly sealed and stored in a cool and dry place, it may still be pliable enough to be reused. However, if the clay has been left out in the open or exposed to heat, it may become too hard and brittle to work with again.
Finally, the time that has passed since the clay was initially dried will also affect its reusability. The longer the clay has been dried, the more likely it is to have lost its ability to be rehydrated and reused.
Conclusion
How to smooth air dry clay requires patience and the right techniques to achieve a polished finish.
Start by lightly dampening the surface of the clay with water using a sponge or your fingertips, taking care not to oversaturate it. Gently rub the surface to even out any cracks or imperfections. For finer details, use tools such as a soft brush or a silicone sculpting tool to smooth hard-to-reach areas. Once the clay begins to dry, sandpaper with a fine grit can refine the surface further.
Proper preparation and attention to detail will produce a clean, professional-looking finish for your air-dried clay project.
Specialization:
- Master of wheel-throwing, hand-building, and advanced glazing techniques
- Focus on creating both functional pottery and decorative art pieces
Recognition:
- Celebrated by collectors and art enthusiasts for creating one-of-a-kind pieces that blend artistry with functionality
- Participates in local and national exhibitions, earning accolades for his innovative designs and craftsmanship
Passion:
- Deeply committed to exploring and pushing the boundaries of ceramic artistry
- Continuously experiments with new materials, firing techniques, and artistic concepts to evolve his craft
Personal Philosophy:
- Believes in the transformative power of art, aiming to evoke emotions and connections through his ceramic creations
- Advocates for sustainability in ceramics, using eco-friendly materials and practices whenever possible