Ceramic slip, a liquid mixture composed of clay and water, is a vital material in ceramics and pottery. It is widely used for various techniques such as casting molds, where it serves as the primary medium for creating intricate forms; slip trailing, which involves decorative applications on ceramic surfaces; and joining pieces, a method essential for attaching parts together seamlessly.
The consistency of ceramic slip plays a crucial role in determining the success of these techniques, as the right balance of thickness ensures effective application and prevents defects in the final product. This article provides an overview of the importance of maintaining proper slip consistency and elaborates on “how to thicken ceramic slip” when it becomes too watery. The following sections will cover different techniques and methods, including natural evaporation, adding clay, using flocculant, and other practical solutions to achieve the perfect consistency for your ceramic projects.
Understanding Ceramic Slip Consistency
What is Ceramic Slip?
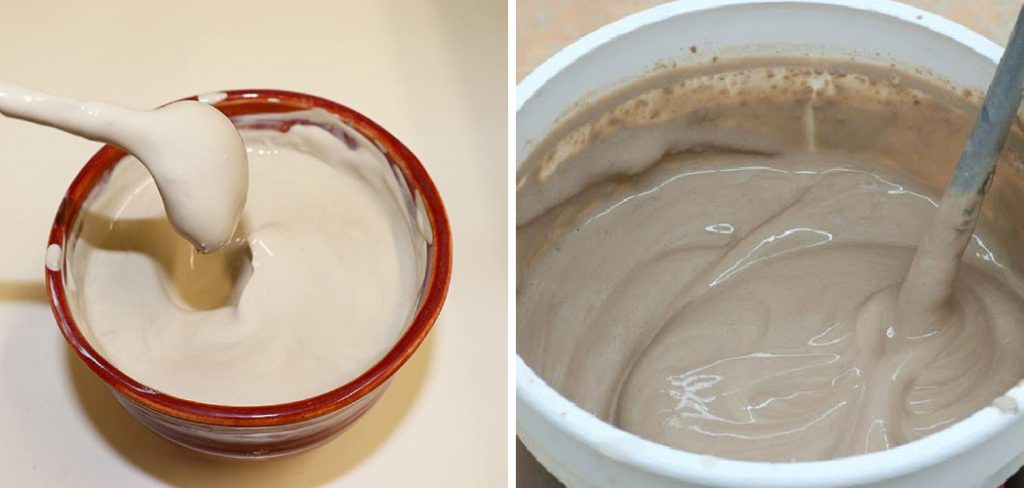
Ceramic slip is a liquid clay mixture composed of clay particles suspended in water. This versatile material is instrumental in various ceramics techniques, including casting molds, where it fills complex shapes to form solid objects; decoration, such as adding patterns or textures to surfaces; slip trailing, which involves applying slip decoratively with precision; and joining pieces, ensuring secure attachments between different ceramic parts.
Why Consistency Matters
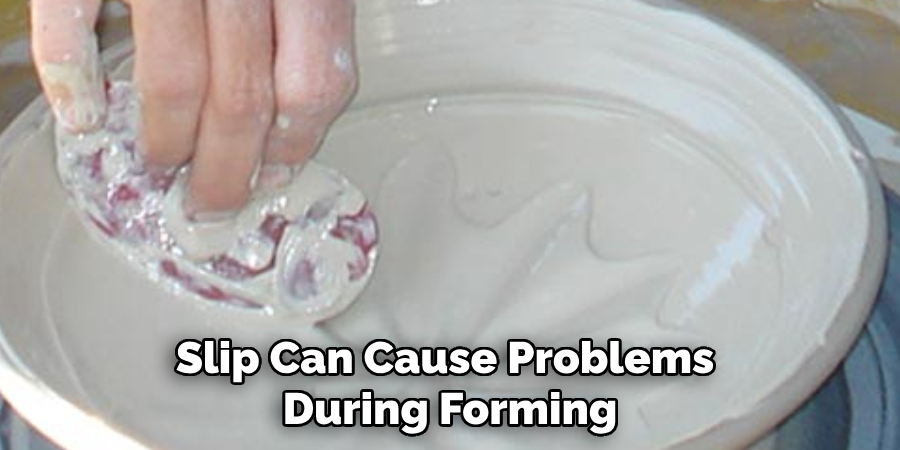
The consistency of ceramic slip significantly impacts the quality and success of ceramic projects. When too watery, slip can cause problems during forming, casting, or decorative processes, resulting in weakened structures, poor detail formation, or uneven surfaces. Achieving the ideal consistency is crucial for specific applications: a smooth and fluid slip is necessary for even pouring and mold casting; a slightly tacky consistency works best for joining pieces; and a thicker slip holds shape well when applied for surface decoration. Maintaining the proper consistency helps ensure precision, strength, and aesthetic quality in the finished ceramic pieces.
Causes of Thin or Watery Ceramic Slip
Excess Water in the Slip
One primary cause of thin or watery ceramic slip is the addition of too much water during the mixing process. This can lead to a slip that lacks the desired viscosity and affects its usability in various ceramic techniques. To avoid this issue, it is crucial to measure the amount of water carefully during the initial preparation. By adhering to precise measurements and consistently following a tried-and-true recipe, ceramists can maintain the appropriate balance between water and clay.
Improper Mixing of Clay and Water
Another factor contributing to inconsistent slip thickness is improper mixing of the clay and water. Incomplete blending can result in areas of varying consistency throughout the mixture. To ensure uniformity, thorough mixing is essential. Utilizing electric mixers or robust hand tools can help achieve a homogeneous slip. It is advisable to mix for an adequate amount of time, ensuring all the clay is fully integrated into the water, resulting in a smooth and even texture.
Storage Issues
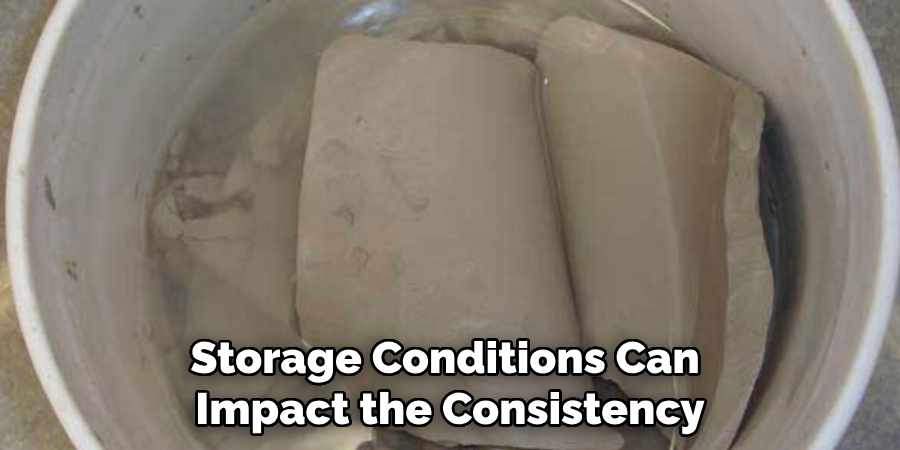
Additionally, storage conditions can impact the consistency of ceramic slips. Over time, slip may absorb moisture from the environment, becoming thinner, or alternatively, lose water through evaporation, leading to a thicker consistency. To manage these changes, it is important to routinely check the slip before each use. Assessing the texture and adjusting it with water or clay as needed can help maintain a consistent and usable slip that is ready for the next ceramic project.
How to Thicken Ceramic Slip: Methods to Thicken Ceramic Slip
Step 1: Letting the Slip Sit to Evaporate Water Naturally
One of the simplest methods to thicken ceramic slip is to allow it to sit uncovered, facilitating natural water evaporation. This involves placing the slip in a location with good airflow and exposing it for a few hours or even days, depending on the desired thickness. During this process, it is beneficial to stir the slip occasionally to evenly distribute the evaporation and monitor its consistency. While this method is gradual and best suited for minor adjustments, it effectively allows you to control the slip’s thickness without immediate intervention.
Step 2: Adding More Clay
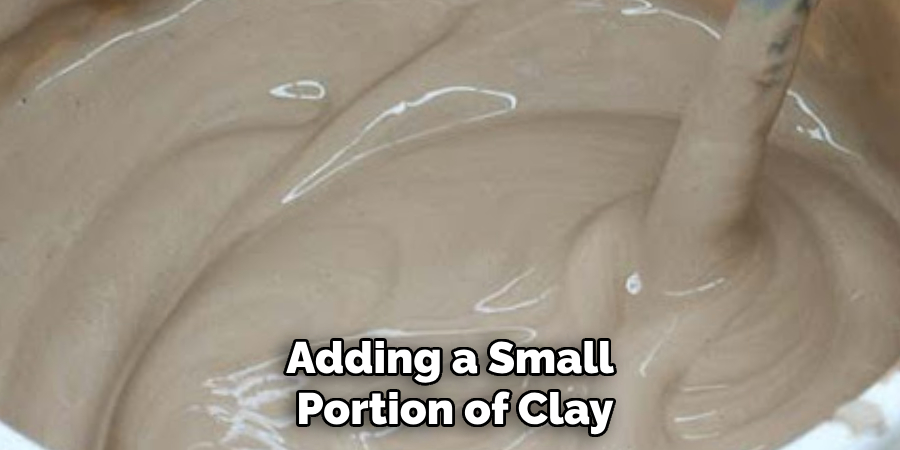
Another effective approach to achieving a thicker slip is the incorporation of additional clay. You can incrementally thicken the slip to the desired consistency using small amounts of dry clay powder or prepared clay. Begin by adding a small portion of clay to the slip and mixing it thoroughly to prevent lumps and ensure a homogeneous blend. Repeat this process, gradually increasing the clay content while carefully monitoring the texture to avoid over-thickening. It is essential to maintain a smooth texture, ensuring the slip remains consistent and easily workable.
Step 3: Using a Deflocculant or Flocculant
The use of chemical agents such as deflocculants and flocculants offers a targeted method for adjusting the slip’s consistency. Deflocculants, such as sodium silicate, are typically used to thin slip by dispersing clay particles, but if adjustment needs are beyond natural evaporation and adding clay, flocculants like calcium chloride can be more suitable. Flocculants promote clay particle grouping, thus thickening the slip. Adding a flocculant in small increments can increase the slip’s viscosity while enhancing stability. This method allows for precise control over the thickening process, with the ability to achieve specific results.
Step 4: Blending with Thicker Slip
Another practical approach to modifying slip consistency involves blending a thinner slip with an already thicker batch. By strategically mixing these two batches, you can balance the textures and ensure uniformity throughout the mixture. This method is particularly useful for achieving a specific texture and can help fine-tune the slip’s thickness for various project requirements.
Step 5: Using a Dehydrator or Heat Source
Applying a gentle heat source can expedite the water evaporation process, effectively thickening the slip. Utilizing equipment such as a dehydrator or a heat lamp or strategically placing the slip in a warm area helps in evaporating excess moisture more quickly than natural methods. However, caution is necessary to prevent overheating, which could dry out or damage the clay structure, affecting the slip’s quality. Always monitor the process to attain the preferred consistency without compromising the material’s integrity.
Testing and Adjusting the Slip Consistency
Step 1: Performing a Simple Viscosity Test
To test the viscosity of your ceramic slip, dip a tool such as a spoon or a stick into the mixture and observe how the slip coats and drips off the tool. A smooth and continuous pour is preferred for casting purposes, indicating a well-blended slip that maintains consistency without separating. For slip trailing techniques, the slip should hold shape as it drips rather than running off immediately, suggesting adequate thickness for detailed application. When joining pieces, a slightly tacky consistency is ideal, aiding adhesion between ceramic components. Depending on these results, you may need to adjust the slip by either thinning it with water or thickening it with additional clay or flocculants. These tests should guide you in fine-tuning the slip to match the demands of your specific ceramic technique.
Step 2: Conducting a Flow Test
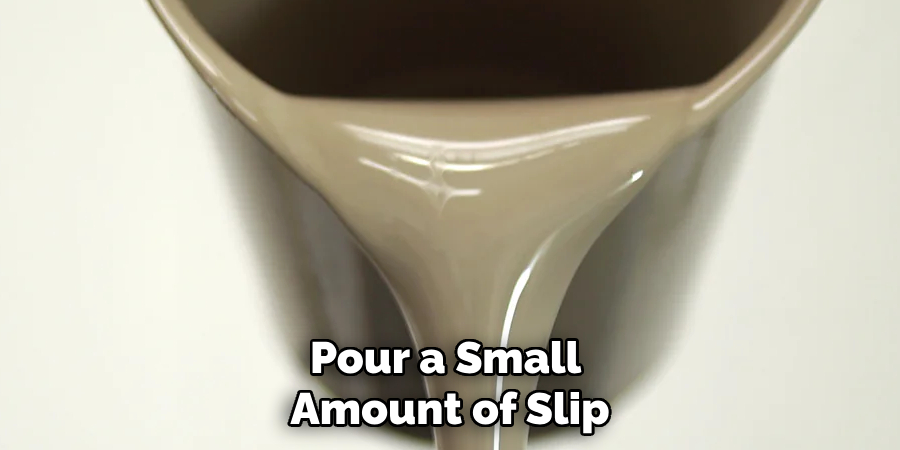
Pour a small amount of slip over a flat, non-absorbent surface to evaluate its flow characteristics. A slip that spreads too quickly might be too thin, lacking the necessary viscosity for certain applications. Conversely, if the slip remains almost stationary, it might be too thick, requiring dilution. Ideally, the slip should flow steadily without spreading too rapidly, indicating optimal viscosity. Based on the flow test results, incrementally add clay or utilize previously mentioned thickening methods, such as a flocculant, to achieve the desired flow rate. Ensuring the slip has the correct flow can greatly impact the final outcome of your ceramic projects.
Step 3: Trial and Error
Experimentation plays a crucial role in perfecting slip consistency. Working with small batches allows you to test different methods and adjustments without expending large quantities of materials. As you modify the slip, keep detailed notes on the quantities and methods used, enabling reproducibility of successful batches in future projects. This approach not only ensures efficient use of resources but also empowers you to adapt to different ceramic requirements with confidence. By systematically testing and refining your slip, you cultivate a deeper understanding of the material properties and enhance the quality of your ceramic creations.
Preventing Over-Thickening
Step 1: Gradually Adding Thickening Agents
When thickening slip, it is crucial to make small adjustments to avoid over-thickening, which can render the slip unusable. Overly thick slip may not flow well and could harden prematurely, complicating your ceramic work. To prevent this, add thickening agents such as clay or flocculants incrementally. After each addition, thoroughly mix the slip and perform a viscosity or flow test to assess its current state. This gradual approach ensures that you achieve the desired consistency without overshooting your target.
Step 2: Using Water to Loosen Over-Thickened Slip
Adding small amounts of water can help reverse the thickening process if the slip becomes too thick. It’s essential to add water cautiously, starting with minimal quantities, and stir the mixture slowly. This method rehydrates the slip, helping it regain the necessary fluidity without introducing air bubbles or inconsistencies. By monitoring the slip closely during this process, you can achieve the ideal viscosity for your project needs.
Step 3: Maintaining Slip for Future Use
It should be stored in airtight containers to keep slip from becoming too thick or thin over time, minimizing exposure to air and evaporation. Regularly stirring the stored slip helps maintain its consistency and ensures it remains ready for use when needed. This practice preserves the slip’s optimal thickness and facilitates easier preparation for your next ceramic endeavor.
Conclusion
In ceramic work, maintaining proper slip consistency is vital for achieving successful and precise results. This guide explored various methods on how to thicken ceramic slip, including natural evaporation, adding clay, using flocculant, and blending with thicker slip, each tailored to fine-tune the slip for specific needs. Mastery of these techniques ensures adaptability across different projects and enhances the overall quality of ceramics. Embrace the trial and error process and experiment with these approaches to find the ideal balance that suits each unique creation, guaranteeing both functionality and aesthetic appeal in your ceramic artistry.
Specialization:
- Master of wheel-throwing, hand-building, and advanced glazing techniques
- Focus on creating both functional pottery and decorative art pieces
Recognition:
- Celebrated by collectors and art enthusiasts for creating one-of-a-kind pieces that blend artistry with functionality
- Participates in local and national exhibitions, earning accolades for his innovative designs and craftsmanship
Passion:
- Deeply committed to exploring and pushing the boundaries of ceramic artistry
- Continuously experiments with new materials, firing techniques, and artistic concepts to evolve his craft
Personal Philosophy:
- Believes in the transformative power of art, aiming to evoke emotions and connections through his ceramic creations
- Advocates for sustainability in ceramics, using eco-friendly materials and practices whenever possible


