Are you tired of using thick pottery glazes that don’t achieve the desired results? Thinning a pottery glaze is an important technique that every potter should know. In this guide, we will discuss why and how to thin a pottery glaze.
Thinning a pottery glaze is an essential skill for ceramic artists looking to achieve the perfect consistency for their work. Whether you are preparing your glaze for dipping, brushing, or spraying, understanding how to adjust its thickness can significantly impact the final result of your piece. An adequately thinned glaze ensures even application, reduces dripping, and helps bring out the desired texture and finish.

This guide will walk you through the basics of thinning a pottery glaze, ensuring your creative vision is flawlessly brought to life. Let’s get started!
Why Thin a Pottery Glaze?
There are several reasons why you may need to thin your pottery glaze. Some of the most common reasons include:
- Consistency: Your glaze’s consistency directly impacts how it will apply and adhere to your pottery piece. A thick glaze can lead to uneven application and inconsistent finish.
- Dipping or Spraying Techniques: Different techniques require different consistencies of glazes for optimal results. You will need a thinner glaze for dipping while spraying typically requires a thicker one.
- Creating Unique Effects: Thinning a pottery glaze is also helpful in creating unique effects such as pooling or layering. Thinning allows more control over the application, resulting in a more deliberate design.
- Cost-Effective: By thinning your pottery glaze, you can stretch its volume and use it on more pieces. This helps save money and reduces wastage.
These are just a few reasons why learning to thin a pottery glaze is essential for every potter. Now, let’s dive into the steps of thinning your glaze.
What Will You Need?
Before we get started, here is a list of materials you’ll need to thin your pottery glaze:
- Pottery Glaze: This goes without saying. Make sure you have enough glaze for the project at hand.
- Water: The most critical ingredient in thinning your glaze will be water.
- Sieve or Mesh Strainer: Remove any lumps or impurities from your glaze.
- Container with Lid: A container with a lid is ideal for storing and mixing your thinned glaze.
Once you have all your materials, it’s time to get started!
10 Easy Steps on How to Thin a Pottery Glaze
Step 1. Assess the Consistency of Your Glaze:
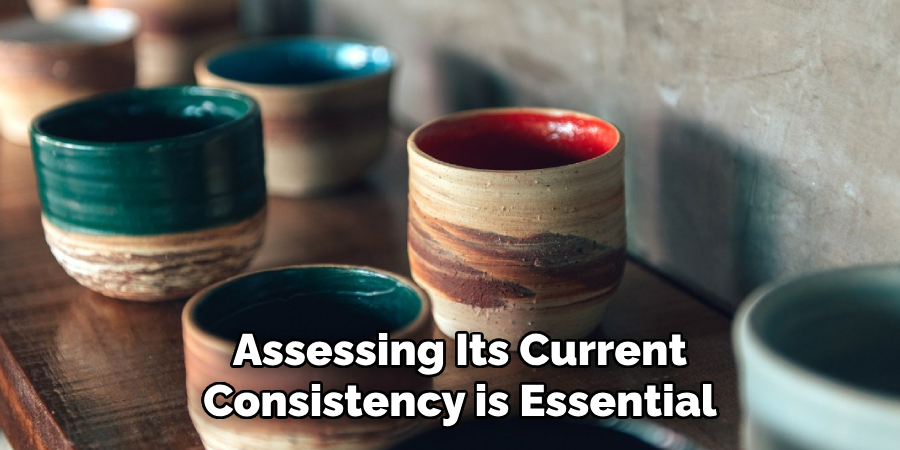
Before adding any water to your glaze, assessing its current consistency is essential. Stir the glaze thoroughly using a mixing stick or similar tool, ensuring that all settled particles are incorporated. The consistency of the glaze should ideally resemble that of heavy cream – smooth, pourable, but not overly runny. If it feels too thick, clumpy, or difficult to stir, that’s a clear sign that thinning is required. On the other hand, if the glaze is already very fluid, you may not need to thin it further. Evaluating this step will help you avoid over-thinning and maintain the desired texture and application quality for your pottery.

Step 2. Add Small Amounts of Water Gradually:
Begin thinning your glaze by adding a small amount of water at a time. Use a measuring cup or pipette to ensure that you can track the amount added accurately. Start with just a tablespoon or two, and stir the glaze thoroughly after each addition. Mixing between increments is vital, ensuring the water is evenly distributed throughout the glaze. Adding water slowly and in small amounts reduces the risk of making the glaze too thin, which can compromise its quality and usability. Always aim for a controlled and gradual adjustment to achieve the perfect consistency.
Step 3. Test the Consistency:
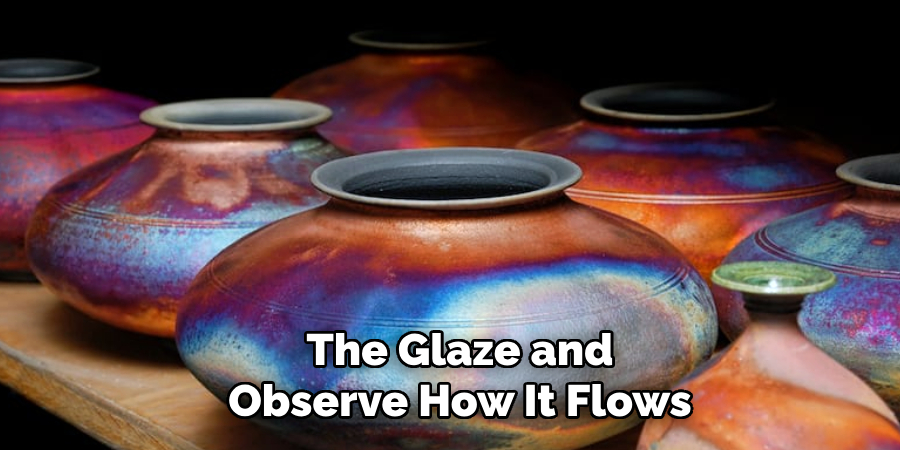
Once you have added and mixed the water, test the glaze’s consistency to ensure it suits your application. Dip a brush, stirring stick, or test tile into the glaze and observe how it flows. The glaze should coat the surface smoothly and evenly without being too runny or thick. If it appears too thick, add a small amount of water and mix again; if it is overly fluid, you may need to adjust by letting it settle and potentially decanting excess liquid. Testing frequently during this step is critical to striking the right balance for optimal results.

Step 4. Apply the Glaze:
After achieving the ideal consistency, apply the glaze to your project. Depending on your chosen technique, you can brush, dip, or spray the glaze onto the surface of your piece. Apply an even coat, working carefully to avoid streaks or bubbles. For dipping, immerse the piece entirely and withdraw it smoothly; use long and even brush strokes. If multiple layers are needed, allow each coat to dry partially before applying the next. Proper application ensures a uniform finish and sets the stage for a successful firing.
Step 5. Firing the Piece:
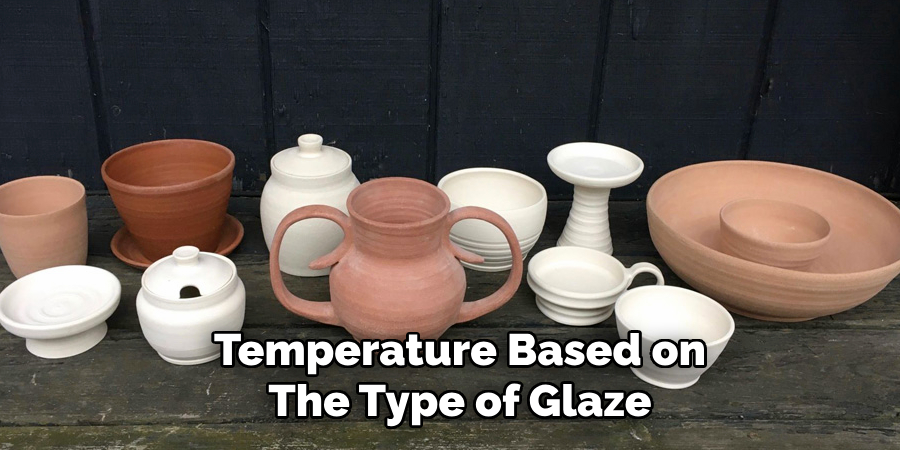
Once the glaze has been appropriately applied and has dried to a manageable state, it’s time to fire your piece in the kiln. Carefully place the glazed item in the kiln, ensuring no surfaces are touching to prevent sticking. Set the kiln to the appropriate temperature based on the type of glaze and clay used, as firing schedules vary. Monitor the process closely, as temperature increases must align with the recommended firing curve. Once completed, allow the kiln to cool completely before removing the piece. The firing process both vitrifies the glaze and enhances its final appearance, revealing the vibrant and durable finish.
Step 6. Evaluating the Finished Piece:
After the kiln has fully cooled and it is safe to remove your piece, carefully inspect the finished product. Look for an even glaze application, checking for imperfections such as pinholes, cracks, or uneven surfaces. Assess the color and texture to ensure they match your intended outcome, as glazes can sometimes produce unexpected results due to firing conditions. If necessary, take notes on adjustments to improve future projects. This step is crucial for refining your techniques and continuing to grow your skills in ceramics.

Step 7. Cleaning and Maintaining Your Tools:
Proper maintenance of your tools and workspace is essential for consistent results in ceramics. Once your project is finished, thoroughly clean all brushes, sponges, and other tools used during the glazing process. Rinse them with warm water to remove residual glaze, ensuring they are ready for your next project. Additionally, clean your work area to prevent cross-contamination of materials, as even small amounts of leftover glaze can affect your future pieces. Taking care of your tools extends their lifespan and helps maintain a professional and organized workspace.
Step 8. Documenting Your Work:
Keeping a record of your ceramic projects is invaluable for tracking your progress and enhancing your craft. Document each step of your process, including the types of clay and glazes used, firing temperatures, and any challenges or successes you encountered. Take photographs of your finished pieces to track your growth over time visually. This documentation serves as a personal archive of your artistic development and provides a reference for replicating techniques or troubleshooting issues in future projects.
Step 9. Sharing and Reflecting on Your Work:
Sharing your ceramic creations with others can be a rewarding way to receive feedback and connect with a wider community of artists. Display your work at local galleries, art fairs, or online platforms to showcase your creativity. Engage with peers and audiences to exchange ideas, learn new techniques, and gather inspiration for future projects. Additionally, reflect on your artistic journey—evaluate what you’ve learned, what you’ve improved upon, and what goals you want to set moving forward. This continuous cycle of sharing and reflection will help you grow as an artist and creator.
Step 10. Continuing to Learn and Experiment:
The world of ceramics offers endless opportunities for learning and experimentation. Take workshops, attend pottery classes, or watch tutorials to discover new techniques and expand your skills. Experiment with different types of clays, glazes, tools, and firing methods to push the boundaries of your creativity. Stay curious and open to inspiration from nature, culture, or other art forms. Challenging yourself and exploring new possibilities will ensure that your artistic practice remains dynamic and fulfilling.

By following these steps and incorporating your style and ideas, you can create beautiful and unique ceramic pieces that reflect your passion and creativity.
Conclusion
How to thin a pottery glaze is an essential skill that allows for better control over the final appearance of your ceramic pieces.
By adjusting the consistency of the glaze to suit your desired outcome, you can achieve smooth, even coats that enhance the texture and color of your work. Always start by adding small amounts of water to the glaze while stirring thoroughly checking the viscosity. Use tools like a hydrometer or simple trial applications on test tiles to ensure the glaze is at the right thickness. Practice and experimentation will help you find the perfect balance for each project.
With patience and attention to detail, thinning a glaze can become a seamless part of your creative process, empowering you to create stunning and professional results.
Specialization:
- Master of wheel-throwing, hand-building, and advanced glazing techniques
- Focus on creating both functional pottery and decorative art pieces
Recognition:
- Celebrated by collectors and art enthusiasts for creating one-of-a-kind pieces that blend artistry with functionality
- Participates in local and national exhibitions, earning accolades for his innovative designs and craftsmanship
Passion:
- Deeply committed to exploring and pushing the boundaries of ceramic artistry
- Continuously experiments with new materials, firing techniques, and artistic concepts to evolve his craft
Personal Philosophy:
- Believes in the transformative power of art, aiming to evoke emotions and connections through his ceramic creations
- Advocates for sustainability in ceramics, using eco-friendly materials and practices whenever possible


