Creating a matte finish on ceramic pieces involves altering the surface texture of the glaze. Unlike glossy finishes that reflect light and create a shiny appearance, matte glazes have a softer look, absorbing light and giving the ceramic an understated elegance.
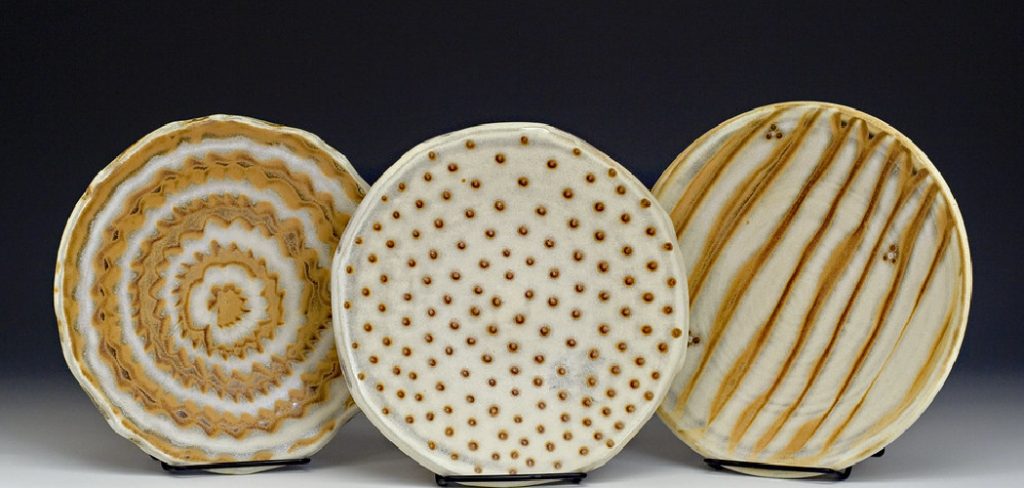
This guide on how to turn a glaze matte on ceramic explores the methods and techniques to achieve a matte glaze on ceramics, whether you’re a novice potter or an experienced ceramic artist. Understanding the properties of different materials and firing processes is crucial to achieving consistent results. With the right approach and materials, you can transform your ceramic creations with a beautiful matte finish.
Why Choose a Matte Glaze?
While glossy finishes have their charm, matte glazes offer unique advantages that make them a popular choice among ceramic artists. Here are some reasons why you might want to consider using matte glazes for your ceramic pieces:
Soft and Smooth:
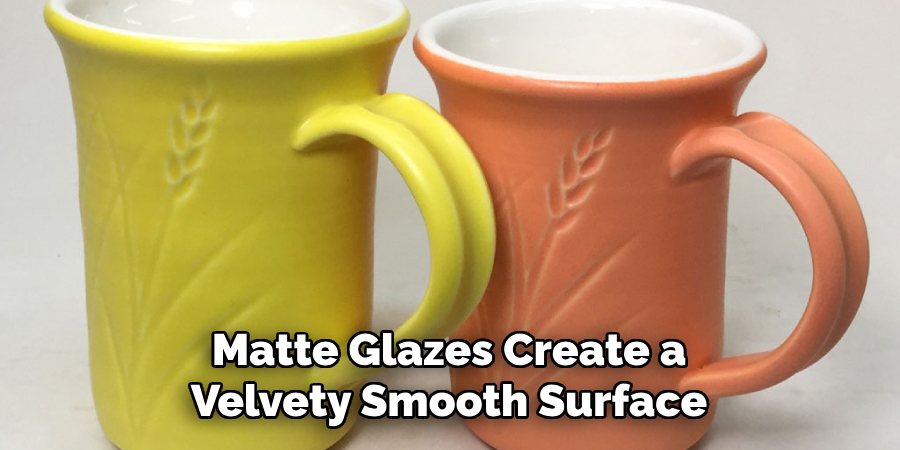
Matte glazes create a velvety smooth surface on ceramics that begs to be touched. Unlike glossy surfaces, which can sometimes feel slippery, matte surfaces offer a tactile experience. This makes them popular for functional pieces like mugs, bowls, and plates.
Neutral Appearance:
Matte finishes have a subdued and neutral appearance, making them perfect for showcasing intricate designs or patterns. The lack of reflection means that the focus is on the details of the piece rather than its surface shine.
Versatility:
Matte glazes come in a variety of colors, from earthy tones to bold hues. They can be used alone or combined with glossy glazes to create interesting contrasts and textures on your ceramic pieces. This versatility allows you to experiment and create unique designs.
Materials Needed
To turn your glaze matte, you’ll need:
- A Ceramic Piece With a Glossy Glaze
- Matte Glaze (Can Be Purchased or Homemade)
- Paintbrushes
- Sandpaper (Fine Grit)
- Kiln
8 Step-by-step Guides on How to Turn a Glaze Matte on Ceramic
Step 1: Prepare Your Ceramic Piece
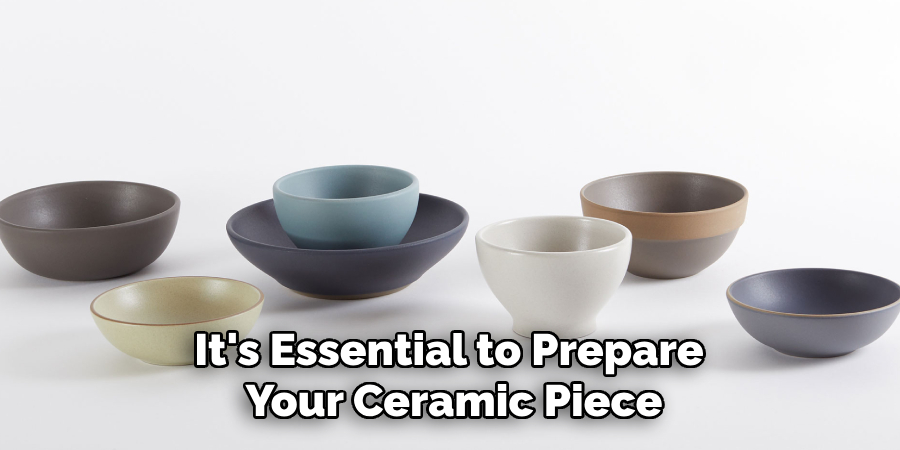
Before you begin the process of applying a matte glaze, it’s essential to prepare your ceramic piece properly. Start by ensuring that the surface is clean and free of any dust, grime, or fingerprints that might interfere with the application of the glaze. You can gently wash the piece with a mild detergent and water, then allow it to dry completely. If your ceramic piece has a glossy glaze, lightly sand the surface with fine-grit sandpaper to create a slight roughness.
This rough surface will help the new matte glaze adhere more effectively, ensuring an even and long-lasting finish. Take care to remove any sanding residue with a soft brush or a clean, dry cloth before proceeding to the next step.
Step 2: Choose Your Matte Glaze
There are two options when it comes to obtaining a matte glaze for your ceramic piece. You can either purchase a pre-made matte glaze or make one at home using materials like kaolin, ball clay, and quartz. If you’re new to pottery, starting with a store-bought matte glaze is recommended as it ensures consistent results. However, if you’re an experienced potter and prefer creating your own glazes, there are many resources available online that offer recipes for homemade matte glazes.
The important thing to remember is to make sure the glaze is compatible with your clay body and firing temperature. Test the glaze on a small sample piece before applying it to your actual ceramic piece.
Step 3: Apply the Matte Glaze
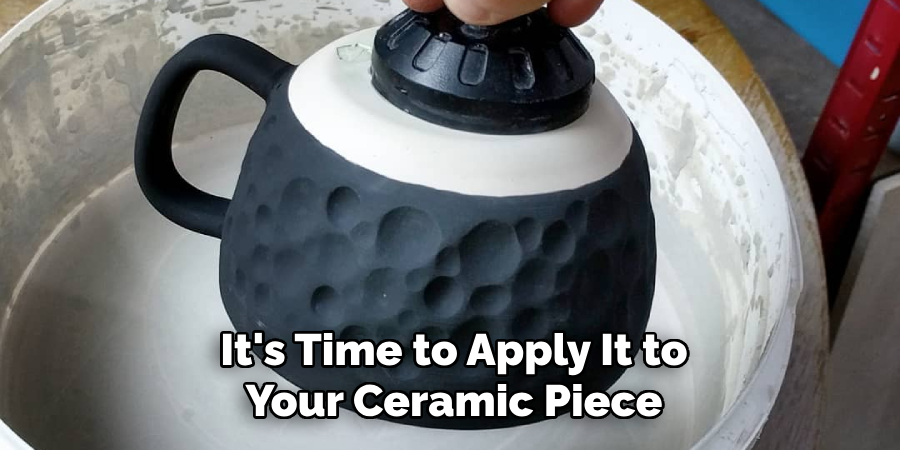
Once you have chosen your matte glaze, it’s time to apply it to your ceramic piece. Begin by stirring the glaze thoroughly to ensure that all the components are mixed evenly. Dip your paintbrush into the glaze, tapping off any excess, and start applying a thin, even coat to the ceramic surface. Use steady, smooth strokes to cover the entire piece, taking care to reach any intricate details or patterns.
Ensure that the glaze does not pool in any crevices, as this can result in an uneven finish. For optimal results, apply two to three coats of glaze, allowing each layer to dry completely before proceeding to the next. This will help achieve a uniform matte finish and reduce the risk of drips or streaks. Once the glaze application is complete, inspect the piece to ensure there are no missed spots or imperfections, making any necessary touch-ups before moving to the firing process.
Step 4: Firing the Glaze
Matte glazes require a slightly different firing process compared to glossy glazes. The key is to fire them at a lower temperature, typically around 200-300 degrees Fahrenheit lower than the recommended temperature for shiny glazes. This low-temperature firing helps prevent excessive melting of the matte particles and maintains the desired matte finish. Additionally, it’s essential to ensure that your kiln has proper ventilation to prevent carbon trapping, which can result in an unintended glossy appearance.
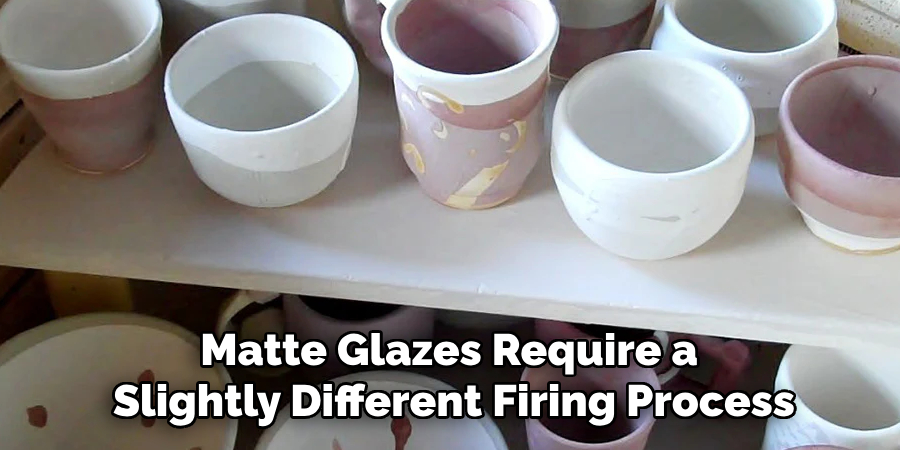
It’s important to note that different types of matte glazes may require specific firing schedules, so be sure to closely follow the instructions provided by the manufacturer or recipe. After the firing process is complete, allow your ceramic piece to cool down completely before handling it.
Step 5: Fire Your Piece
Place your glazed ceramic piece on a kiln shelf and load it into the kiln according to manufacturer instructions. Program your kiln to the recommended firing schedule for your chosen matte glaze and clay body. It’s crucial to monitor the temperature throughout the firing process and make adjustments as needed to ensure optimal results.
One tip is to place a cone in the kiln with your piece, which will bend or melt at the desired temperature, indicating that it’s time to turn off the kiln. This helps prevent overfiring and achieving an unintended gloss on your piece.
Step 6: Cooling Down
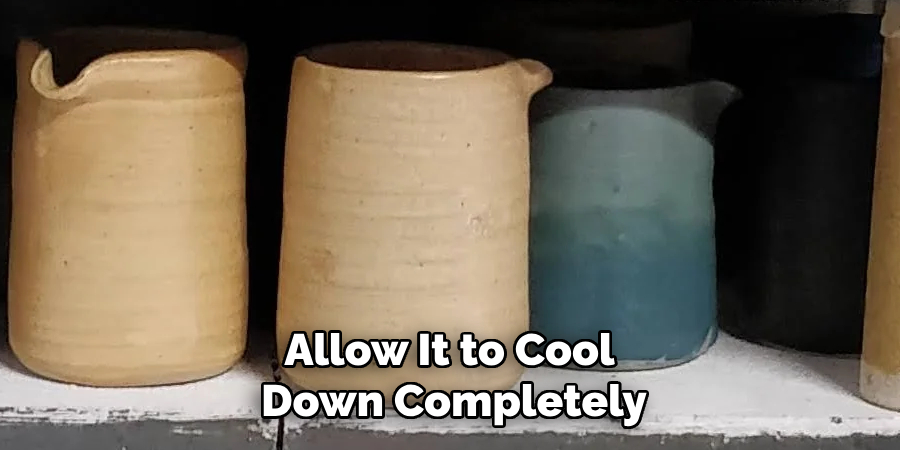
Once you have turned off the kiln, allow it to cool down completely before opening it. Opening a hot kiln can cause thermal shock and damage your ceramic piece. If possible, let your glazed piece cool naturally inside the kiln before removing it. Once it’s cool to the touch, you can carefully remove your ceramic piece from the kiln and inspect it for any cracks or imperfections.
If everything looks good, you can proceed to the final step of finishing your matte ceramic piece.
Step 7: Clean Up and Finishing Touches
Cleaning up after firing is an essential step in completing your matte glazed ceramic piece. Remove any kiln wash or glaze drips from the bottom of the piece using a wire brush or sandpaper. You can also smooth out any rough edges or imperfections with fine-grit sandpaper if needed.
If desired, you can add a glossy glaze to specific areas for contrast or additional layers of different colors for added depth and texture. The possibilities are endless with matte glazes, so don’t be afraid to get creative!
Step 8: Final Firing
After the final touches, you can fire your ceramic piece for the last time to achieve a smooth, professional finish. This firing process is similar to the one in step five but with a slightly lower temperature and shorter duration. Once your piece has cooled down, it’s complete, and you can proudly display or use it as desired.
With these eight easy steps on how to turn a glaze matte on ceramic and some patience and creativity, you can achieve beautiful matte finishes on your ceramic pieces. So go ahead and give it a try! Happy glazing!
Troubleshooting Tips
Uneven Matte Finish:
If your ceramic piece has an uneven matte appearance, it may be due to inconsistent glaze application or firing issues. Ensure that the glaze is applied in thin, even coats and that it is allowed to dry between layers. Also, double-check the firing temperature and schedule to match the glaze’s requirements.
Glossy Spots:
Glossy areas on your matte glaze can occur if the firing temperature is too high. A pyrometric cone is used to prevent overfiring by indicating the proper temperature range. Additionally, verify that carbon trapping did not occur by ensuring proper kiln ventilation.
Glaze Cracking:
Cracks in the glaze can be caused by a mismatch between the clay body and glaze or if the glaze is too thick. Test your glaze on a small sample piece before applying it to the actual ceramic piece to ensure compatibility. Also, make sure to apply thin layers of glaze for optimal results. If cracks still occur, try adjusting the firing schedule.
By following these tips and practicing different types of matte glazes and techniques, you can become an expert at creating beautiful matte finishes on your ceramic pieces. Remember to have fun and experiment with different combinations to achieve unique results!
Frequently Asked Questions
Q: Can I Use Any Glaze to Achieve a Matte Finish?
A: No, not all glazes can be turned into matte finishes. It’s essential to choose a glaze specifically designed for a matte finish or follow a recipe that has been tested and proven to produce the desired results.
Q: Can I Mix Different Types of Glazes to Create a Matte Finish?
A: Yes, you can mix different glazes to create unique matte finishes. However, it’s essential to test the combination on a small sample piece first before applying it to your actual ceramic piece.
Q: How Do I Troubleshoot Matte Glaze Issues?
A: If your matte glaze is not turning out as expected, some possible solutions include adjusting the firing temperature or duration, using different types of clay bodies or experimenting with different application techniques. It’s also helpful to consult resources and other potters for advice and troubleshooting tips.
Conclusion
Mastering the art of matte glazing on ceramics can truly elevate your pottery projects, adding a sophisticated and contemporary touch to your creations. Whether you’re a beginner exploring the world of pottery or an experienced potter seeking new techniques, the ability to create matte finishes opens up a myriad of creative possibilities.
By following these detailed steps on how to turn a glaze matte on ceramic, from preparation to the final firing, you’ll be equipped to produce stunning works of art that showcase the unique aesthetic of matte glazes. Remember to experiment, stay patient, and most importantly, enjoy the creative process. As you continue to hone your skills, you’ll gain more confidence and develop your own signature style. Happy creating!
Specialization:
- Master of wheel-throwing, hand-building, and advanced glazing techniques
- Focus on creating both functional pottery and decorative art pieces
Recognition:
- Celebrated by collectors and art enthusiasts for creating one-of-a-kind pieces that blend artistry with functionality
- Participates in local and national exhibitions, earning accolades for his innovative designs and craftsmanship
Passion:
- Deeply committed to exploring and pushing the boundaries of ceramic artistry
- Continuously experiments with new materials, firing techniques, and artistic concepts to evolve his craft
Personal Philosophy:
- Believes in the transformative power of art, aiming to evoke emotions and connections through his ceramic creations
- Advocates for sustainability in ceramics, using eco-friendly materials and practices whenever possible


