


Are you a jewelry maker looking to add color and shine to your creations? Enameling is a technique that involves fusing glass powder onto metal, resulting in beautiful and durable designs.
How to use a kiln for enameling is a fascinating technique that involves fusing powdered glass onto a metal surface to create vibrant and durable designs. A kiln is a key tool for this process, which provides the high, consistent temperatures necessary to melt and bond the enamel to the metal. Using a kiln for enameling opens up endless creative possibilities, but it also requires attention to detail and proper safety precautions.
This guide will walk you through the essential steps to effectively and safely use a kiln for your enameling projects, empowering you to achieve professional-quality results.
What are the Benefits of Using a Kiln for Enameling?
Using a kiln provides numerous benefits when it comes to enameling. The main advantage is the ability to achieve consistent and precise temperatures, even melting and bonding the enamel onto the metal surface. This allows for more control over the process and ensures that your designs turn out precisely as intended.
Kiln use can save time and effort compared to other enameling methods, such as torch firing or hotplate use. With a kiln, you can simply set the temperature and timer, allowing you to focus on other aspects of your project while the enamel fuses onto the metal.
Furthermore, kilns have different settings for various techniques, such as sifting, layering, or stenciling enamels. This versatility allows for various creative possibilities and experimentation with different effects and designs.
What Will You Need?
Before starting with enameling, you must gather some essential materials and tools. Of course, the primary tool is a kiln, but here are some other items you will need:
- Enamel powders in a variety of colors – these can be either opaque or transparent, depending on your desired effect
- Metal pieces to enamel (copper and silver are popular choices)
- A sifting screen or mesh for evenly applying the enamel powder onto the metal surface
- Tweezers for handling small pieces or stencils
- Safety equipment such as heat-resistant gloves, safety glasses, and a respirator mask for handling enamel powders
- Kiln furniture, such as firing racks or posts to elevate your pieces in the kiln
- A timer to keep track of your firing times
Once you have all your materials, you can set up and use your kiln for enamel.
9 Easy Steps on How to Use a Kiln for Enameling
Step 1: Prepare Your Workspace
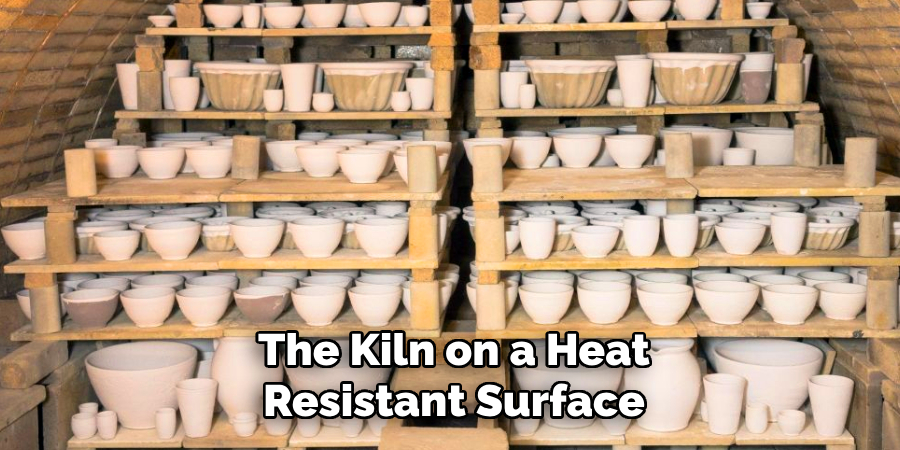
Before you begin, ensure your workspace is clean, organized, and well-ventilated. Remove any flammable materials from the area around the kiln, and place the kiln on a heat-resistant surface. Gather all your enameling tools and materials to be easily accessible, including your metal pieces, enamel powders, and safety equipment like gloves and goggles. A clutter-free and safe workspace is the foundation of successful enameling.
Step 2: Preheat the Kiln
Set your kiln to the recommended temperature for your enameling project, usually between 1400°F and 1500°F (760°C to 815°C). Allow the kiln to preheat fully before placing any pieces inside. This ensures an even temperature throughout the kiln and avoids uneven firing results. Make sure to use a timer to monitor the preheating process and wear safety equipment when working near the heat.
Step 3: Prepare Your Metal
Before applying enamel, thoroughly clean your metal pieces to remove dirt, oils, or residues. Use a degreasing solution or soap and water, followed by a rinse with distilled water to prevent contamination. Once cleaned, handle the metal with clean tweezers or gloves to avoid transferring oils from your skin. If necessary, sand or file the metal surface to create a smooth and even base for the enamel. Proper preparation of the metal ensures better adhesion of the enamel and a flawless final result.
Step 4: Apply the Enamel
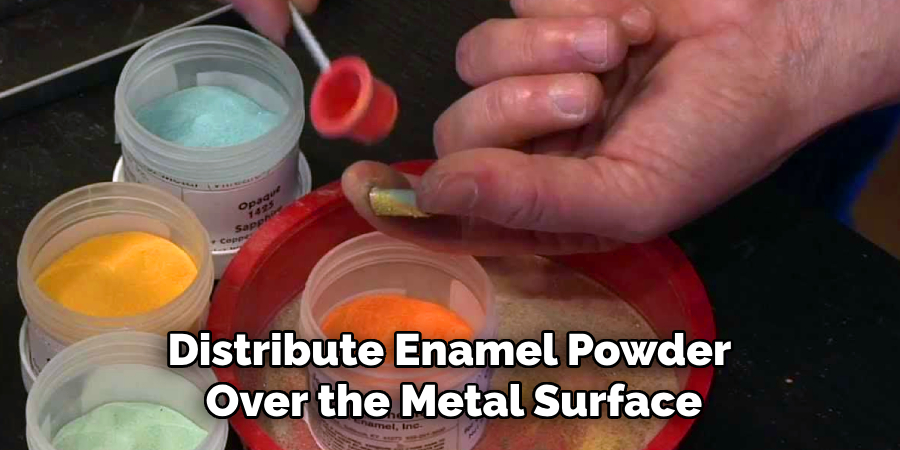
Begin by choosing the method of enamel application that best suits your project, such as sifting, wet packing, or painting. For dry sifting, use a fine mesh sifter to evenly distribute enamel powder over the metal surface. Hold the sifter above the metal consistently to ensure a uniform coating. For wet packing, mix enamel powder with distilled water to create a paste-like consistency, and apply it using a fine paintbrush or spatula.
This method is ideal for detailed designs or working in small sections. If you prefer to paint with enamel, use specially formulated enamel paint and fine brushes to add intricate patterns or illustrations.
After applying the enamel, carefully remove any excess material from the edges using a soft brush or by tapping the metal lightly. Make sure the enamel layer is even and without clumps, as uneven application can lead to imperfections when fired.
Step 4: Firing the Enamel
Once the enamel is applied, the next crucial step is firing. Preheat your kiln to the appropriate temperature, usually between 1400°F to 1600°F (760°C to 870°C), depending on the type of enamel being used. Carefully place your prepared metal piece on a firing trivet or within a kiln-safe holder to prevent direct contact with kiln surfaces. Using heat-resistant tools, insert the piece into the kiln and fire it for the recommended duration, typically a few minutes. Watch closely through the kiln window to ensure the enamel melts smoothly and achieves a glossy finish.
Once the firing is complete, remove the piece using tongs and allow it to cool completely on a heatproof surface before handling. Proper cooling ensures the enamel adheres seamlessly and retains its vibrant colors.
Step 5: Finishing Touches
After the piece has thoroughly cooled, inspect it closely for any imperfections or irregularities in the enamel surface. If necessary, you can use fine sandpaper or a polishing cloth to smooth out any rough edges or inconsistencies gently. Should additional layers of enamel be desired for added depth or color, repeat the application and firing process as outlined in earlier steps. Finally, clean the piece to remove any residue or fingerprints, ensuring its surface gleams.
At this stage, your enameled artwork is ready to be displayed, worn, or incorporated into larger designs, showcasing the beauty and durability of the enameled finish.
Step 6: Caring for Your Enameled Piece
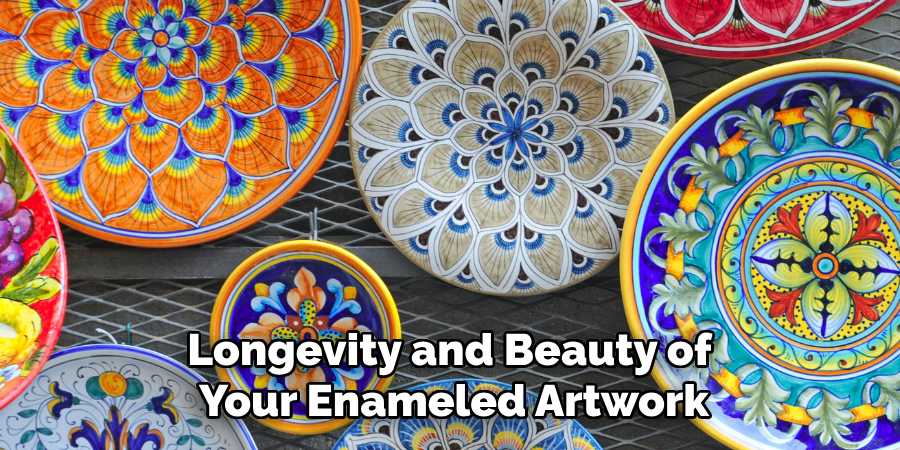
Proper care is essential to ensure the longevity and beauty of your enameled artwork. Avoid exposing the piece to extreme temperatures or sudden impacts, as these can crack or damage the enamel. Clean your piece with mild soap and water, avoiding abrasive cleaners or harsh chemicals that might dull the finish. Keep the piece in a soft pouch or separate compartment to prevent scratches. By following these steps, your enameled creation will retain its vibrant colors and glossy surface for years.
Step 7: Troubleshooting Common Issues
While enameling is a rewarding craft, occasional challenges may arise. One common issue is uneven enamel application, which can be resolved by ensuring the surface is clean and evenly prepared before applying the enamel. If cracking occurs during firing, this might be due to overly thick enamel layers or rapid temperature changes; applying thinner coats and adhering to recommended firing times can help avoid this. Air bubbles trapped in the enamel may result from impurities or insufficient washing of the metal—thoroughly clean and handle the piece carefully before application. By understanding these common problems and their solutions, you can continue to refine your techniques and produce flawless enameled pieces.
Step 8: Adding Final Touches
After completing the enameling process, it’s time to add the final touches to your piece. Inspect the surface for any imperfections, such as rough edges or uneven finishes. Use fine-grit sandpaper or a polishing tool to smooth out the edges and enhance the overall shine.
If desired, apply a protective coating to safeguard the enamel further and add a glossy finish to the final product. This final step ensures that your piece looks stunning and is durable and ready for display or use. Remember, attention to detail during this stage can elevate the quality of your work to a professional level.

Step 9: Proper Care and Maintenance
Proper care and maintenance are essential to ensure the longevity and beauty of your enameled piece. Avoid exposing the item to harsh chemicals or extreme temperatures, which can damage the enamel surface. Clean the piece gently with a soft cloth and mild soap, ensuring not to use abrasive materials that might scratch the enamel. For storage, keep the item in a soft pouch or a lined box to prevent accidental chipping or cracking. By following these care guidelines, you can preserve the vibrancy and quality of your enameled masterpiece for years to come.
Following these steps and tips, you can successfully create beautiful enameled pieces with vibrant colors and stunning finishes.
Conclusion
How to use a kiln for enameling is both an art and a science, requiring patience, precision, and creativity.
By mastering the techniques of temperature control, preparation, and layering, you can bring your designs to life with vivid colors and durable finishes. Each step, from choosing the right materials to applying proper care, contributes to the success of your enameled masterpiece. With practice and dedication, the kiln becomes a tool to unlock endless possibilities in your artistic endeavors.
Whether you are a beginner or an experienced artisan, enameling with a kiln offers a rewarding way to create unique, lasting works of art.
Specialization:
- Master of wheel-throwing, hand-building, and advanced glazing techniques
- Focus on creating both functional pottery and decorative art pieces
Recognition:
- Celebrated by collectors and art enthusiasts for creating one-of-a-kind pieces that blend artistry with functionality
- Participates in local and national exhibitions, earning accolades for his innovative designs and craftsmanship
Passion:
- Deeply committed to exploring and pushing the boundaries of ceramic artistry
- Continuously experiments with new materials, firing techniques, and artistic concepts to evolve his craft
Personal Philosophy:
- Believes in the transformative power of art, aiming to evoke emotions and connections through his ceramic creations
- Advocates for sustainability in ceramics, using eco-friendly materials and practices whenever possible