Are you looking for an easy and efficient way to apply glaze to your pottery? Look no further than a spray gun! This versatile tool lets you quickly and evenly coat your pieces with glaze, creating a professional-looking finish.
How to use a spray gun for glaze is an efficient and effective method that ensures an even and professional finish. Whether you’re working on ceramics, woodworking projects, or custom furniture, mastering this technique can elevate the quality of your work.

This guide will walk you through the essential steps to prepare, operate, and maintain a spray gun for glazing, helping you achieve consistent results every time. With the right tools and approach, spraying glaze can save time while delivering a smooth, flawless surface.
What Are the Benefits of Using a Spray Gun for Glaze?
Before we dive into the specifics, let’s explore the advantages of using a spray gun for glazing:
- Time-saver: Applying glaze with a brush can be time-consuming and often leads to uneven coverage. A spray gun lets you cover larger areas in less time, freeing up your schedule for other tasks.
- Uniform Finish: With a spray gun, you can achieve an even layer of glaze on every piece, resulting in a consistent finish across your entire project. This is especially important if you’re creating multiple pieces that must match.
- Versatility: Spray guns can be used on various surfaces, including pottery, wood, and metal. This makes it a handy tool for artists and craftsmen who work with different materials.
- Saves on Glaze: With a spray gun, you can control the amount of glaze being applied to your project, reducing waste and saving money in the long run.
- Less Mess: Using a brush or dipping method for glazing can result in drips and spills that create a mess in your workspace. Spray guns minimize this issue by delivering precise amounts of glaze only where you want it.
These benefits make a spray gun an essential tool for any artist or craftsman looking to achieve professional results while saving time and resources.
What Will You Need?
Before you begin using a spray gun for glaze, make sure to gather all the necessary equipment and materials:
- Spray Gun: This is the most essential tool for applying glaze. You can purchase an airbrush or HVLP (high volume, low pressure) spray gun from any art supply store or hardware store. Make sure to choose one suitable for the type of glaze you’re using – thinning may be required for thicker glazes.
- Air Compressor: If you’re using an airbrush spray gun, you will need an air compressor to provide the necessary air pressure for spraying. These are also available at art supplies or hardware stores.
- Glaze: This can be any type of glaze you prefer, whether it’s a premixed ready-to-use one or a recipe you’ve mixed yourself. Strain your glaze before using it in the spray gun to remove any clumps that may clog the nozzle.
- Protective Gear: Always wear protective gear such as goggles and a mask when working with spray guns and glazes to protect your eyes and lungs from fumes and particles.
- Workspace Preparation: Set up your workspace in a well-ventilated area with plenty of space for maneuvering around your project. Cover surfaces with plastic or newspaper to avoid overspray.
Once you have all your materials and equipment ready, it’s time to prepare for glazing with a spray gun.
09 Easy Steps on How to Use a Spray Gun for Glaze
Step 1. Prepare the Spray Gun:
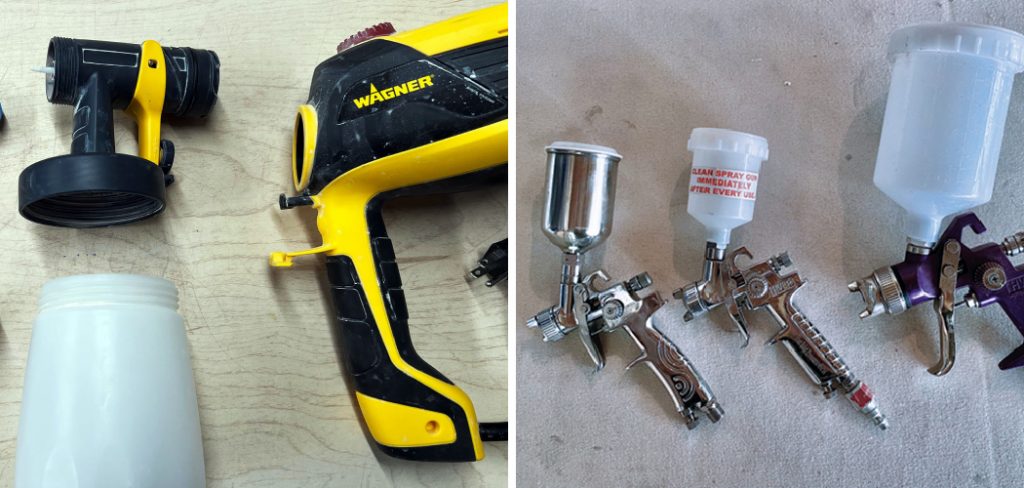
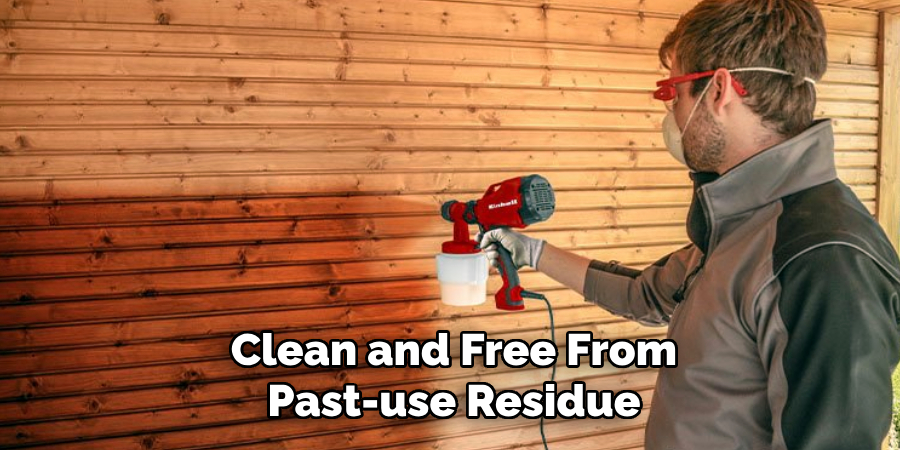
Begin by ensuring the spray gun is clean and free from past-use residue. Disassemble the gun, if necessary, and thoroughly wash the nozzle, cup, and other components with warm water or an appropriate cleaning solution. Inspect the parts for any clogs or damage that might hinder performance. Once cleaned, reassemble the spray gun carefully and double-check that all parts are securely in place. Fill the spray gun’s reservoir with your strained glaze, ensuring not to overfill it to avoid spillage or inconsistent spray patterns.

Adjust the spray settings, such as the nozzle size and air pressure, to suit the type of glaze you’re using and the surface area of your project. Proper preparation of the spray gun ensures a smooth and even application when you begin glazing.
Step 2. Prepare the Workspace:
Ensure the workspace is clean, well-ventilated, and free of dust or debris that could contaminate the glaze. Lay down protective coverings, such as drop cloths or plastic sheets, to safeguard surrounding surfaces from overspray. If working indoors, position a fan or ventilation system to direct fumes away from you. Arrange your materials within easy reach, including the spray gun, glaze, and any cleaning supplies. Proper workspace preparation not only ensures safety but also helps in achieving a professional finish.
Step 3. Test the Spray Gun:
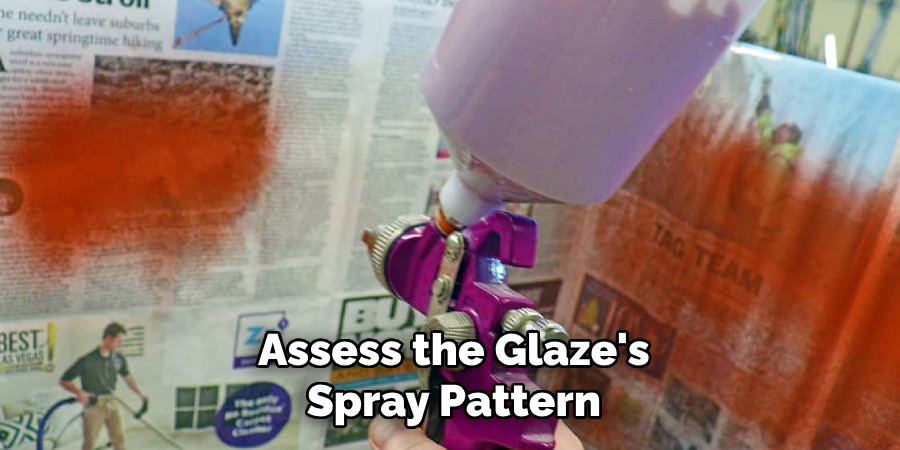
Before applying the glaze to your actual project, perform a test spray on a scrap piece of material or an inconspicuous area. This step helps you assess the glaze’s spray pattern, consistency, and coverage. Adjust the nozzle or air pressure settings for a fine and even mist. Testing also ensures that the glaze flows smoothly and that the spray gun has no blockages or irregularities. Taking time to test and fine-tune your settings will help avoid mistakes and ensure a flawless finish.
Step 4. Apply the Glaze:

Apply the glaze to your project once the spray gun is adequately adjusted. Hold the spray gun consistently from the surface, typically 8-12 inches, and move it in smooth, even strokes. Overlap each pass slightly to ensure uniform coverage and avoid streaks. Apply multiple thin layers, allowing each coat to dry per the glaze manufacturer’s instructions before applying the next. Avoid using too much glaze at once, leading to drips or uneven finishes. Taking a steady and patient approach ensures a professional and polished result.
Step 5. Clean and Maintain the Spray Gun:
After completing the glazing process, cleaning the spray gun thoroughly is essential to ensure its longevity and optimal performance for future use. Begin by emptying any remaining glaze from the spray gun’s container and rinsing it with the appropriate cleaning solution, as the glaze manufacturer recommends. Disassemble the spray gun components, such as the nozzle and needle, and clean each part meticulously to remove glaze residue. Use a soft brush or cloth to clean hard-to-reach areas and ensure no buildup remains. Once cleaned, reassemble the spray gun and store it in a dry, safe location. Regular maintenance prevents clogging, ensures consistent performance, and extends the life of your equipment.
Step 6. Inspect the Finished Surface:
Once the glazing has been applied and allowed to dry, carefully inspect the finished surface for any imperfections or uneven areas. Look for drips, streaks, or patches that may require additional touch-ups. If corrections are needed, lightly sand the affected area with fine-grit sandpaper before reapplying a thin, even coat of glaze. Ensure adequate lighting during the inspection to catch any flaws that might go unnoticed. Taking the time to review your work ensures a smooth, high-quality finish that enhances the project’s overall appearance.

Step 7. Apply a Protective Finish:
Consider applying a protective finish such as a clear sealant or topcoat to preserve the glaze and protect the surface. Select a product that is compatible with the glaze and the underlying material. Using a clean, high-quality applicator, apply the finish evenly over the entire surface, following the manufacturer’s instructions for drying times and additional coats if necessary. This final step enhances durability and provides an extra layer of shine or matte effect, depending on the chosen finish. A well-applied protective layer ensures your project remains in excellent condition for years.
Step 8. Keep Safety in Mind:
When working with spray guns and glazes, it is crucial to keep safety as a top priority. Always wear protective gear such as gloves, goggles, and a respirator mask to avoid contact with the glaze or inhaling fumes. Ensure proper ventilation by opening windows or doors indoors and using fans to direct fumes away from you. Avoid smoking or eating near your workspace, and wash your hands thoroughly after handling the glaze.
Step 9. Practice Makes Perfect:
Mastering the art of glazing and finishing requires patience, experimentation, and consistent practice. Begin by working on smaller, less complex projects to familiarize yourself with the tools, materials, and techniques. Experiment with different types of glazes, finishes, and application methods to identify what works best for your preferred style and project goals. Over time, you will develop a keen sense of how different products behave and how to troubleshoot common issues, such as uneven coating or imperfections. Don’t be discouraged by initial setbacks—each attempt is an opportunity to learn and refine your skills.

By following these steps and continuously practicing, you will soon be able to achieve professional-looking results with ease.
Conclusion
How to use a spray gun for glaze is an effective way to achieve smooth, consistent, and professional-quality finishes on your projects.
You can ensure optimal results while avoiding common pitfalls by following the outlined steps, from preparation and equipment setup to mastering application techniques and safety protocols. Patience, practice, and attention to detail are key to perfecting this skill. With time, you’ll build confidence in handling the spray gun and experimenting with different glazes, ultimately enhancing the quality and aesthetics of your work.
Whether you’re a beginner or an experienced artisan, these skills will elevate your craftsmanship and contribute to creating beautiful, polished pieces.
