


Glass fusing is a captivating art form that involves melting layers of glass together to create intricate designs and unique patterns. This technique has gained immense popularity in crafting, particularly in jewelry-making, as it allows artisans to produce vibrant, eye-catching pieces. Achieving the desired outcome in glass fusing requires precise heat control, where ceramic kilns play an essential role.
These kilns provide consistent and accurate temperatures needed to seamlessly fuse glass layers without compromising their quality or structure. However, understanding how to use ceramic kilns for glass fusing correctly is critical for producing successful projects and ensuring safety throughout the process.
Mastering the art of kiln operation empowers crafters to experiment with various styles, enhancing creativity and technical skills in glass fusing. Following proper guidelines allows anyone to explore the boundless possibilities this versatile art form offers.
Understanding the Basics of Glass Fusing
What Is Glass Fusing?
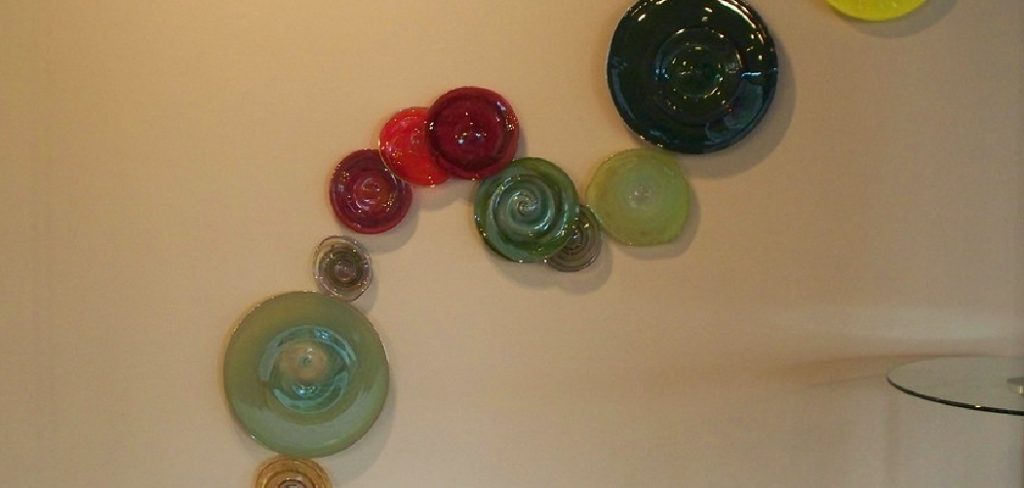
Glass fusing is an artistic process where pieces of glass are melted and bonded together using controlled high temperatures. This technique allows crafters to create dynamic and individualized designs, making it a favorite among artists involved in jewelry design, decorative items, or even wall art.
The process typically involves arranging cut glass pieces into a desired pattern before subjecting them to the appropriate kiln temperatures for fusion. The result is a cohesive piece that maintains its durability while showcasing brilliant visuals.
Types of Glass for Fusing
The type of glass used is crucial to the success of any fusing project. Specifically, COE (Coefficient of Expansion) glass types are designed for this purpose, as their expansion rates during heating and cooling are predictable and harmonious. The two most common COE glass types for fusing are 90 COE and 96 COE.
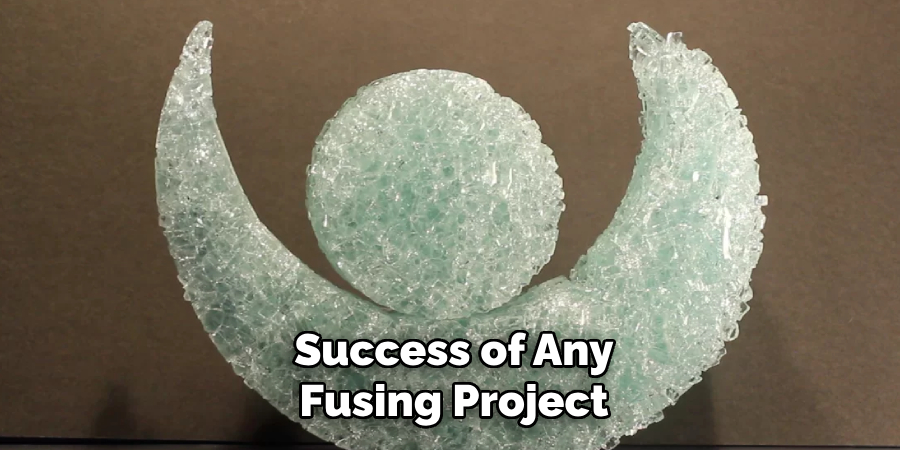
It’s essential to ensure compatibility when combining pieces, as mismatched COE glass can cause stress fractures or even complete project failure.
Stages of Fusing
Glass fusing is typically carried out in distinct stages, depending on the artist’s desired effect. Tack fusing involves partially melting the glass to preserve raised edges and textures. Full fusing melts the glass entirely, creating a smooth and unified surface. Conversely, slumping involves heating fused glass just enough to shape it into molds, producing bowls, plates, or sculptures. Each stage requires precise temperature control to achieve the desired results without damaging the material.
Choosing the Right Ceramic Kiln for Glass Fusing
Selecting the appropriate kiln is vital for successful glass-fusing projects. A kiln’s type, size, and features can significantly impact the process and final results.
Kiln Types
When choosing a kiln, you’ll primarily encounter top-loading and front-loading models. Top-loading kilns are often more affordable and compact, making them an excellent choice for hobbyists or those with limited space. However, accessing pieces inside can be challenging, especially for larger or more intricate projects.
Front-loading kilns, on the other hand, provide easy access to the kiln shelves and are ideal for larger-scale work or more advanced setups. Their drawback is generally higher cost and increased space requirements.
Size and Capacity
The size of the kiln should reflect the scope of your projects. Small tabletop kilns are perfect for creating jewelry, pendants, or small decorative pieces. A mid-sized to large kiln will provide the necessary capacity for larger projects like plates, panels, or sculptures. Consider the dimensions and ensure the workspace accommodates your chosen kiln.
Features to Look For
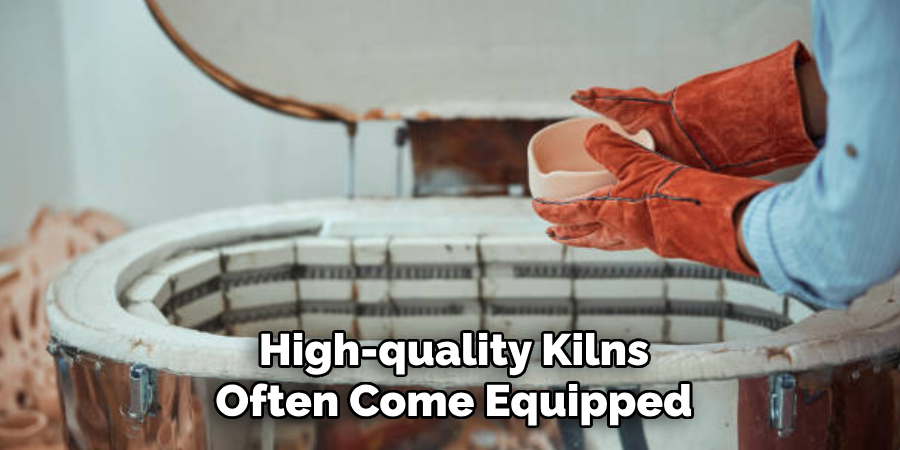
High-quality kilns often come equipped with programmable controllers, allowing you to set precise firing schedules for different stages of fusing. Temperature accuracy is paramount to prevent overheating or under-firing your glass. Some kilns also feature viewing windows, enabling real-time monitoring of the fusing process without opening the lid, which can disrupt the temperature.
Preparing Glass for Fusing
Cutting Glass Pieces
Achieving precise shapes begins with the right tools and techniques. Use a quality glass cutter to score the glass along the desired line, applying even pressure without forcing the tool. Running pliers can then be used to cleanly break the glass along the scored line. Remember to prioritize safety while working with glass—always wear protective gloves and eyewear to guard against sharp edges and fragments.
Cleaning the Glass
Clean glass is crucial for successful fusing, as dust, oils, or dirt can interfere with adhesion and lead to imperfections. Wash each piece carefully using mild soap and water, ensuring all residues are removed. After washing, rinse thoroughly and dry the glass completely with a lint-free cloth or allow it to air dry. Avoid handling the cleaned surfaces with bare hands to keep them free from fingerprints and oils.
Layering and Designing
Once your glass pieces are clean and prepared, you can begin stacking and arranging them to create your desired design. Pay attention to the placement of colors, transparency, and thickness to achieve your artistic vision.
It’s important to use kiln paper or apply a layer of kiln shelf primer to your kiln shelf, as this prevents the glass from sticking during the fusing process. Ensure the layers are stacked evenly and avoid overloading the kiln to allow proper heat circulation. Preparation and attention to detail are key to creating beautiful fused glass projects.
How to Use Ceramic Kilns for Glass Fusing: Setting Up the Kiln for Glass Fusing
Proper kiln setup is critical to ensuring successful and safe glass fusing. Following these steps will help you prepare your kiln and achieve optimal results.
Preparing the Kiln Shelf
Before placing your glass pieces in the kiln, protect the kiln shelf by applying kiln wash or using a layer of kiln paper. Kiln wash creates a protective barrier that prevents glass from sticking to the shelf during firing.
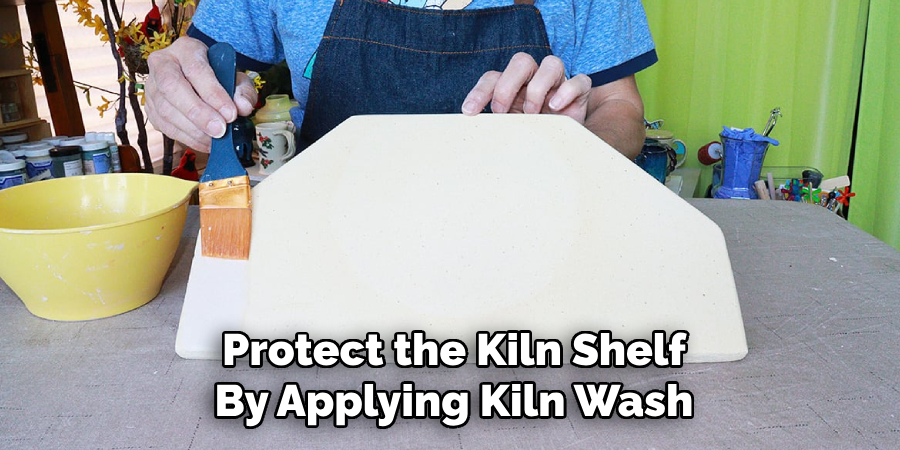
Ensure the coating is even and completely dry before proceeding. If you opt for kiln paper, cut it to fit the shelf and lay it flat with no wrinkles or overlaps. This small but essential step keeps your kiln shelf clean and extends its lifespan.
Loading the Glass
Position your glass pieces centrally within the kiln to promote even heating. Centered placement reduces the risk of uneven fusing or temperature imbalances. Avoid stacking too many layers of glass or overcrowding the kiln, as this can restrict heat circulation and lead to imperfections or damage.
Ensure that the pieces have sufficient space around them so the heat can distribute uniformly during firing. Double-check that glass pieces are stable and secure before proceeding to the next stage.
Programming the Kiln
A precise firing schedule is crucial for successful glass fusing. The process involves three key temperature stages. Begin with a slow ramp-up rate to gradually heat the glass, avoiding thermal shock that can cause cracking. Once the glass reaches the desired temperature, hold it at the soaking (or melting) temperature to allow the pieces to fuse as planned.
After the soak phase, initiate a controlled cooling, also known as annealing, to prevent stress and cracking in the glass. Use the kiln’s programmable controller to input an accurate firing schedule tailored to the type and thickness of the glass you are working with. Carefully monitor the firing process to ensure the kiln is functioning as expected.
Attention to these steps will result in clean, polished, and durable glass creations.
Monitoring the Firing Process
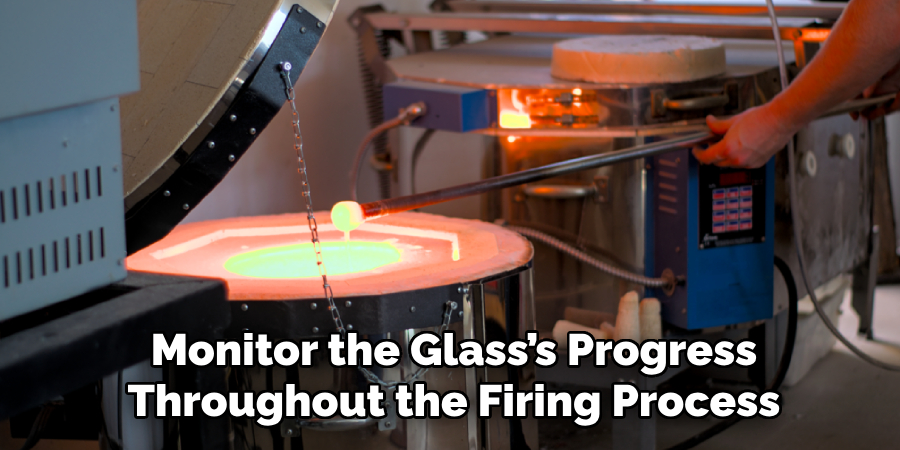
Observing Through the Viewing Window
It is crucial to monitor the glass’s progress throughout the firing process. Use the kiln’s viewing window to check on the project without opening the kiln, as opening it prematurely can result in heat loss, uneven heating, and potential damage to the piece. The viewing window allows for a clear view of the glass at various stages, helping you confirm that the firing is proceeding as planned.
Identifying Issues
Common issues that arise during firing include bubbles forming in the glass, uneven fusing, or over-firing, which can distort or ruin the design. Bubbles may occur if the kiln heats too quickly, trapping air within the glass layers. Uneven fusing could result from inconsistencies in temperature distribution.
Over-firing, often caused by extended soak times or excessive heat, can lead to slumping or deformation of the piece. Observing closely and following a precise firing schedule can help mitigate these problems.
Safety Precautions
Safety must always be a priority when working with high-temperature equipment. Maintaining a safe distance from the kiln during firing to avoid accidental burns. If adjustments or observations require proximity to the kiln, always wear heat-resistant gloves and protective eyewear.
Ensuring proper ventilation in your workspace further enhances safety by preventing heat buildup and exposure to potentially harmful fumes. Following these steps ensures both your safety and the success of your glasswork.
Cooling and Removing Fused Glass
Annealing Process
The annealing process is crucial in ensuring the durability and stability of your fused glass creations. This involves gradually cooling the glass in the kiln to relieve internal stresses formed during heating. Allowing the glass to cool slowly prevents cracks or fractures that could compromise the finished piece.
Follow the kiln’s preset annealing schedule or consult manufacturer guidelines for the appropriate temperature and duration based on the thickness of your glass project.
Kiln Opening Guidelines
Patience is key when working with fused glass. Never rush to open the kiln before it has reached room temperature, as premature exposure to cooler air can cause thermal shock, leading to potential damage. Check the kiln’s temperature gauge and wait for it to safely stabilize before opening. This ensures both the integrity of the glass and the safety of the artisan.
Handling the Finished Pieces
When removing the fused glass from the kiln, always wear gloves to protect your hands from any lingering heat or sharp edges. Carefully lift each piece, inspecting it for imperfections such as bubbles or stress lines. If additional finishing is required, such as grinding or polishing, plan these steps before the final presentation of your artwork.
Maintaining Your Ceramic Kiln
Routine Cleaning
Proper maintenance of your ceramic kiln begins with routine cleaning after each use. Remove any kiln dust, debris, and residue left behind from glazes or firing materials. A soft brush or a vacuum with a nozzle attachment can be used to gently clean the interior. This prevents buildup that could affect the kiln’s performance or contaminate future firings.
Checking Elements and Controllers
Regularly inspect the kiln’s heating elements for wear or corrosion. Over time, elements may become brittle or develop hotspots, which could lead to uneven heating.
Additionally, test the kiln’s controller periodically to ensure it functions accurately. A malfunctioning controller could result in improper firing temperatures, compromising your projects. Advanced diagnostics tools can help identify potential issues with elements and controllers before escalating.
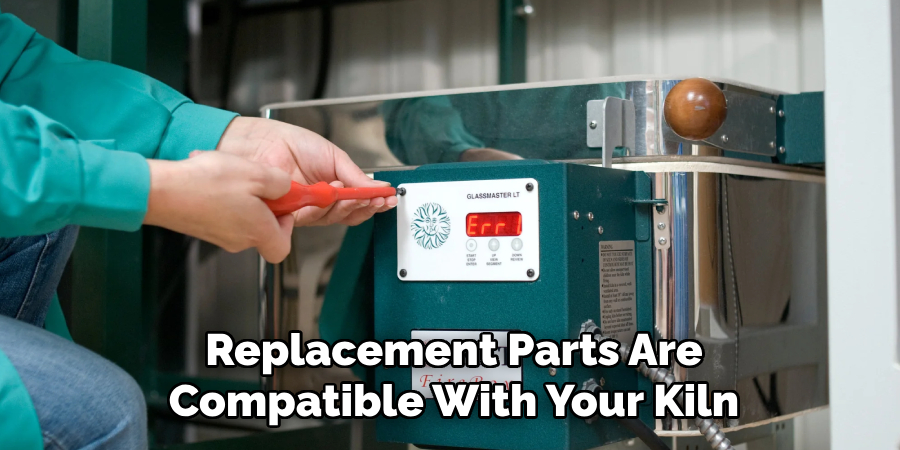
Replacing Kiln Parts
Damaged kiln components, such as shelves, bricks, or elements, should be replaced promptly. Cracked or warped shelves could endanger your work during firing, while damaged bricks can compromise the kiln’s insulation.
Ensure the replacement parts are compatible with your kiln model and follow manufacturer instructions for installation. Regular maintenance ensures your kiln operates safely and efficiently, providing consistent results for your craft.
Conclusion
Understanding “How to Use Ceramic Kilns for Glass Fusing” is key to achieving successful and beautiful results. Always prepare properly, ensuring materials and equipment are clean and ready for use. Accurate programming of the kiln, based on the specific requirements of your project, plays a critical role in avoiding mishaps during firing.
Equally important is allowing the kiln to cool properly, which preserves the integrity of your creations. With these steps in mind, don’t hesitate to experiment with various designs and techniques to unlock your creative potential, making the kiln an essential tool for your artistic endeavors.
Specialization:
- Master of wheel-throwing, hand-building, and advanced glazing techniques
- Focus on creating both functional pottery and decorative art pieces
Recognition:
- Celebrated by collectors and art enthusiasts for creating one-of-a-kind pieces that blend artistry with functionality
- Participates in local and national exhibitions, earning accolades for his innovative designs and craftsmanship
Passion:
- Deeply committed to exploring and pushing the boundaries of ceramic artistry
- Continuously experiments with new materials, firing techniques, and artistic concepts to evolve his craft
Personal Philosophy:
- Believes in the transformative power of art, aiming to evoke emotions and connections through his ceramic creations
- Advocates for sustainability in ceramics, using eco-friendly materials and practices whenever possible