


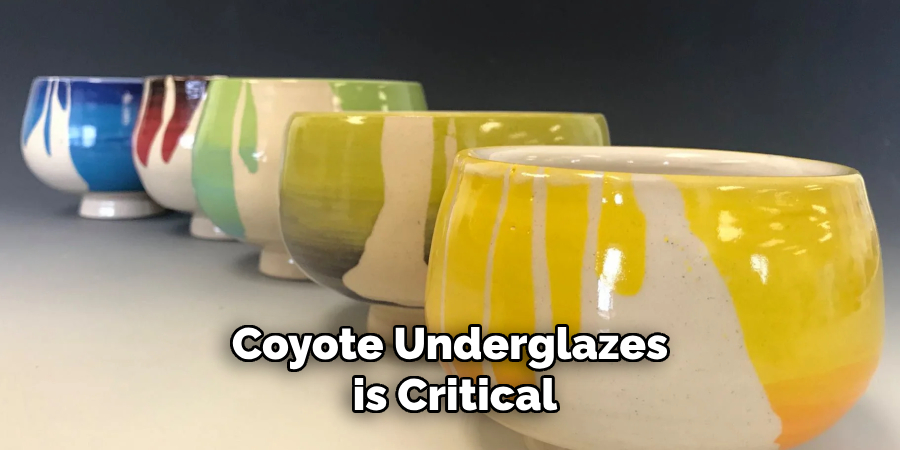
Underglazes are essential in ceramics for their ability to imbue pieces with vibrant colors and intricate designs. These are colored slips applied to pottery before glazing, allowing artists to achieve detailed and vivid patterns that persist through multiple firings.
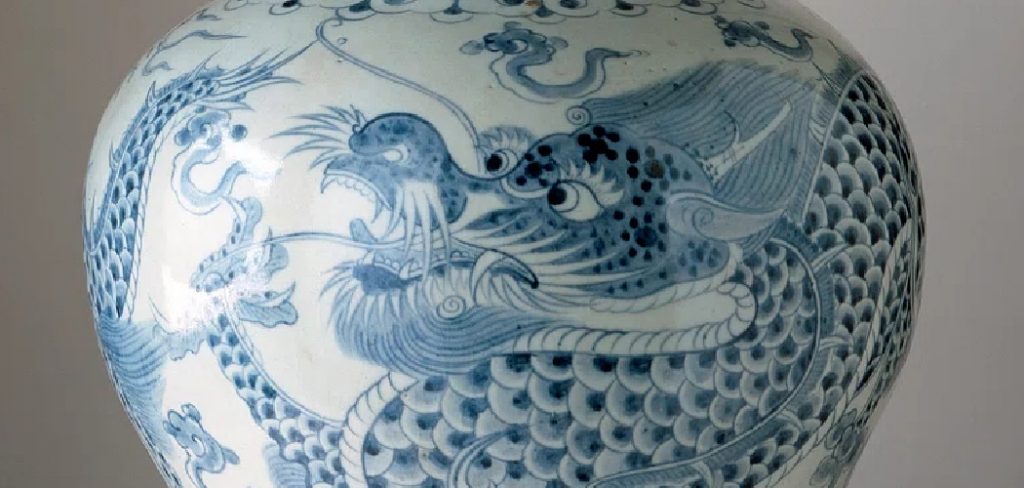
Among the various options available, Coyote Underglaze stands out as a favored choice among ceramic artists. Known for its rich hues and user-friendly application, Coyote offers a palette of intense, stable colors that withstand different firing temperatures. This article aims to enlighten ceramic artists on how to use Coyote underglaze on ceramic to produce unique and enduring results. By exploring various techniques and considerations, artists can harness the full potential of Coyote Underglazes, transforming their ceramic works into captivating displays of artistic expression.
Understanding Coyote Underglazes and Their Benefits
What Sets Coyote Underglazes Apart
Coyote Underglazes are distinguished by a unique formula that ensures vivid and stable colors across various firing temperatures. This special composition allows artists to maintain the intensity of hues even when subjected to different firing conditions, typically ranging from cone 5 to 6. Among their distinctive qualities, Coyote Underglazes boast a remarkable color payoff that remains unaffected by the application of other glazes. They offer a comprehensive range of colors that can be seamlessly integrated with other glazes, making them an appealing choice for artists seeking rich, vibrant palettes for their ceramic projects.
Advantages of Using Coyote Underglazes
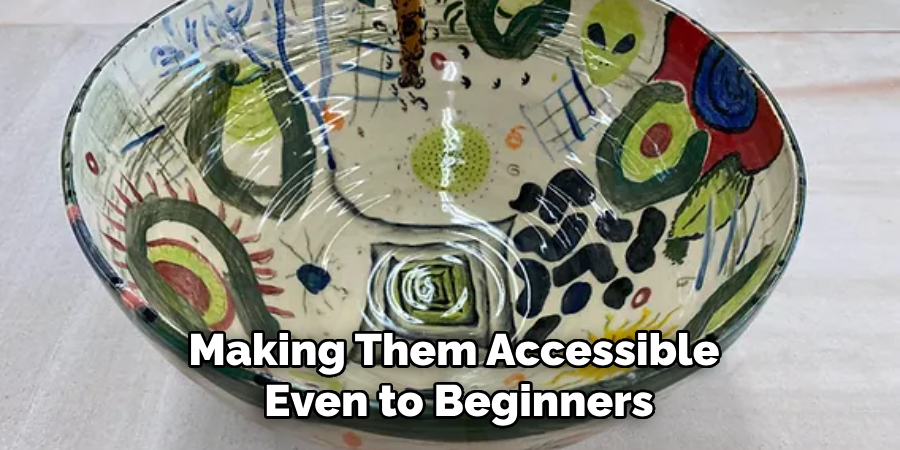
One of the primary benefits of Coyote Underglazes is their ease of use, making them accessible even to beginners in the ceramic arts. Their layered ability opens up many creative possibilities, allowing artists to explore intricate and multi-dimensional designs. These underglazes are versatile and suitable for a wide range of ceramic surfaces, including earthenware, stoneware, and porcelain. Commonly applied in decorative detailing and the creation of intricate designs, Coyote Underglazes also enhance functional ware, providing artists with an invaluable tool to achieve both aesthetic and practical objectives in their ceramic work.
Choosing the Right Underglaze Colors and Tools
Selecting Colors Based on Project Needs
When selecting underglaze colors, it’s vital to consider the desired outcome of your project. Coyote Underglazes offer a spectrum of shades that can complement any design aesthetic. Whether aiming for a bold, vibrant pattern or a subtle, nuanced design, selecting the right hues is essential. Consider the color harmony and contrast within the piece, ensuring each shade complements the other design elements. Experimenting with color combinations can yield surprising results, and using Coyote colors to layer adds depth and complexity. By selecting thoughtful color schemes, ceramic artists can create captivating visual stories within their work.
Recommended Tools for Application
Equipping yourself with the right tools is crucial for achieving precise and effective application of Coyote Underglazes. Brushes are essential for detail work and come in a variety of sizes to suit fine linework or broader strokes. Sponges and other applicators enable even coverage over larger areas and can introduce varied textures to the surface. When selecting brushes, consider the design intricacy and area size to choose appropriate brush sizes. By investing in quality tools, artists can ensure finer control over their designs, facilitating the accurate application of intricate patterns and layering techniques across their ceramic projects.
Preparing the Ceramic Surface for the Underglaze Application
Preparing Greenware vs. Bisque
Proper preparation of ceramic surfaces like greenware and bisque is essential for successful underglaze application. Both forms require different approaches due to their physical properties. For greenware, which is unfired clay, it’s crucial to handle it delicately and ensure any excess dust is blown off or wiped with a damp cloth. Smoothing the surface with fine-grit sandpaper can help avoid bumps that might disrupt your design. Bisque, being already fired clay, needs a thorough cleaning with a damp sponge to remove any dust or residual dirt. Ensuring a clean and smooth surface, whether working with greenware or bisque, is vital to enhance adherence, prevent smudging, and maintain the vibrancy of the underglaze colors throughout the entire firing process.
Tips for Masking and Design Planning
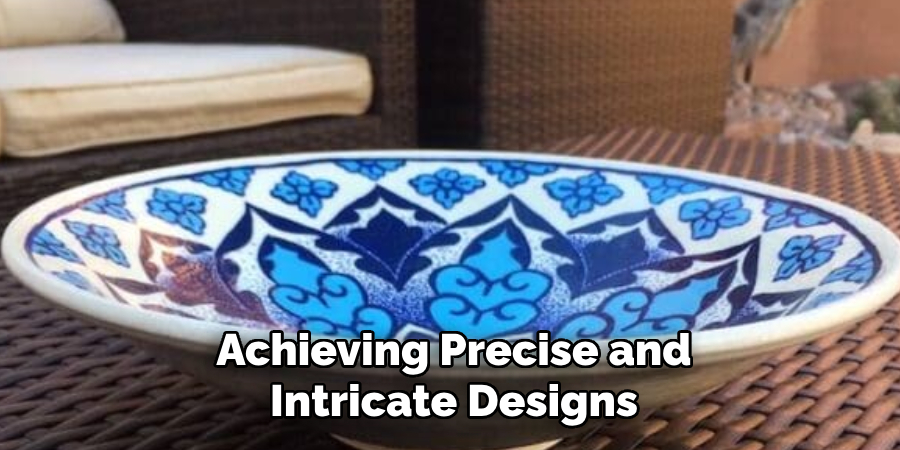
Achieving precise and intricate designs involves careful planning and the use of masking techniques. Use masking tape or stencils to create clean lines, or opt for wax or latex resist materials for more complex designs. These tools ensure that your underglaze application adheres exactly where you want it. Before applying underglaze, plan your design layout meticulously. Sketching your design on paper can provide a blueprint to follow, allowing for thoughtful color and pattern placement and contributing to a clear, cohesive final piece. This careful preparation is essential for creating polished, professional ceramics that reflect your artistic vision.
How to Use Coyote Underglaze on Ceramic: Applying Coyote Underglaze to Ceramic
Basic Application Techniques
Applying Coyote Underglaze requires attention to detail to ensure a smooth and even finish. Begin by selecting a soft brush appropriate for your design’s intricacy, which will aid in applying even coats without streaks. To apply the first layer, load your brush with moderate underglaze and start with long, consistent brush strokes. It’s crucial to cover the surface evenly, not over-saturating, which can lead to pooling or streaking. Allow each layer to dry completely before proceeding with additional coats; this practice enhances opacity and prevents the design from smudging. Drying time can vary, but ensuring thorough drying between applications is key to achieving a polished and vibrant outcome.
Layering and Building Depth
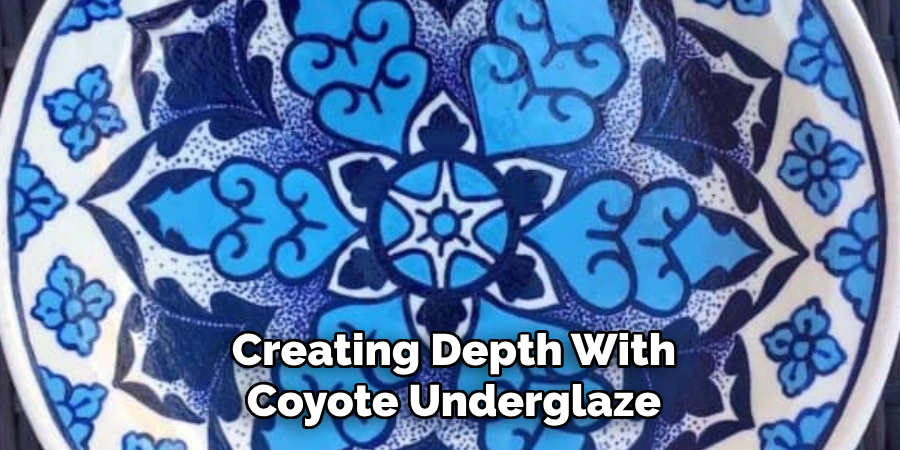
Creating depth with Coyote Underglaze involves layering multiple coats to enhance color vibrancy and introduce dimension to your work. Start by applying a base coat as a foundation, then gradually add subsequent layers, each contributing to richer hues. Techniques such as gradual shading help transition between tones smoothly, giving a more natural appearance. To achieve blended effects, incorporate lighter and darker shades thoughtfully, using a gradual build-up to create a sense of depth. Blending can be accomplished by adding subtle layers of color, blending them while still damp for a seamless transition. These techniques allow artists to develop intricate designs with depth and dimension, transforming simple ceramic pieces into captivating works of art.
Letting the Underglaze Dry and Setting It for Glaze Application
Drying Time and Environment
The drying time for Coyote Underglaze depends on the thickness and number of layers applied. Allow thin layers to dry for about 30 minutes, while thicker or multiple layers may require several hours. It’s essential to let each layer dry fully before proceeding to prevent smudging. Ensure the drying environment is clean and dust-free to avoid particles sticking to the underglaze surface. Maintaining a controlled setting helps in achieving a smooth and even finish.
Preparing for Clear or Top Glaze
A fully dry underglaze is critical before applying any clear glaze or other top coats to prevent color distortion or lifting. To confirm dryness, lightly touch the surface; it should feel dry without smudging or moving. Adequate drying ensures that the underglaze maintains its vibrancy and adhesive qualities, laying a strong foundation for subsequent glaze applications that preserve and enhance the design’s finish.
Applying a Clear Glaze Over the Coyote Underglaze
Choosing the Right Clear Glaze
Selecting a compatible clear glaze to complement Coyote Underglazes is critical for preserving the integrity of your design. It’s important to choose a clear glaze that can safely coexist with the colors without causing unwanted reactions or color alterations. Glossy, satin, and matte finishes offer different aesthetics and can enhance your project in varied ways. A glossy finish can accentuate vibrant colors and bring a sleek, polished look, while a satin finish provides a softer sheen that suits more subtle designs. Matte finishes offer an understated elegance, ideal for more muted color schemes or when a non-reflective surface is preferred.
Clear Glaze Application Techniques
Applying clear glaze over Coyote Underglaze involves implementing careful techniques to ensure even coverage and maintain the underglaze’s vibrancy. Whether you choose to dip, pour, or brush the glaze, begin by ensuring your work area is clean and free from contamination. For dipping, immerse the ceramic piece swiftly to cover it thoroughly and avoid double-dipping, which may create uneven areas. When pouring, aim for a steady stream to blanket the surface uniformly. If brushing, use a soft, wide brush for broader strokes, and ensure each application is light to prevent smudging the underglaze. Allow the clear glaze to dry completely before firing to achieve a smooth, flawless finish.
Firing the Piece with Coyote Underglaze
Recommended Firing Temperatures and Conditions
When firing pieces with Coyote Underglaze, observing recommended firing temperatures, typically cone 5 to 6, is crucial to ensure optimal results. These temperatures provide the right environment for the underglaze to mature properly and maintain its vibrancy. To avoid common issues such as blistering or fading, following specific firing guidelines, such as ensuring adequate ventilation in the kiln and avoiding rapid temperature changes, is essential. Monitoring the kiln’s environment closely can help mitigate these problems, ensuring your ceramics come out flawless.
Monitoring for Color Results
Post-firing, expect the final color to reflect the underglaze’s intended hues, though slight differences may occur due to kiln conditions. Factors like the consistency of glaze application and firing atmosphere can slightly alter the appearance. To address color shifts, conducting kiln tests on sample tiles can provide insights into expected outcomes and help in achieving consistent results. This practice allows you to refine firing conditions and adapt your technique to achieve the perfect color finish.
Creative Techniques with Coyote Underglaze
Layering with Other Underglaze Colors
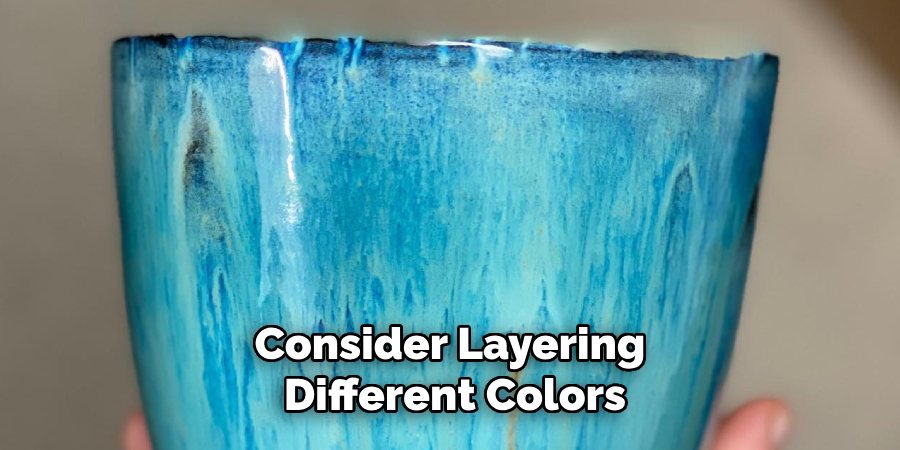
Consider layering different colors or employing resist techniques to create complex and visually striking designs with Coyote Underglaze. Artists can develop intricate patterns and textures by applying one color over another. Experiment with ombre and gradient effects by varying the intensity and application thickness of the underglaze, allowing for smooth transitions between hues. For a marbled effect, consider swirling multiple colors while still damp to achieve a unique blend that mimics natural stone formations.
Adding Detail with Fine Brushes
After laying your base layers with Coyote Underglaze, use fine brushes to introduce intricate details like outlines, patterns, or linework. Achieving sharp lines requires a steady hand and practice. Opt for synthetic brushes with firm bristles to maintain precision. Additionally, keep the brush lightly loaded with underglaze to avoid bleeding, and use short, steady strokes to refine patterns. This technique enhances the overall design, adding depth and intricacy to your ceramic artwork.
Conclusion
Mastering how to use Coyote Underglaze on ceramic involves understanding key steps like selecting the right glaze, allowing for proper drying time, and ensuring optimal firing conditions. These steps help maintain underglaze vibrancy and integrity. Experimenting with layering techniques, diverse colors, and fine brush details can lead to uniquely expressive designs. Remember, each project is an opportunity to refine your skills and embrace creative experimentation. Perfecting your approach to applying and firing Coyote Underglaze will greatly enhance your artistic capabilities, encouraging continuous exploration and expression in ceramic artistry. Practice and patience are essential for achieving stunning results.
Specialization:
- Master of wheel-throwing, hand-building, and advanced glazing techniques
- Focus on creating both functional pottery and decorative art pieces
Recognition:
- Celebrated by collectors and art enthusiasts for creating one-of-a-kind pieces that blend artistry with functionality
- Participates in local and national exhibitions, earning accolades for his innovative designs and craftsmanship
Passion:
- Deeply committed to exploring and pushing the boundaries of ceramic artistry
- Continuously experiments with new materials, firing techniques, and artistic concepts to evolve his craft
Personal Philosophy:
- Believes in the transformative power of art, aiming to evoke emotions and connections through his ceramic creations
- Advocates for sustainability in ceramics, using eco-friendly materials and practices whenever possible