Gold luster is a luxurious finish that adds an elegant touch to ceramic pieces. This precious metal coating is applied during the post-firing stage, which involves additional steps and precautions to ensure the best results. This introduction will guide on how to use gold luster on ceramics you through the process of using gold luster on ceramics, covering essential techniques, safety tips, and the necessary tools to achieve a stunning, shimmering effect on your creations.
Whether you’re a seasoned ceramicist or a beginner, understanding the nuances of applying gold luster can elevate your work, making your pieces truly stand out.
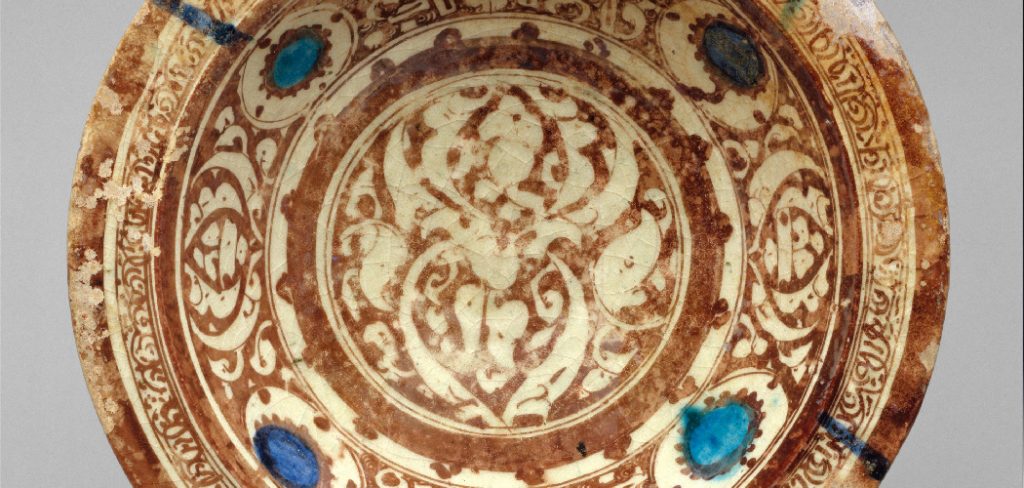
Why Use Gold Luster on Ceramics?
Gold luster is a beautiful and versatile medium that can enhance the appearance of any ceramic piece. Here are some reasons why you should consider using gold luster on your ceramics:
Adds a Touch of Luxury:
Gold has long been associated with wealth and elegance, and adding it to your ceramic creations can instantly elevate their value and appeal. The shimmering, reflective quality of gold luster adds a touch of luxury and sophistication to any piece.
Versatility:
Gold luster can be used on both low-fire and high-fire ceramics, making it a versatile medium for artists. It can be applied to glazed or unglazed surfaces, allowing you to experiment with different finishes and effects.
Durability:
Once fired, gold luster becomes permanent on the ceramic surface, ensuring that your pieces will maintain their shine for years to come. This durability also makes it suitable for functional pieces such as plates and mugs.
Needed Materials:
Before you begin using gold luster on ceramics, make sure you have the following materials on hand:
Gold Luster:
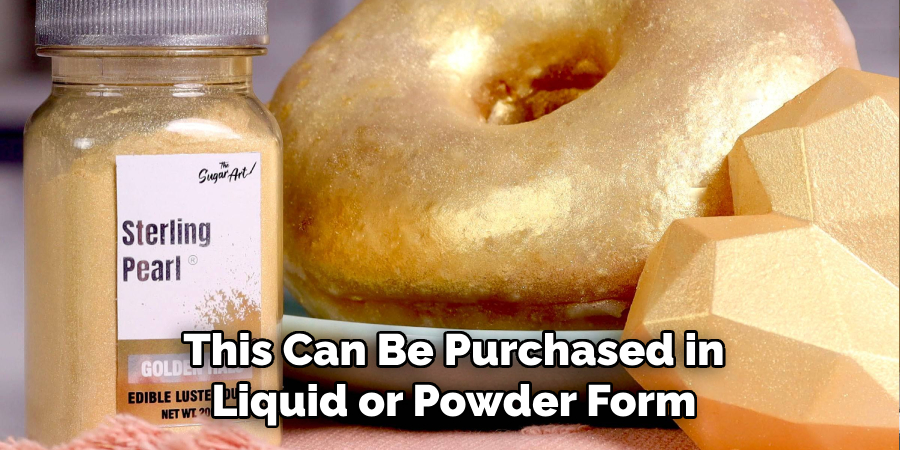
This can be purchased in liquid or powder form. Liquid gold luster is easier to work with, while powder form allows for more control and precision.
Ceramic Pieces:
Choose pieces that have been bisque-fired, glazed, and fired again. It’s essential to make sure your ceramics are completely clean and free of any dust or oils before applying gold luster.
Kiln:
A kiln is necessary for firing the ceramics after applying the gold luster. Make sure your kiln can reach temperatures of 700-800 degrees Celsius.
Brushes:
Use soft brushes such as camel hair brushes to apply the gold luster onto your ceramic pieces.
Protective Gear:
Gold luster contains toxic metals and should be handled with caution. Wear gloves, a mask, and an apron to protect yourself from any potential harm.
8 Step-by-step Guides on How to Use Gold Luster on Ceramics
Step 1: Prepare Your Work Area
Before you begin applying gold luster, it’s essential to create a safe and organized workspace. Set up your work area in a well-ventilated room, as the fumes from gold luster can be harmful. Ensure that your table or bench is clean and free of any dust or debris that could interfere with the application process.
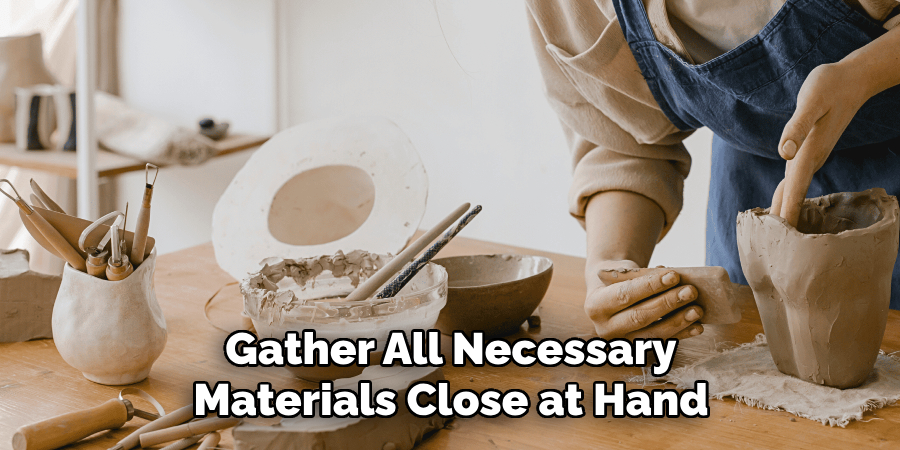
Gather all necessary materials close at hand, including your ceramic pieces, brushes, gold luster, and protective gear. It’s also helpful to have paper towels or cloths ready to clean any spills or smudges immediately. With your work area properly arranged, you’re ready to start applying the gold luster.
Step 2: Mix the Gold Luster
Begin by preparing the gold luster for application. If you are using liquid gold luster, gently stir the solution with a stick or brush to ensure all components are well-blended, taking care not to create bubbles. For powdered gold luster, you will need to mix it with a compatible solvent or medium according to the manufacturer’s instructions. Typically, a few drops of solvent are sufficient to achieve a smooth consistency.
Ensure that the mixture is free of lumps and has a smooth, creamy texture. This preparation step is crucial for achieving even and consistent coverage on your ceramic pieces. Once your gold luster is thoroughly mixed, proceed promptly to the application process to maintain its optimal viscosity.
Step 3: Apply the Gold Luster
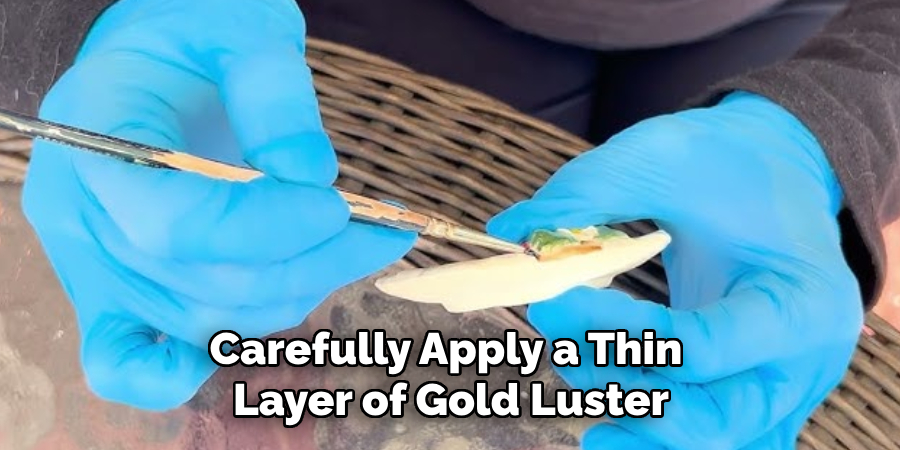
Using a soft brush, carefully apply a thin layer of gold luster onto your ceramic piece. Ensure that the coverage is even and without any gaps, as this will affect the final result.
For best results, use long and smooth strokes to avoid streaks or smudges. Take care not to overload your brush with too much luster, as this can cause drips or runs. If any mistakes occur during this process, immediately clean them up with a damp cloth or brush before continuing.
Step 4: Add Additional Layers (Optional)
For a more intense and vibrant gold finish, you can add additional layers of gold luster onto your ceramic piece. Always wait for the previous layer to dry completely before applying the next one, as this will prevent smudging or mixing of layers.
It’s essential to follow the manufacturer’s instructions regarding the number of layers recommended for their specific gold luster. Too many layers can result in a dull or uneven finish, while too few may not provide enough coverage.
Step 5: Let it Dry
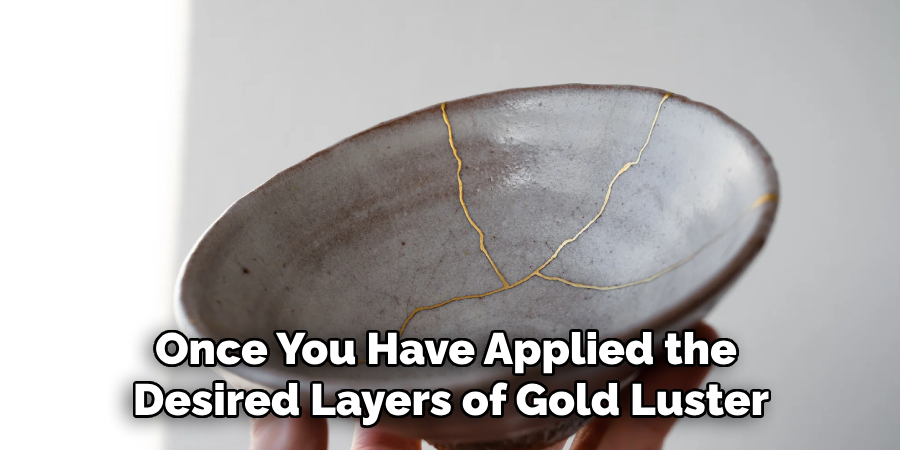
Once you have applied the desired layers of gold luster, it is crucial to let your ceramic piece dry thoroughly before proceeding to the firing stage. Allow the piece to air dry in a dust-free environment, ensuring that no particles adhere to the wet gold luster coating. The drying time can vary depending on the temperature and humidity of your workspace, but it generally takes about 24 hours for the luster to set completely.
Be patient during this step, as rushing the drying process can affect the luster’s adhesion and final appearance. Once dried, your piece is ready for the next phase: kiln firing.
Step 6: Fire in the Kiln
Firing your ceramic piece is a critical step in the process of using gold luster. Not only does it make the luster permanent, but it also enhances its shine and brilliance.
Follow your kiln’s instructions for firing ceramics with gold luster as they may vary depending on the type of clay and glaze used. Generally, you will need to fire your pieces at a temperature between 700-800 degrees Celsius for about an hour to ensure complete adhesion and fusion of the gold luster onto the surface.
Step 7: Let it Cool
After firing, allow your ceramic piece to cool down completely before handling it. This cooling process can take several hours in a kiln or overnight at room temperature.
Do not remove your pieces from the kiln while they are still hot, as this can cause them to crack or break. Once cooled, carefully check for any imperfections or spots that may need touch-ups before proceeding to the final step.
Step 8: Clean and Polish
The last step of using gold luster on ceramics is cleaning and polishing your pieces. Use a soft cloth or tissue to gently buff away any dust particles that may have settled onto your ceramic during the firing process.
For a more polished and shiny finish, you can use a gentle metal polish on your ceramic piece. Apply a small amount onto a clean cloth and lightly buff the surface of your ceramic, being careful not to rub too vigorously as this can remove or damage the gold luster.
With these 8 steps on how to use gold luster on ceramics, you now have all the information needed to successfully use gold luster on ceramics. Remember to always handle the toxic material with care and follow safety precautions while working. With practice, you can create stunning gold accents on your ceramic pieces and elevate your pottery game.
Frequently Asked Questions
Q1: Is Gold Luster Food-safe?
A: No, gold luster is not food-safe and should only be used on decorative pieces that will not come into contact with food or drinks. The gold luster contains toxic materials that can be harmful if ingested.
Q2: Can Gold Luster Be Applied to Already Glazed Ceramic Pieces?
A: Yes, gold luster can be applied to already glazed ceramic pieces. However, the adhesion and final result may vary depending on the type of glaze used and the firing process.
Q3: How Long Does Gold Luster Last?
A: If properly applied and fired, gold luster can last indefinitely without fading or losing its shine. It is essential to handle the pieces with care and avoid harsh cleaning methods to ensure its longevity. The pieces can also be re-fired at a lower temperature to refresh the gold luster if needed.
Q4: Is Gold Luster Compatible with All Types of Clay?
A: Gold luster is compatible with most types of clay, but it is always best to test it on a small piece first before applying it to your main project. Some clays may react differently to the luster, so it’s important to check compatibility beforehand.
Conclusion
Applying gold luster to ceramics is a rewarding technique that, when performed with precision and patience, can enhance the visual appeal and sophistication of your ceramic pieces. By following a methodical approach and adhering to the recommended steps on how to use gold luster on ceramics, from mix preparation to careful firing and final polishing, artisans can achieve a stunning gold finish that stands the test of time.
It’s essential to remember the safety precautions associated with using gold luster, especially avoiding its use on functional ware that may come into contact with food. With practice, patience, and a cautious approach, gold luster can help elevate your pottery work, adding significant value and aesthetic beauty to each handcrafted item.
Specialization:
- Master of wheel-throwing, hand-building, and advanced glazing techniques
- Focus on creating both functional pottery and decorative art pieces
Recognition:
- Celebrated by collectors and art enthusiasts for creating one-of-a-kind pieces that blend artistry with functionality
- Participates in local and national exhibitions, earning accolades for his innovative designs and craftsmanship
Passion:
- Deeply committed to exploring and pushing the boundaries of ceramic artistry
- Continuously experiments with new materials, firing techniques, and artistic concepts to evolve his craft
Personal Philosophy:
- Believes in the transformative power of art, aiming to evoke emotions and connections through his ceramic creations
- Advocates for sustainability in ceramics, using eco-friendly materials and practices whenever possible


