Honey flux glaze is a versatile medium favored by potters for its ability to transform ceramic surfaces with striking visual effects. Known for producing a glossy finish and enhancing the underlying colors of ceramics, this type of glaze flows smoothly to create dynamic patterns and textures. Its unique qualities have made it a popular choice among both amateur and professional potters striving to add depth and vibrancy to their work.
The purpose of this guide is to provide comprehensive instructions on how to use honey flux glaze effectively, catering to both beginners learning the ropes and experienced potters looking to refine their techniques. By exploring honey flux glaze properties and application methods, users can achieve stunning results and elevate their ceramic creations to new artistic heights.
Understanding Honey Flux Glaze
What is Honey Flux Glaze?
Honey flux glaze is a unique ceramic glaze renowned for its ability to melt and flow easily during the firing process, resulting in smooth, glossy surfaces. This glaze can be used to create unique finishes or layered over other glazes to enhance the thorough mixing of the honey flux glaze to ensure it achieves a smooth, creamy consistency. Addal appearance. Its inherent fluidity allows for artistic expression by creating intricate patterns and transitions on ceramic surfaces.
Why Use Honey Flux?
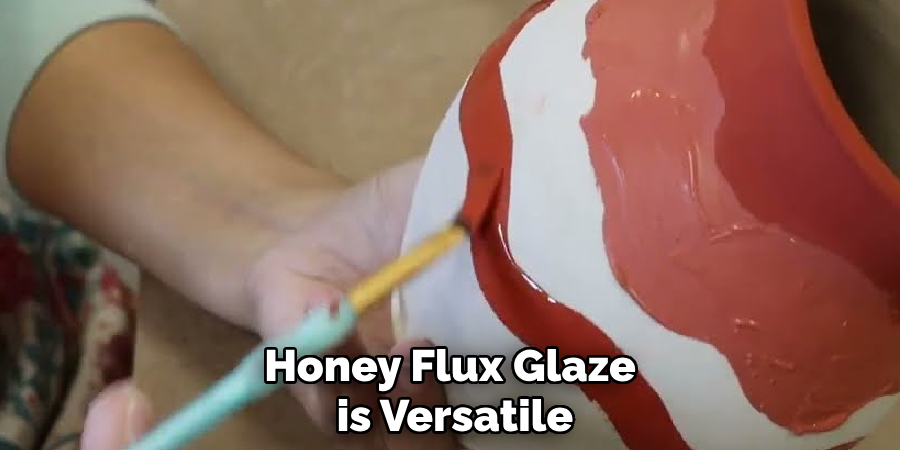
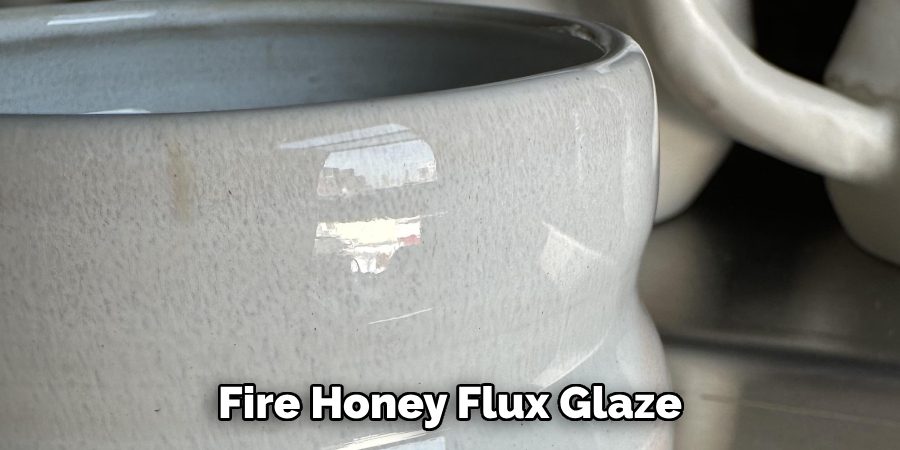
The use of honey flux glaze offers significant aesthetic benefits, as it facilitates the movement and flow of other glazes. Its ability to “break” over high spots creates a honey-like sheen, while it tends to pool in recessed areas, adding depth and visual interest. This dynamic interaction results in more vibrant color transitions and richer textures, which can significantly elevate the appeal of ceramic pieces.
Types of Pottery Best Suited for Honey Flux Glaze
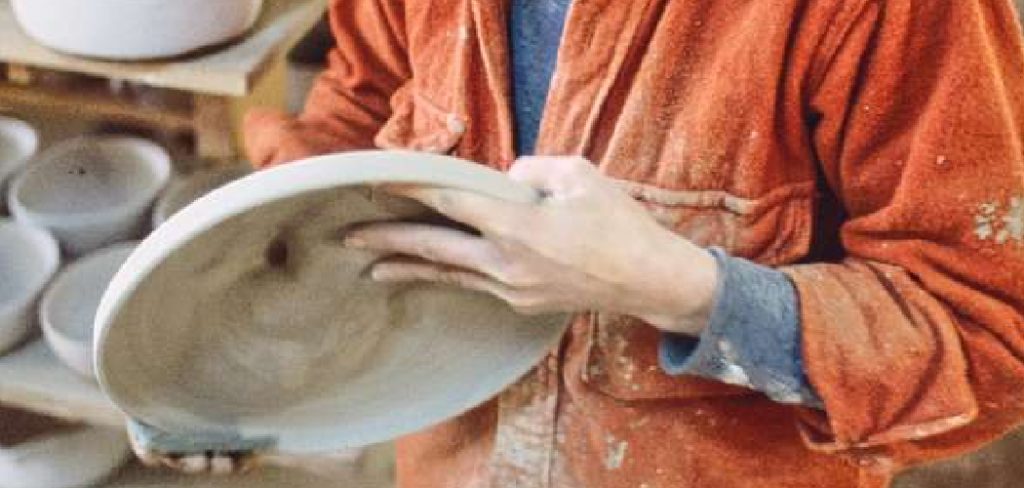
Honey flux glaze is versatile and can be applied to both functional and decorative pottery, such as bowls, mugs, and vases. It is particularly popular in cone 5-6 mid-range firings but is adaptable to other temperature ranges as well, allowing artists flexibility in their creative processes.
Important Considerations
Given its flowing nature, carefully applying honey flux glaze is crucial to avoid excessive running during firing. Artists are encouraged to test the glaze on a sample piece or test tile to understand how it interacts with other glazes and clay bodies. This experimentation is vital to achieving desired effects and mitigating potential issues related to glaze application and firing dynamics.
Materials Needed
When working with honey flux glaze, having the right materials is essential to ensure a successful outcome. Start with Honey Flux Glaze—either purchase a premixed option suitable for your project or mix your own if you have the required materials and expertise. Next, you’ll need a Ceramic Piece, specifically bisque ware, which has been through an initial firing and is ready for glazing and a final firing. For application, a Brush or Applicator is necessary; options include a glaze brush or sponge to achieve precise and even coating.
A reliable Kiln is crucial for firing, capable of reaching the temperatures you need—typically cone 5 or 6—to accommodate the chosen clay and glaze. Lastly, prioritize safety by using Protective Gear such as gloves, a mask, and safety goggles to protect against exposure to glaze chemicals during the application process.
Preparing the Bisque Ware
Step 1: Clean the Surface
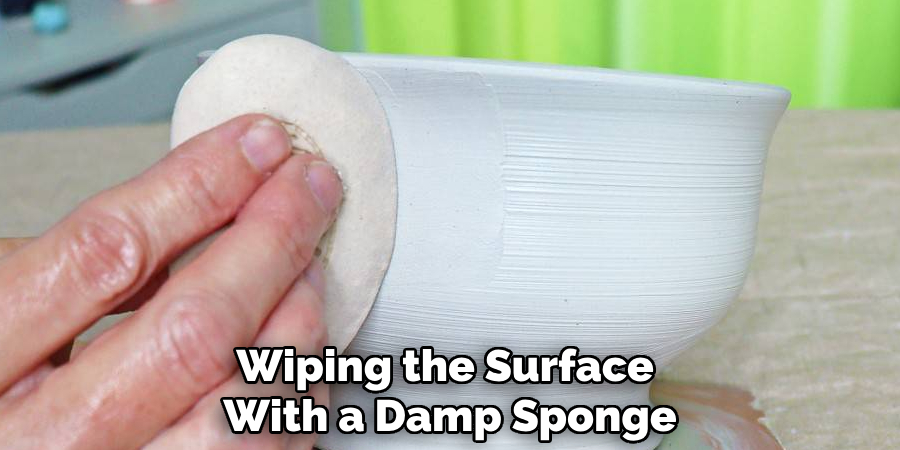
Before applying honey flux glaze, it’s crucial to ensure that your bisque piece is entirely free of any dust, dirt, or oils. Begin by wiping the surface with a damp sponge, which helps to remove any lingering particles. A thoroughly cleaned surface allows the glaze to adhere more evenly, contributing to a smooth and consistent finish on your pottery.
Step 2: Wax Resist (Optional)
Consider applying a wax resist to the base of your piece. This step is particularly useful in preventing the glaze from running off and adhering to the kiln shelf during firing. Additionally, wax resistors can help you create clean, unglazed footings or highlight specific design areas, allowing for a more controlled and precise application of your glaze.
Step 3: Consider Layering Glazes
Decide whether you want to use the honey flux glaze on its own or in combination with other glazes. Experimentation is key here, so testing different glaze combinations on a test tile is beneficial. This testing helps you understand how the honey flux glaze interacts with various base glazes, enhancing colors and creating movement that can bring your pottery to life.
How to Use Honey Flux Glaze: Applying Honey Flux Glaze
Step 1: Glaze Consistency
Begin by thoroughly mixing the honey flux glaze to ensure it achieves a smooth, creamy consistency. Add water gradually if needed to attain the right thickness for even application. The ideal consistency should avoid being too thin, which might not produce the desired flow effect, or too thick, which increases the risk of excessive running during firing.
Tip: A tiny test batch on a small piece can help gauge if further adjustments to the glaze consistency are necessary before tackling the main piece.
Step 2: Application Techniques
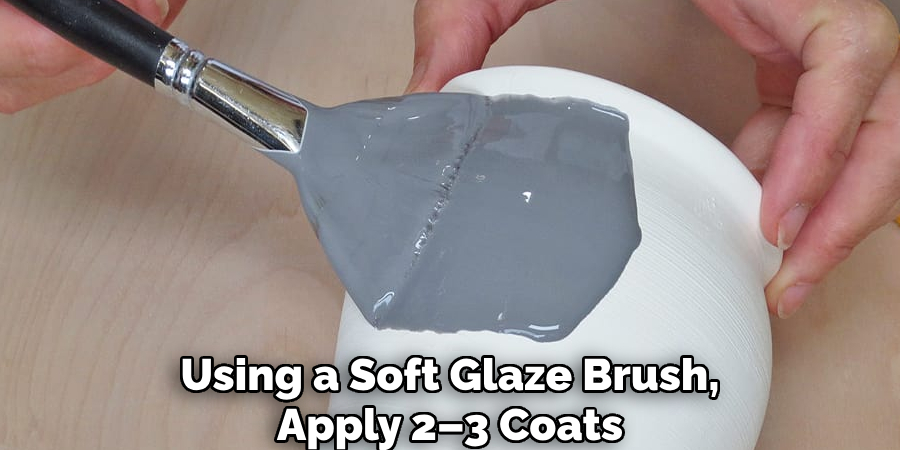
- Brushing: Using a soft glaze brush, apply 2–3 coats of honey flux glaze, allowing each coat to dry adequately before adding the next. This technique requires patience and a steady hand to achieve an even coat.
- Dipping: To dip, submerge the bisque piece into the glaze for a few seconds. Withdraw carefully and let the excess glaze drip off naturally. Dipping is often used to cover larger pieces efficiently and uniformly.
- Pouring: Pour the glaze over the ceramic piece for a more controlled application. This method allows the glaze to spread naturally over the surface, highlighting the flowing effect characteristic of honey flux glaze.
Step 3: Layering with Other Glazes
Honey flux glaze is frequently used as a top layer to enhance the vibrancy of underlying glazes. Apply the base glaze first, ensuring it’s dry, before layering the honey flux glaze on top. Focus on areas where you desire increased shine and movement. Care should be taken not to apply honey flux glaze too close to the base of the piece, as its fluid nature during firing might cause adherence to the kiln shelf.
Step 4: Drying the Glaze
Once the glaze application is complete, allowing it to dry thoroughly before proceeding to the kiln for firing is crucial. Inspect the glazed piece for an even surface and ensure no areas with excessive thickness could complicate the firing process. A well-dried glaze will contribute to a smooth and favorable finish post-firing, enhancing the overall aesthetic of the piece.
Firing with Honey Flux Glaze
Step 1: Prepare the Kiln
Place the glazed piece in the kiln on stilts or kiln shelves, ensuring it has enough space around it for proper heat circulation. Proper placement helps avoid thermal inconsistencies that could affect the glaze finish. Be cautious not to situate glazed pieces too close to the kiln walls, as uneven heat can lead to undesirable glaze results.
Step 2: Choose the Right Firing Temperature
Fire honey flux glaze at the recommended temperature, usually between cone five and cone 6 (approximately 2167°F – 2232°F or 1186°C – 1222°C). This temperature range accommodates the glaze’s needs, ensuring it matures and flows appropriately without overfiring. If layering with other glazes, verify that all chosen glazes are compatible with this firing temperature to avoid adverse chemical reactions.
Step 3: Monitor the Firing
Keep an eye on the kiln, especially if it’s your first time using honey flux glaze. Due to the glaze’s fluid nature, excessive running can occur. Monitoring allows for adjustments in kiln settings if any early signs of excessive running appear. Constant vigilance during this stage ensures the final outcome aligns with your crafting intentions.
Step 4: Cooling
Allow the kiln to cool down gradually. Prematurely opening the kiln can cause thermal shock, potentially resulting in cracking or crazing of the glaze. Gradual cooling preserves the structural integrity of both the ceramic piece and its glaze finish, helping to maintain the desired aesthetic effects.
Step 5: Inspecting the Finished Piece
Once the kiln has cooled completely, carefully inspect the piece to assess the effects of the honey flux glaze. Look for the characteristic glossy surface, smooth transitions, and enhanced colors from the underlying glazes. A thorough inspection helps identify successful aspects of the firing process as well as areas for potential improvement in future projects.
Tips and Troubleshooting
Controlling runs is essential for achieving a desirable finish when working with honey flux glaze. To prevent excessive glaze running, apply thinner layers, particularly near the base of your piece, and consider using a wax resistor or forming a glaze barrier to manage the glaze’s flow effectively. If you’re encountering pinholes in your glazed work, ensure the clay body is thoroughly bisque-fired and debris-free before glazing. Smoothing out any bubbles during application also helps avoid these defects in the final product.
Creating test tiles is highly recommended, especially when experimenting with new glaze combinations. This practice lets you observe the interaction between honey flux glaze and various base glazes, adjusting glaze thicknesses and firing temperatures as necessary. Layering honey flux over dark glazes, such as deep blues, blacks, or browns, can achieve an attractive contrast. This technique can make the surface visually striking, highlighting the dynamic qualities of the glaze and adding depth to your ceramic pieces.
Conclusion
Using honey flux glaze offers potters a fascinating journey from preparation and application to the final stages of firing and troubleshooting. This glaze is renowned for its dynamic effects, adding depth and vibrancy to ceramic pieces. The process begins with a careful mix to achieve the right consistency, followed by various application techniques such as brushing, dipping, and pouring.
Successful firing at the correct temperature ensures the glaze matures perfectly and highlights the layered effects. Experimentation and testing are crucial, as they allow artists to explore different combinations, firing temperatures, and methods to create wholly unique and striking ceramics. Remember the transformative power of honey flux glaze, which is capable of enriching surfaces with its fluid nature. Engage with the ceramic community by sharing your glaze experiments and insights, including tips like “how to use honey flux glaze,” to inspire and elevate the creative practices of fellow artists.
Specialization:
- Master of wheel-throwing, hand-building, and advanced glazing techniques
- Focus on creating both functional pottery and decorative art pieces
Recognition:
- Celebrated by collectors and art enthusiasts for creating one-of-a-kind pieces that blend artistry with functionality
- Participates in local and national exhibitions, earning accolades for his innovative designs and craftsmanship
Passion:
- Deeply committed to exploring and pushing the boundaries of ceramic artistry
- Continuously experiments with new materials, firing techniques, and artistic concepts to evolve his craft
Personal Philosophy:
- Believes in the transformative power of art, aiming to evoke emotions and connections through his ceramic creations
- Advocates for sustainability in ceramics, using eco-friendly materials and practices whenever possible


