Creating vibrant and intricate designs on pottery and ceramics can be beautifully accomplished with the use of underglaze. This versatile ceramic material allows artists and hobbyists to paint detailed patterns or solid colors onto greenware or bisque ceramics before applying a clear glaze. Unlike traditional glazes, underglazes do not melt during firing, which means they stay true to color and remain sharp and defined.

Whether you are a seasoned ceramics artist or a beginner looking to explore new decorating techniques, understanding the process of using underglaze can elevate your projects and add a personal touch to your creations.
In this blog post on how to use underglaze, we will discuss the basics of underglaze application and provide some tips and tricks to help you achieve the best results.
Why Use Underglaze?
Underglaze offers a wide range of benefits that make it a popular choice among ceramic artists. Some of these include:
Vibrant and Consistent Colors:
Unlike traditional glazes that can shift in color during firing, underglazes maintain their original hue and vibrancy. This allows for more precise and predictable results when it comes to achieving specific colors.
Versatility:
Underglaze can be used on both greenware (unfired clay) and bisque (fired once) ceramics, making it a versatile material for artists. It also allows for layering of different colors and techniques to create unique effects.
Detail-Oriented:
One of the main advantages of underglaze is its ability to retain fine details even after firing. This makes it an ideal choice for creating intricate designs or patterns on pottery.
Now that we have covered some of the benefits of using underglaze, let’s dive into the process of how to use it.
8 Step-by-step Guidelines on How to Use Underglaze
Step 1: Prepare Your Workspace
Before you begin applying underglaze, it is crucial to prepare your workspace to ensure a smooth and efficient process. Start by gathering all necessary materials, including your ceramic piece, underglazes, brushes, water, and a palette. Ensure that your workspace is clean and organized, providing ample space for you to work comfortably. Lay down some newspaper or a plastic sheet to protect surfaces from spills or stains.

Good lighting is also important as it allows you to see the true colors and details of the underglaze as you apply them. Once your space is ready and materials are within reach, you can confidently start your underglaze application with ease.
Step 2: Choose Your Underglaze Colors
Underglazes come in a wide variety of colors, including basic primary and secondary colors as well as metallic and pastel shades. Before starting, it is helpful to have an idea of the color or design you want to achieve. This will help guide your selection of underglaze colors.
Pro Tip: If you are new to working with underglaze, start with fewer colors and build up from there. It is easy to add more layers or mix colors for various shades, but it can be challenging to remove them once applied.
Step 3: Prepare Your Underglaze
Once you have selected your colors, it’s time to prepare your underglaze for application. Begin by shaking the underglaze bottles thoroughly to ensure that the pigments are evenly mixed. This is essential for achieving consistent color application. Pour a small amount of each chosen color onto a palette or a plate that you have designated for mixing.
Use separate sections for each color to prevent unintentional mixing. If the underglaze seems too thick for detailed work, you can add a small amount of water to thin it down to your preferred consistency. Be cautious not to add too much water, as this can dilute the pigmentation and affect the final result. Once your underglazes are ready on your palette, you can begin applying them to your ceramic piece.
Step 4: Clean Your Ceramic Piece
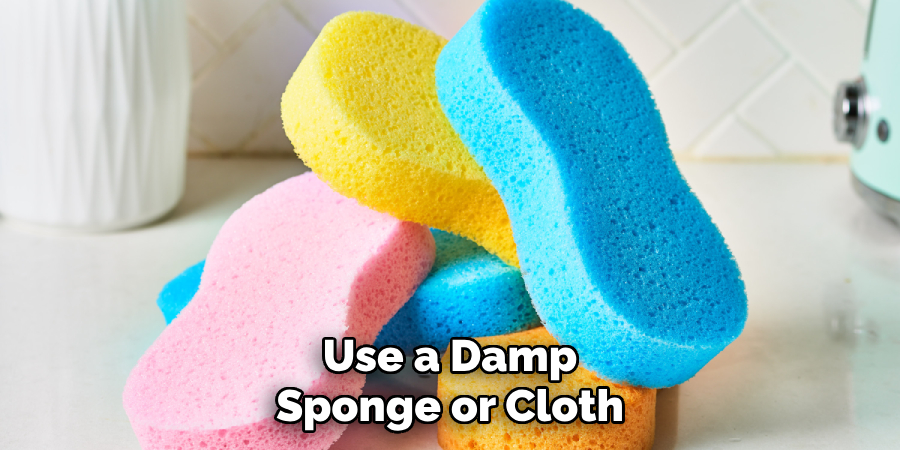
Before applying underglaze, make sure your ceramic piece is clean and free of any dust or debris. Use a damp sponge or cloth to wipe away any dirt that may have accumulated on the surface. This will ensure that the underglaze adheres well and prevents any imperfections in the final result.

The level of moisture on the ceramic piece can also affect how the underglaze is absorbed and applied. If your piece is too dry, you may encounter issues with the color not sticking or appearing patchy. On the other hand, if it is too wet, the colors may bleed or blend together. Finding the right balance will come with practice and experience.
Step 5: Begin Applying Underglaze
Now comes the fun part – applying underglaze to your ceramic piece! You can use a variety of techniques, such as brushing, sponging, stamping, or stenciling, to create different effects. The key here is to experiment and find what works best for you.
It is essential to apply underglaze in thin layers, building up color gradually. This will prevent any cracking or flaking during the firing process. You can also use different brushes for various applications, such as fine detail work or broader strokes.
Step 6: Add Layers and Details
Once you have applied your base colors, you can add more layers or details using the same techniques as before. Underglazes are great for layering, allowing you to create depth and dimension in your designs. You can also mix colors on your palette to achieve new shades.
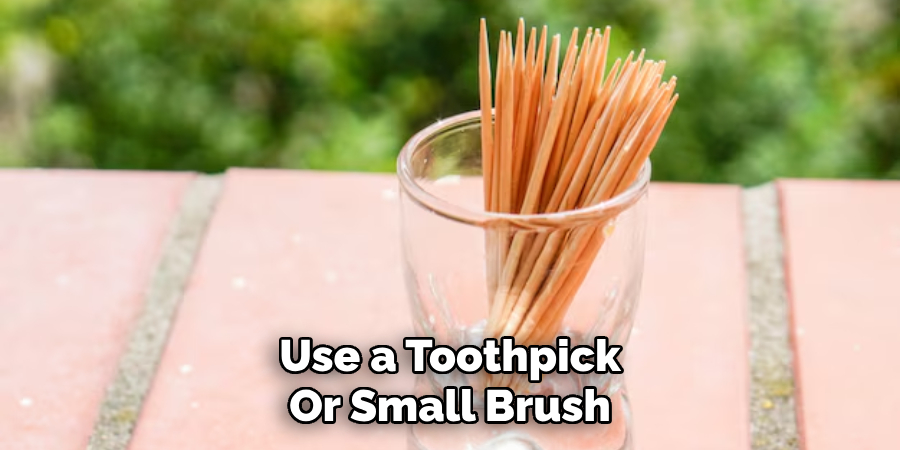
Pro Tip: To create intricate patterns or designs, use a toothpick or small brush to draw lines through wet underglaze and remove excess for clean lines.

Step 7: Allow Underglaze to Dry
After applying all layers and details, let the underglaze dry completely before handling or adding any other elements. This can take anywhere from a few hours to a day, depending on the thickness of your application and humidity levels. You can speed up the drying process by using a hairdryer or placing your piece in front of a fan.
But be patient – it’s crucial to let the underglaze dry completely before firing to avoid any issues during the kiln process.
Step 8: Fire Your Ceramic Piece
The final step is to fire your ceramic piece in a kiln according to the specific instructions for your chosen underglazes. Different types of underglaze may have different firing temperatures and times, so make sure to follow the manufacturer’s guidelines carefully.
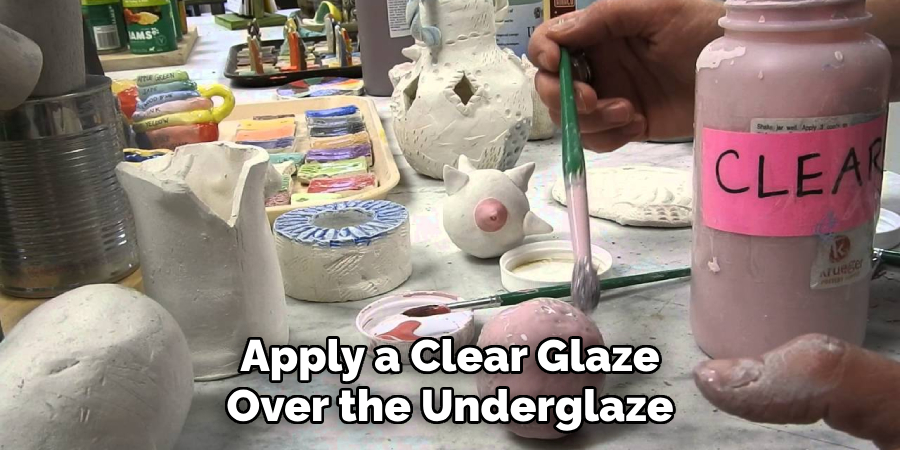
After firing, you will see the true colors and vibrancy of your underglaze piece come to life! You can then add a clear glaze on top for added protection and shine.
Following these step-by-step guidelines on how to use underglaze will help you achieve beautiful and professional-looking results with underglaze on your ceramic pieces. Remember to practice and experiment with different techniques to find what works best for your desired outcome. Have fun creating and incorporating underglazes into your ceramic projects!
Frequently Asked Questions
Q: Can I Mix Underglazes to Create New Colors?
A: Yes, you can mix underglazes on your palette to achieve new shades. It is best to experiment with small amounts first before mixing larger quantities. The color may also change slightly after firing, so it’s essential to test before applying it to your entire piece.
Q: Can I Use Underglaze on Greenware or Bisque?
A: Yes, underglaze can be used on both greenware and bisque. However, it is recommended to apply underglaze on fully-fired bisque for best results.
Q: Do I Need to Apply a Clear Glaze Over My Underglazed Piece?
A: It is not necessary to add a clear glaze over an underglazed piece, but it does provide added protection and a shiny finish. If you choose not to use a clear glaze, make sure to handle your piece with care to avoid any damage to the underglaze design.
Q: Can I Use Underglaze on Functional Pieces?
A: Yes, underglazes are food-safe and can be used on functional pieces such as plates, mugs, and bowls. Just make sure to apply a clear glaze over the underglaze for added protection and durability. It is also recommended to avoid placing underglaze pieces in the microwave or dishwasher. So, it is always better to use them as decorative pieces for functional purposes.

Q: Can I Use Underglaze on Non-ceramic Materials?
A: Underglazes are specifically designed to be used on ceramic materials and may not adhere well to other surfaces. It is recommended to stick with using underglaze on ceramics for the best results. However, you can experiment with using underglaze on other materials such as glass or wood, but it may require additional steps and techniques for proper adhesion and durability.
Conclusion
Working with underglazes opens up a vast array of creative possibilities for ceramic artists of all skill levels. By following the outlined steps on how to use underglaze for applying underglaze, you can enhance your ceramic pieces with vibrant colors and intricate designs. As with any artistic process, practice and experimentation are essential to mastering the use of underglaze.
Whether you are aiming for simple elegance or complex patterns, underglazes provide the versatility to achieve your creative vision. Remember, patience and attention to detail are key to successful underglazing. Enjoy the process, and let your creativity flourish as you bring your ceramic artwork to life.
Specialization:
- Master of wheel-throwing, hand-building, and advanced glazing techniques
- Focus on creating both functional pottery and decorative art pieces
Recognition:
- Celebrated by collectors and art enthusiasts for creating one-of-a-kind pieces that blend artistry with functionality
- Participates in local and national exhibitions, earning accolades for his innovative designs and craftsmanship
Passion:
- Deeply committed to exploring and pushing the boundaries of ceramic artistry
- Continuously experiments with new materials, firing techniques, and artistic concepts to evolve his craft
Personal Philosophy:
- Believes in the transformative power of art, aiming to evoke emotions and connections through his ceramic creations
- Advocates for sustainability in ceramics, using eco-friendly materials and practices whenever possible


