


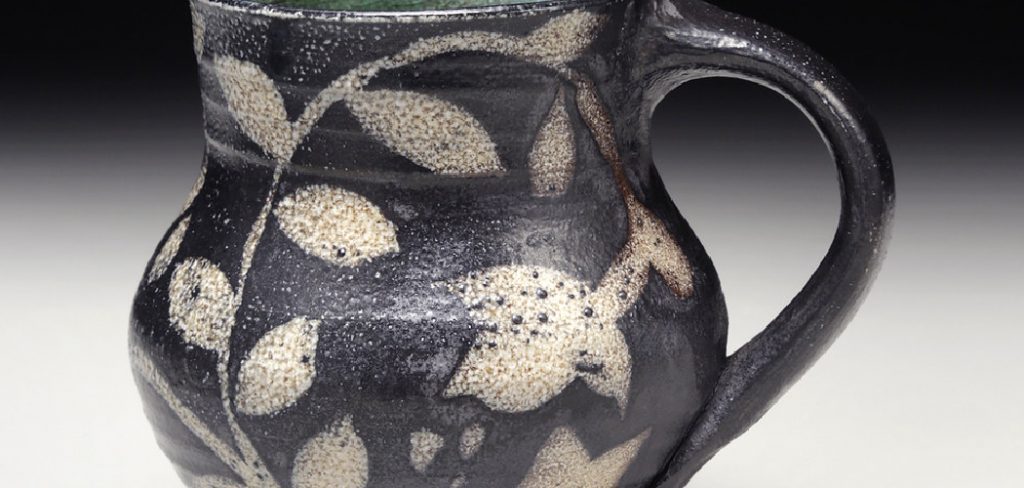
Wax resist is a versatile technique used in ceramics to create intricate patterns and protect specific areas from glazing, enabling artists to achieve clean, crisp lines in their designs. When a layer of wax is applied to the surface of a pottery piece, it prevents the glaze from adhering to those areas, allowing for deliberate contrasts between glazed and unglazed regions. Wax resists. It is commonly used in functional and decorative pottery to enhance footrings and rims and provide the foundation for complex, layered glaze techniques.
This article serves as a comprehensive guide on how to use wax resist on ceramic, addressing beginners and experienced potters alike. It covers all aspects, from selecting the right wax resist product and properly preparing surfaces to advanced techniques for creative designs. Whether aiming for geometric patterns or freehand artistry, mastering wax resist can significantly elevate the detail and uniqueness of your ceramic projects.
Understanding Wax Resist and Its Benefits
What Wax Resist Is
Wax resist is a specialized liquid or paste applied to ceramic surfaces to deliberately block glaze adherence in desired areas. It acts as a barrier, ensuring that specific sections of the pottery remain unglazed and retain their natural texture after firing. The composition of wax-resist products varies, but most are designed to withstand high kiln temperatures and provide an even application. Typically, these products contain substances like paraffin or latex, granting them the necessary resilience and flexibility during the ceramic creation process.
Benefits of Using Wax Resist
Utilizing wax resist in pottery offers several advantages, making it a popular choice among artisans seeking precision in their designs. One of its primary benefits is the ability to create intricate, well-defined patterns without the concern of glaze overflow, which is particularly useful for preserving clean foot rings on functional pieces. Additionally, wax resist enables potters to experiment with decorative elements, such as layered glazes, that add complexity and visual interest. By preventing glaze from sticking to specified areas, artists can achieve unique, multi-layered effects that enhance their ceramic works’ overall aesthetic and detail.
Choosing the Right Wax Resist Product
Types of Wax Resist
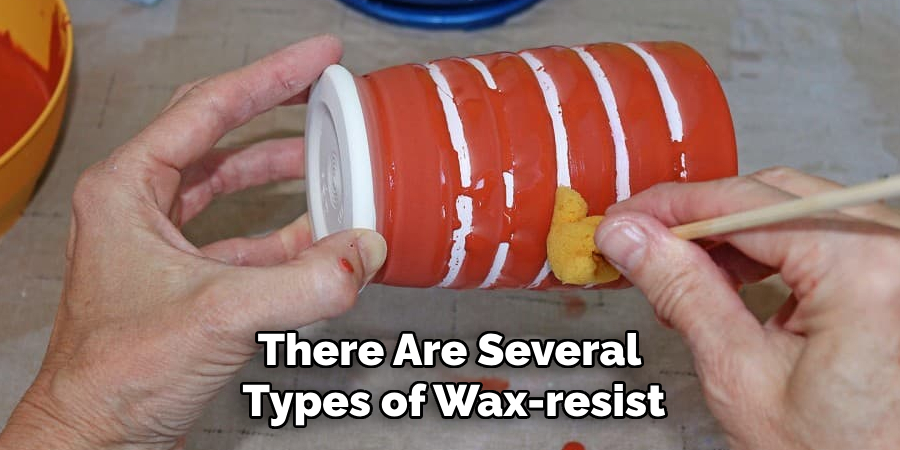
There are several types of wax-resist products available for ceramic artists, each with distinct characteristics. Liquid wax is popular for its smooth application and quick drying properties, making it ideal for layered designs. Wax emulsion provides a thicker consistency, which can be more forgiving for those new to the technique. Natural wax products offer an eco-friendly alternative, though they may require more careful handling. The drying times and ease of use vary among these formulas, influencing which might be best for your specific project.
Selecting a Wax Resist Based on Project Needs
Choosing the right wax-resist product depends on various factors, such as project size, level of detail, and the type of glaze being used. A product that provides fine control, like liquid wax, might be optimal for intricate designs. Larger projects may benefit from wax emulsion due to its durability. If creating functional ceramics, consider food-safe options and those that are easy to remove after firing to ensure both safety and functionality.
Preparing the Ceramic Surface for Wax Resist Application
Prepping Greenware or Bisque
Properly preparing the ceramic surface is crucial for effective wax-resist application. Whether working with greenware or bisque, starting with a clean surface ensures better adherence and resulting precision. Begin by thoroughly cleaning the piece and gently wiping away any dust, fingerprints, or debris using a soft, damp cloth. The ceramic must be fully dry before applying wax resistance, as moisture can interfere with the wax’s ability to form a complete barrier. Ensuring the surface is contaminant-free, you set the foundation for clean lines and precise patterns in your design.
Planning the Design
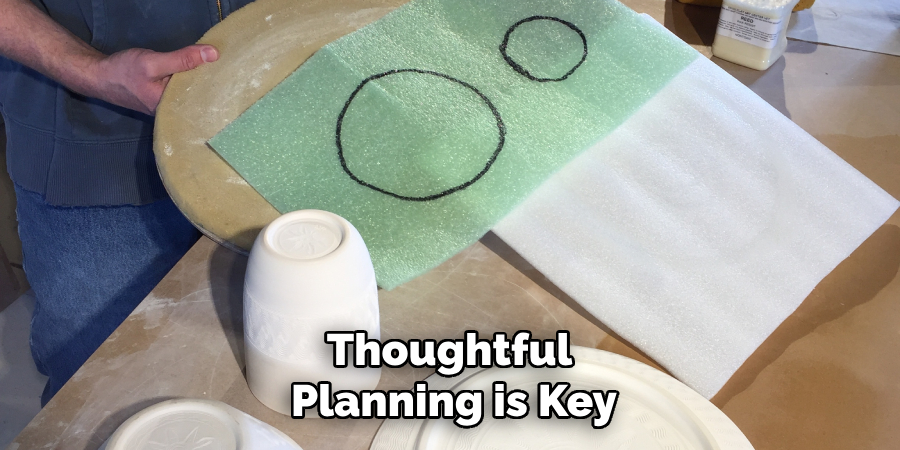
Thoughtful planning is key when using wax resist to achieve desired effects in ceramic art. Prior to starting, consider the areas that you want to remain unglazed and how they interact with the glazed portions. Sketching out patterns or using templates can help visualize the design and ensure accuracy in execution. When working with intricate designs, a clear plan creates a roadmap that guides the application of wax resist, resulting in enhanced detail and complexity. This preliminary step facilitates the creative process and helps avoid costly mistakes, leading to more successful outcomes.
How to Use Wax Resist on Ceramic: Applying Wax Resist
Tools and Brushes for Application
When it comes to applying wax resist, selecting the appropriate tools is essential for clean and precise results. Soft, fine-bristle brushes are recommended, as they allow artists to achieve detailed patterns and crisp lines. Foam brushes or sponge applicators can offer uniform coverage without leaving brush marks for larger areas. It’s important to maintain these tools diligently, as wax resistance can be challenging to remove once it dries. Clean brushes immediately after use with a suitable solvent or hot, soapy water to prevent wax buildup, which can compromise future applications.
Basic Application Techniques
Applying wax resist effectively involves several key steps to ensure precise protection of unglazed areas. Start by carefully dipping the brush into the wax resist, wiping off excess to avoid drips. Gently brush the wax onto the designated areas, maintaining steady hands to create even, distinct boundaries. Achieving consistent coverage and ensuring no gaps or overlaps are crucial, as these could affect the final design. For creating clean foot rings or precise rim designs, use smaller, detail-oriented brushes for accuracy. To craft intricate decorative patterns, consider utilizing stencils or templates to guide application and maintain symmetry. Careful attention to technique will help avoid uneven edges or spills, resulting in a polished, professional finish in your ceramic artwork.
How to Use Wax Resist on Ceramic: Letting the Wax Resist Dry
Drying Time and Conditions
Allowing the wax to resist drying properly is essential for achieving the desired effects in ceramic decoration. Drying times can vary based on the type of product used; typically, liquid wax resist dries faster, while wax emulsion may require a longer period. A general guideline is to let the wax resist set for at least 30 minutes to several hours, depending on thickness and environmental conditions. Ensuring a dust-free drying area helps prevent particles from adhering to the wax surface, which could compromise the final design.
Testing Dryness
Before applying glaze, it’s important to confirm the wax resist is completely dry to prevent issues like smudging or lifting. A simple method to test dryness is to lightly touch a small, inconspicuous area; the wax should feel firm and non-tacky. Alternatively, observe the surface for any remaining shine, which may indicate wet spots. Ensuring complete dryness is critical for maintaining sharp, clear design boundaries during glaze application.
Glazing Over Wax Resist
Applying Glaze
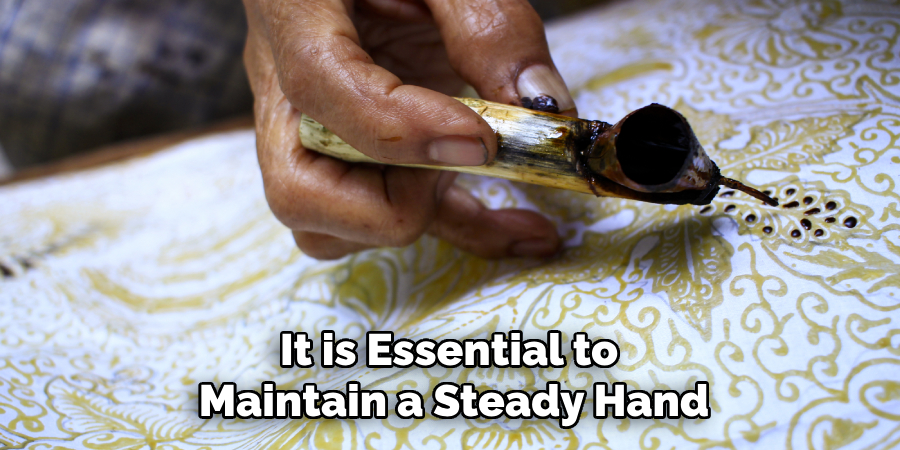
When applying glaze over a wax-resisted surface, it is essential to maintain a steady hand and follow specific techniques to preserve the integrity of your design. Start by placing the ceramic piece on a stable surface. For dipping methods, carefully submerge the piece in glaze, ensuring even coverage while avoiding over-submersion, which can disrupt the wax-resist areas. Use a soft brush—applying glaze in smooth strokes—to coat the entire piece evenly. Take precautions to prevent disturbing the wax lines by handling the piece gently and avoiding excessive glaze build-up, which can cause smearing or damage to the resist areas.
Removing Excess Glaze
To maintain crisp edges and smooth lines on wax-resist designs, it is often necessary to remove any stray glaze. Utilize a damp sponge or cloth to carefully clean any glaze that has settled on the wax-resist areas. Gently wipe the surface, not removing too much glaze from the adjacent unprotected areas. This step ensures that the wax continues to act as an effective barrier during firing, preserving the clean divides between glazed and unglazed sections. A steady and deliberate approach will yield professional and polished results in the finished piece.
Double or Multi-Glazing Techniques
Utilizing wax resist for layering glazes introduces exciting possibilities for multi-colored or textured effects in ceramics. Artists can create complex, overlapping designs by strategically applying different glazes over wax-resisted areas. Experimenting with glaze combinations and layering techniques can enrich your artwork’s depth and visual interest, resulting in a sophisticated, multi-dimensional appearance.
Firing the Wax Resist Piece
Wax Resist in the Firing Process
During the firing process, the wax resist applied to your ceramic piece vaporizes, resulting in clean, unglazed areas that remain exposed. As the kiln temperature rises, the wax burns off completely without leaving any residue, thanks to the high heat that ensures a thorough combustion. This characteristic of wax resistance makes it an invaluable tool for creating precise glazed and unglazed patterns, as the glaze cannot adhere to the areas previously covered in wax.
Monitoring for Firing Results
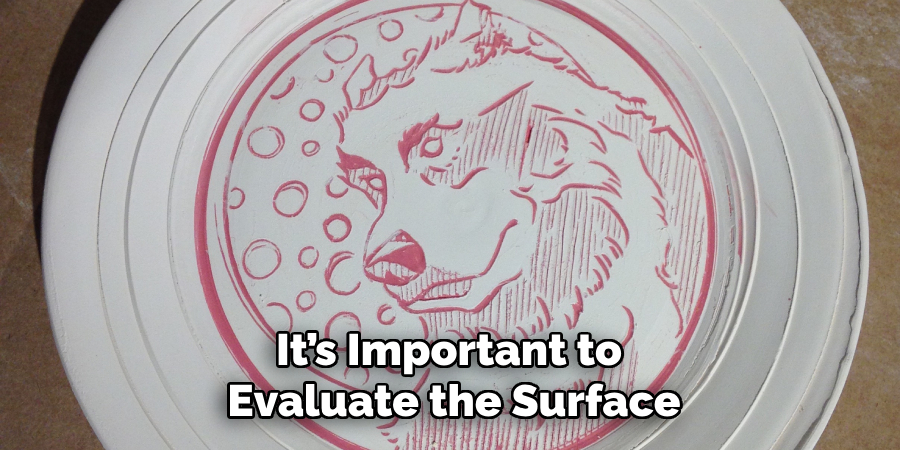
After firing, it’s important to evaluate the surface for the intended effects, particularly in pieces with intricate or layered wax-resist designs. Examine the glaze to ensure it has not run or left unintended residue around the resist lines. Prevent these common issues by using well-controlled glaze applications, ensuring proper kiln settings, and allowing sufficient drying time before firing. You can achieve a polished and flawless finish by paying close attention to these details.
Tips and Tricks for Creative Wax Resist Designs
Pattern Ideas
Utilize wax resist to craft intricate geometric patterns, bold stencils, or fluid freehand designs, adding visual interest to your ceramics. Geometric patterns can create striking symmetry, while stenciling allows for repetition and precision. Freehand designs offer a more organic feel, giving each piece a unique touch. Consider blending these methods in both functional pieces, like mugs or bowls, and decorative items, such as vases, to enhance their aesthetic appeal.
Advanced Techniques
Try layering wax resist with underglaze for a more sophisticated approach to add depth and complexity to your designs. Carving into wax-covered surfaces can create dynamic textural contrasts, while reverse stenciling—using wax to outline areas where the glaze will be applied—yields refined edges and detailed prints. By experimenting with these applications, artists can discover unique textures and finishes, elevating the artistic quality of their ceramic work.
Common Mistakes to Avoid with Wax Resist
Avoiding Uneven Coverage
Always ensure a consistent coating to prevent uneven coverage and patchy designs in wax-resistant applications. Use a suitable applicator, like a dedicated brush or sponge, and maintain a steady hand while applying. Working in a well-lit area is crucial, as it lets you clearly see each spot you cover, ensuring full and even saturation.
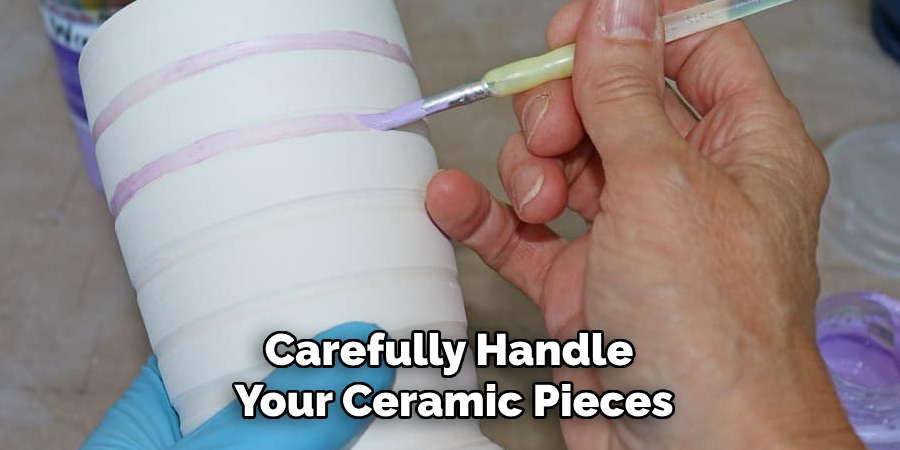
Preventing Smudging and Smearing
To avoid smudging the wax-resistant design, carefully handle your ceramic pieces, steering clear of touching the wet wax areas. Allow sufficient drying time to ensure the resist is set before glazing, minimizing the risk of accidental smudging or damage to intricate designs.
Conclusion
The wax resist process in ceramics, from selecting the right wax to achieving immaculate results in firing, provides artists with a powerful technique for enhancing their work. By understanding how to use wax resist on ceramic, one can create intricate details and clean, sharp lines that elevate their creations. It is an invitation to explore and experiment, encouraging artists to practice and refine their skills. As you gain confidence, you’ll find greater control over your designs, producing unique and satisfying outcomes. Embrace wax resist to add a new dimension to your ceramic artistry.
Specialization:
- Master of wheel-throwing, hand-building, and advanced glazing techniques
- Focus on creating both functional pottery and decorative art pieces
Recognition:
- Celebrated by collectors and art enthusiasts for creating one-of-a-kind pieces that blend artistry with functionality
- Participates in local and national exhibitions, earning accolades for his innovative designs and craftsmanship
Passion:
- Deeply committed to exploring and pushing the boundaries of ceramic artistry
- Continuously experiments with new materials, firing techniques, and artistic concepts to evolve his craft
Personal Philosophy:
- Believes in the transformative power of art, aiming to evoke emotions and connections through his ceramic creations
- Advocates for sustainability in ceramics, using eco-friendly materials and practices whenever possible